Showing posts with label Spellbinders Club Kits. Show all posts

Friday, March 14, 2025

Two Drastically Different Cards Using One 3D Embossing Folder

Hi, crafty friends!  I'm back today with two cards featuring another Spellbinders Club Kits for March.  I've used the 3D Embossing Folder, called Floral Fence Of Togetherness.  I used two different, and very fun, techniques for my cards.  (Hint: my second card is a "bonus" card where I used the backside of a panel since I didn't like the front that I did.)  Read on for all of the details!

This first card I kept fairly clean and simple by using one color with black and white.  I used my brayer to add yellow ink to the de-bossed side of the Floral Fence embossing folder.  I placed an A2 sized piece of 80# Neenah Solar White cardstock onto the raised side of the folder and then ran it through my Platinum 6 die cutting machine.

I trimmed the piece and added a black mat layer before I glued it to my A2 card base.

The butterfly and sentiment are from the January Betterpress Club Kit, called Take Flight, which is currently available for individual purchase when I checked.  Please click the link in the list below for more details.

After pressing the butterfly with black ink in my BetterPress letterpress, I added glue to the center of the butterfly to adhere it to my card.  The sentiment is also from the Take Flight BetterPress set and is popped up with foam strips.  I then added a few gem stickers for a bit of sparkle.

My second "bonus" card is a result of a failed trial on the embossed piece.

If I ever wonder how something would work, I try it!  Well, since I didn't care for what I had tried on the embossed side of the piece, I flipped it over to try the "blackout" technique on the de-bossed side of the Floral Fence embossed paper!

I have to say, I think I like this!  It kind of has the appearance of velvet!  On the de-bossed side of the Floral Fence embossed piece I first used blending brushes to add color to the flowers and leaves.  The cool thing about this technique is that you can "go outside the lines".  Then I used a black pigment ink pad and swiped the pad over the entire piece.

The trick is to not use too much pressure as you are adding the black ink.  Just go back over any areas that need more ink until it is all covered in the black ink.


There were still just a few small areas that were not covered with black ink and I used my black Copic marker to fill those in.

The sentiment is from the A Little Hello Sentiments set.  This set not only includes the large layered "hello" sentiment, but it has one stamp with seven sub sentiments and one die to cut them out at once!  Love that!

Well, how about those two cards?!  Dramatically different but so fun to make!  Thank you for stopping by today.  I hope your weekend is fabulous with lots of crafting time!

Thank you for using my affiliate links to shop (never any additional cost to you)!
Sunday, February 23, 2025

Happy Birthday Gorgeous!

I made a fun and quick card with Spellbinders February 3D embossing folder of the month.  Embossing, die cutting, inking, and a BetterPress sentiment completes this card.

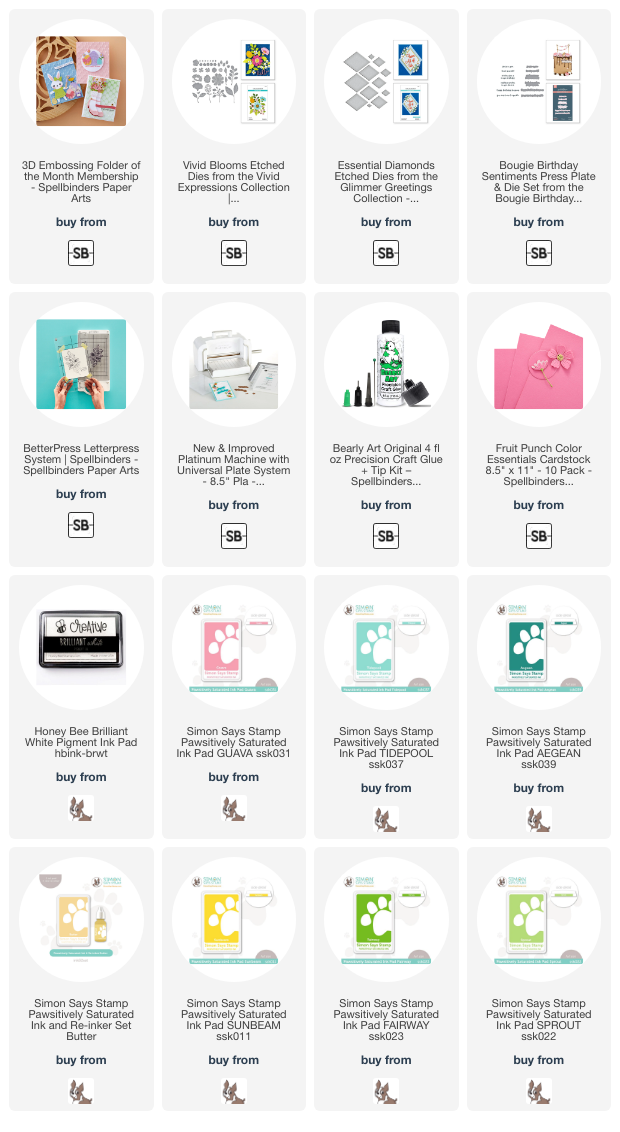
First I die cut the diamond shape from the center of an A2 sized piece of Fruit Punch cardstock using a die from the Essential Diamonds set.  Then I embossed it with the 3D Folder Of The Month (called Petite Bow).  Next I inked around the edges of the cardstock with a slightly darker coordinating ink.

To make the embossing really stand out, I swiped a white pigment ink pad over the piece and set it aside to let the ink dry.

Then I die cut white cardstock with several of the dies from the Vivid Blooms die set.  I used inks from my stash to color them with ink blending brushes.  I used glue to adhere the layers.

Next I embossed white cardstock with the Petite Bows 3D embossing folder.  I used foam tape to adhere the pink embossed panel to the white cardstock.  These layers were glued to an A2 card base.

I arranged the flowers and leaves around the die cut opening and adhered them all with some glue.  I used a sentiment from the Bougie Birthday Sentiments Press Plate & Die Set and popped it up with a foam strip.

I thought about adding some bling, but decided that I liked the card just as it is!

If you like this folder (how could you not?!) there is still time to sign up for the 3D Embossing Folder Club Kit for February!

I appreciate you stopping by today and hope you have a fabulous week ahead!

Thank you for using my affiliate links to shop (never any additional cost to you)!

Thursday, January 9, 2025

Spellbinders January 2025 Club Kit Cards

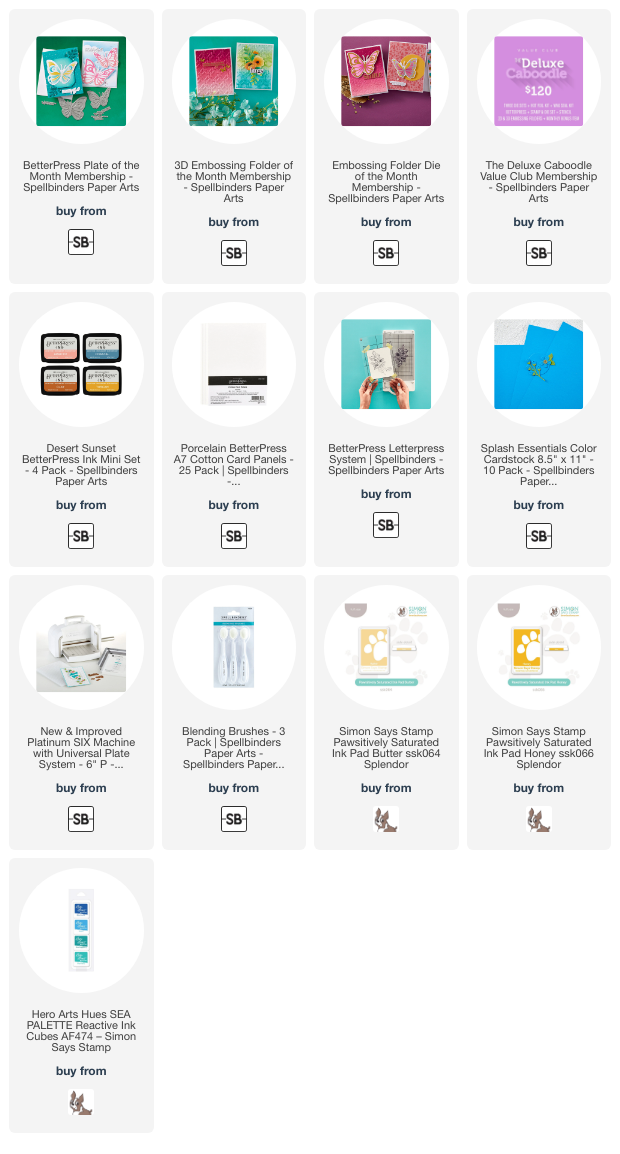
I'm thrilled to have the honor of creating with three of Spellbinders' Club Kits for 2025!  I'll be sharing the monthly club kits for the BetterPress, 3D Embossing Folder, and the Embossing Folder of the month!

There's nothing better than getting two cards from one Press Plate set!  The Take Flight BetterPress Club Kit for January includes press plates for two butterflies and three sentiments.  There are dies included to cut out each one too!

This first card features the Take Flight BetterPress Club Kit with the Stylized Lattice 3D Embossing Folder of the Month.

For the BetterPress Plates and sentiments, I used Porcelain Cotton card for all with my BetterPress Letter Press System.

The A2 card base is layered with Splash cardstock and white cardstock, both embossed with the Stylized Lattice 3D embossing folder.  This was trimmed to 3-¾" x 5" and adhered to the card with glue.

A note about the stencils I used to color the butterflies:  This stencil set is the "bonus item" for January for those in the Deluxe Caboodle Value Club.  Here is Spellbinders' description of this club:

Join the Deluxe Caboodle Value Club and receive expertly designed kits, complete with inspiration each month. Plus, members get store savings, extra deals, gifts, and more. Click Here to learn more about club membership. The Deluxe Caboodle Club Value Club Membership includes ALL TEN club options plus an additional monthly BONUS item. The bonus item will sometimes be a cardmaking essential & sometimes it will be an exclusive item ONLY available in this club.

This club is the most affordable way to snag the Small Die + Large Die+ Stitching Die + Clear Stamp & Coordinating Die + Glimmer Hot Foil Kit and Embossing Folder (2D) & 3D Embossing FolderWax SealBetterPress + NEW Stencil Clubs. Create unique projects individually or combine them together for even more creative utility. $315.00 Value!

I used the large butterfly from the Take Flight BetterPress of the Month and inked it up with a coordinating blue ink from my stash onto Porcelain cotton cardstock.  I used ink blending brushes and two shades of buttery yellow inks to color the butterfly.  All available inks are in my list below!

I added glue just to the center of the butterfly to adhere it to the card.  The Take Flight sentiment was inked with BetterPress Black ink onto Cotton card.

I added black dots with a black Micron 08 pen for some fun details.  Sparkle was added with a few gem stickers!

This next card features the Faceted Petals Embossing Folder of the Month.

I inked up white cardstock with the same blue inks in an ombre pattern before I embossed it with the Faceted Petals embossing folder.  This time I inked up the Take Flight butterfly with Tuscan ink.  I used the coordinating stencils to add shades of blue ink to the butterfly.

I chose another sentiment included with the Take Flight Betterpress of the Month.  After I die cut it with the coordinating die, it was popped up with foam tape strips.

I added sparkly gem stickers for some fun bling!

Have you ever looked into all of the monthly Club Kits Spellbinders has to offer?  If not, I really think  you should!  The terms are so flexible and you can read all about them here.

I hope you are staying warm (it's actually sleeting/snowing here in N. Texas!).  It's a great day to be in the craft room!  Thanks so very much for stopping by!

Thank you for using my affiliate links to shop (never any additional cost to you)!

Sunday, December 29, 2024

Sweet "Love You" Stitched Card

Hello crafty friends!  Well, evidently December got the best of my schedule!  LOL!  I totally spaced on photographing and sharing this card I made with Spellbinders' December Stitching Die of the Month!

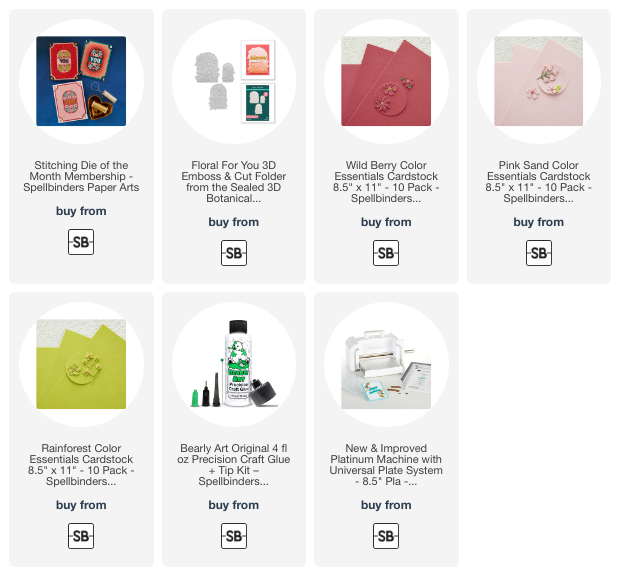
The large panel die of the Stitched Notch Corner Card (December Stitching Die) was die cut from Wild Berry cardstock.  I did the super easy stitching with DMC 335.

I die cut the letters, flowers and leaves dies from Wild Berry, Pink Sand, and Rainforest cardstocks.  I have all of the cardstocks linked in the list below.

I stitched the flowers with the same DMC 335 thread.  I die cut the solid flower die twice more for the four flowers in the corners.  I used a ball tipped stylus to add shape to the flowers.

I die cut white cardstock with the outer die from the Stitched Notch Corner dies and then decided I wanted and embossed texture in the center of the stitched panel.  Looking through my embossing folders, I saw the gorgeous Floral For You 3D Emboss & Cut Folder (embosses and die cuts in one pass!) and knew the middle sized one would be perfect!  (I just saw that this set is currently ON SALE at a fabulous price as of this date.)

Have you checked out Spellbinders' Club Kits?  There is truly something for everyone and it's a great way to try something new for 2025.  Good to know:  You can cancel any time.  The window for signing up for the Club Kits reopens on January 6!

Thank you for using my affiliate links to shop (never any additional cost to you)!

Sunday, October 6, 2024

Spellbinders October 2024 Club Kits -- Simple & Quick Holiday Cards

 Hello!  Today I'm sharing my cards that feature two of the Spellbinders' October 2024 Club Kits.  I've used the Stitching Die and the 3D Embossing Folder Club Kits.  This month's stitching die is so easy and very quick to finish that I created two cards!

This first card features most of the dies included in the Merry & Bright Cloche Stitching Die Kit.

I embossed white cardstock with the beautiful Joyful Candy Canes 3D embossing folder of the month.

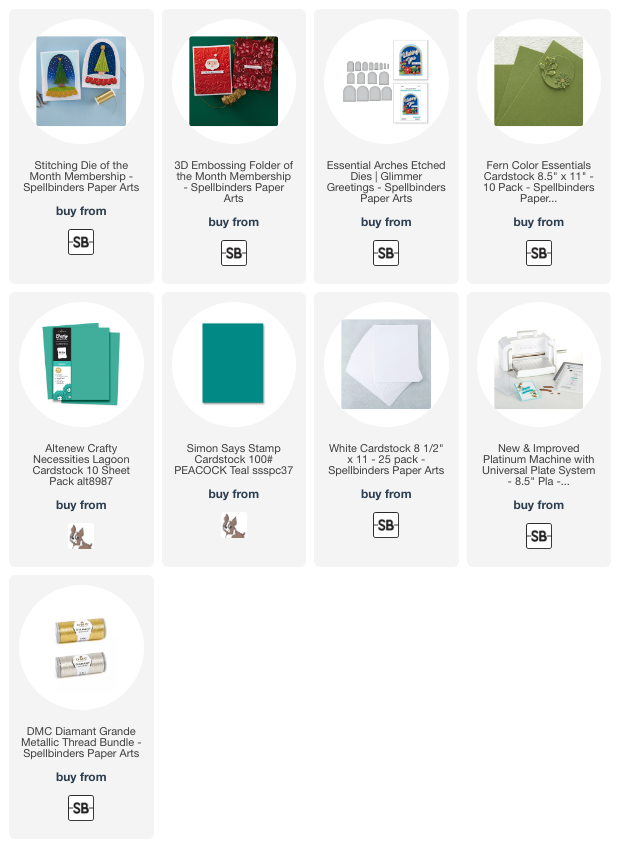
I die cut teal and white cardstocks with the dies in the Merry & Bright Cloche stitching die set of the mont.  The quick and easy stitching was done with white Coton Perle thread.  I used six strands of DMC 801 to stitch the trunks.

There are two sentiments in the Merry & Bright Cloche to choose from to add with the included oval die too!  I added coordinating gem stickers to the tree for some pretty sparkle.

My second version uses the Merry & Bright Cloche tree dies and the other sentiment that's also included.

For the background layers, first I die cut an Essential Arches die from an A2 sized piece of white cardstock.  Then I put the two pieces into the Joyful Candy Canes 3D embossing folder and ran it through my Platinum machine.

The Merry & Bright Cloche tree is stitched with silver DMC Diamant Grande thread.

I've included the available cardstock colors I used in the list below.  This time I've added some silver gems to the tree.

If you've ever thought of trying the stitching dies, this month would be a good one to get started on!  The clubs have very flexible rules and you can always cancel at any time!

Thank you so much for stopping by!

I so appreciate your using my affiliate links to shop (never any additional cost to you)!


Friday, September 6, 2024

You Brighten My Day -- A Stitched Sunflower and Embossed Background

 I'm back today to share my card I made with two of the September 2024 Spellbinders Club Kits!  I love this Stitched Sunflower die set--it was very quick and easy to stitch!  The background features the versatile Autumn Chevron embossing folder--one that I know I will use many more times!

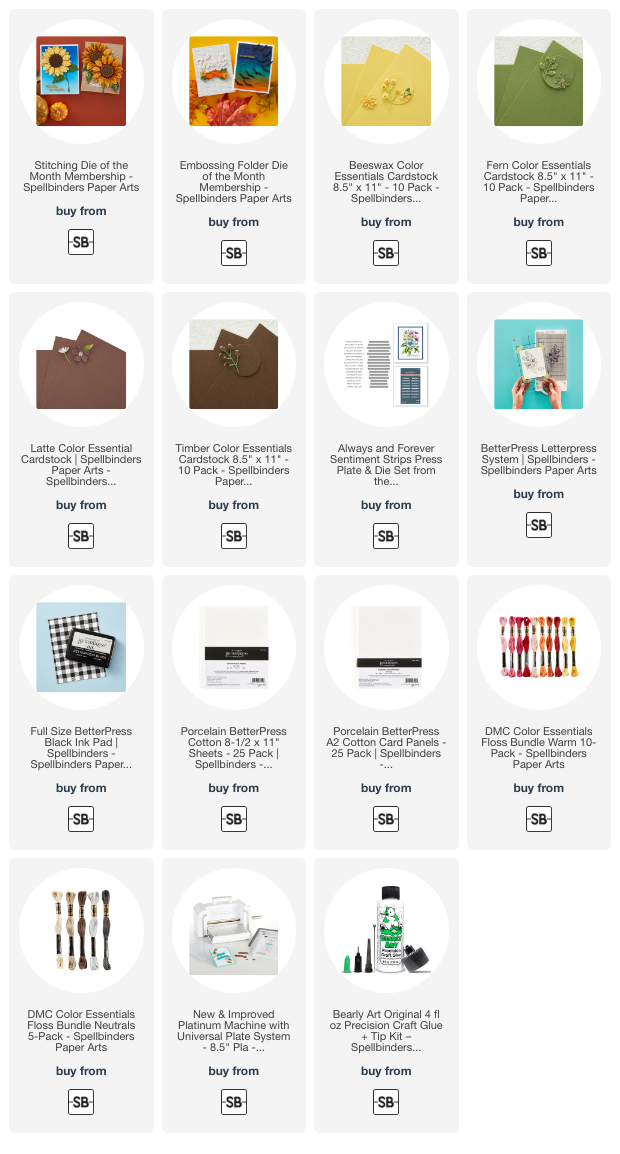
I die cut the Stitched Sunflower dies from yellow and green cardstocks, in the list below.  I used just the outer die to die cut the leaves and petal layer once more.  I love the option of die cutting with the stitching holes, or not!

I used DMC embroidery floss in the color of 726, 905, and 801.  I used all six strands to stitch the pieces.

I adhered the brown cardstock that was embossed with the Autumn Chevron embossing folder to my A2 card base.

The sentiment is from the Always and Forever Sentiment Strips BetterPress Letterpress plates.  This press plate is one piece and the die cuts all of them out in one pass.  I love having the extra sentiments to pull out when needed!! 

I love this card, and hope you've been inspired too!  The Spellbinders Club Kits have many options with lots of flexibility too and I hope you'll check out all of the details.

Thank you so much for stopping by.  I hope you have a  wonderful and crafty weekend!

I know you have many options for shopping and I so appreciate you using my affiliate links (never any additional cost to you)!
Saturday, July 6, 2024

Getting Started On Christmas Cards -- Stitching and Embossing

Hello!  Today I am sharing my card that features two of Spellbinders July Club Kits.  I've used the Stitching Die of the Month along with the Embossing Folder of the Month and am happy to have a card to add to my Christmas card stash for later this year!

To get started, first I die cut the Stitching Die (called Stitched All Wrapped Up) pieces from teal green cardstock.  Then I stitched the pieces with Diamante Grande silver thread.

Have you stitched with metallic thread and found it difficult to work with?  I thought of adding tape runner to the back of the piece being stitched and as I made the stitches, I pressed the thread into the adhesive on the back!  Maybe you've thought of this, but I just now did!  This worked great to keep that fiddly thread in place!  It looked like this:

When I was finished stitching, I adhere the bow pieces together with glue.  Next I embossed white cardstock with the Embossing Folder of the Month, Hexi Snowflake.  I trimmed it to A2 size and glued it to a card base.

The sentiment is hot foiled in silver and is from the Wonderful Winter Sentiments Glimmer set.  I added some silver metallic pearls for a bit more shine!

Be sure to check out more of Spellbinders Club Kits to see if you would like to try one--they can be cancelled at any time!  Thanks so much for stopping by today!  I hope you have lots of crafty fun this week!

Thank you for shopping with my affiliate links (never any additional cost to you)!

Tuesday, May 7, 2024

Hello, Sweet Friend!!

It's time for the latest Spellbinders Club Kits for May!  My card features two of the May Club Kits:  Stitching Die of the Month and the Embossing Folder of the Month!

First I embossed white cardstock with the Latticework embossing folder.  Before I adhered it to my A2 card base I added some pretty metallic gold splatters.

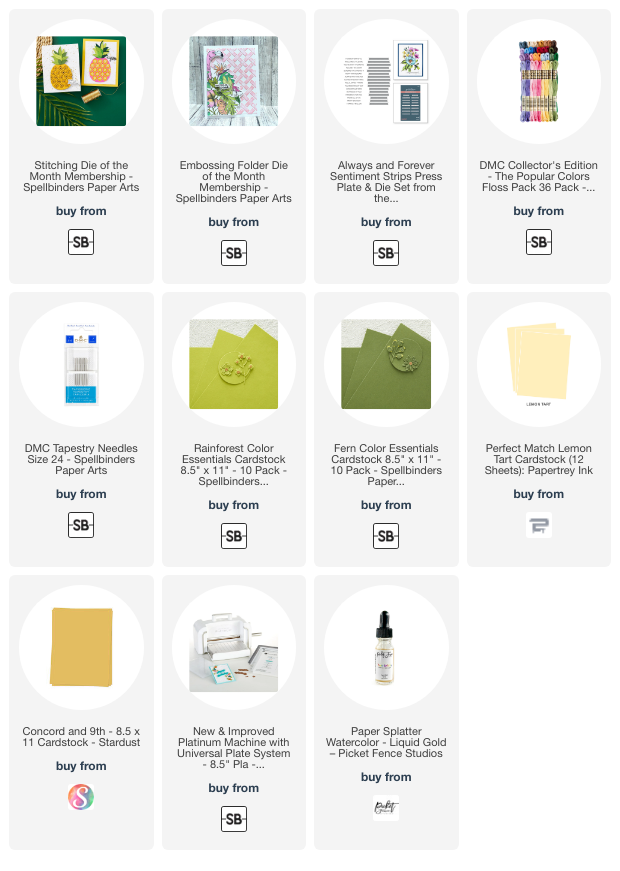
I die cut all of the pieces of the Stitched Pineapple from colored cardstock.  The colors are in the list below.  After stitching the base layer with six strands of yellow DMC embroidery floss (color #307), I adhered the layers together with glue.

I attached the pineapple to the card with foam tape.  Then I added coordinating gem stickers to the centers of the stitching.

I thought this sentiment from the Always and Forever Sentiment Strips Press Plate & Die set was absolutely perfect to go with the pineapple!  (The nice thing is that this set is one Press Plate to create several sentiments at once and die cut all together!  I just chose one that I had saved to use later.)

Be sure to check out all of the details of the Spellbinders Club Kits.  There are so many options to choose from!

Thank you for stopping by today!  I hope you have an awesome week!

Thank you for using my affiliate links to shop (never any additional cost to you)!

Monday, April 15, 2024

No Stitching Floral Card with Spellbinders Stitching Die of The Month

 Today I'm sharing my card I made from Spellbinders April Stitching Die of The Month and the Embossing Folder of the Month clubs.

This month I decided to share how the stitching dies make a beautiful card, even with no stitching!  What do you think?

I embossed Fruit Punch cardstock with the April embossing folder called Faux Stitched Petal.  After I trimmed it to 4-¼" x 5-½" I glued it to an A2 card base.

Then I die cut the flowers and leaves the Stitching Die of the Month from colored cardstock.  All of the cardstocks are linked in the list below.  I die cut the embroidery hoop from white textured cardstock and brown cardstock I have in my stash.

It was easy to assemble the hoop and flowers with glue.  I decided to add just a simple French knot to the center of each flower.  I used six strands of yellow embroidery floss for each knot.  Then I adhered all of the elements to the card with glue and popped up each flower with a foam square.

It was that easy to make!  Be sure to check out the details of the April clubs over at Spellbinders.  You can choose one club to join or several during the signup window of the 6th through the 27th.

Thank you so much for stopping by.  I hope you have a wonderful week!

Thank you for shopping with my affiliate links (never any additional cost to you)!

Monday, February 19, 2024

Spellbinders February Stitching Die of The Month -- A Beautiful Floral Card Front

Hello crafty friends!  Today I'm sharing my card that features the Stitched Floral Focal Card Front die set.  This is Spellbinders' February stitching die of the month and is so beautiful.
While I've added stitching to this card, the die set would be just as stunning without stitching!

I die cut the Stitched Floral dies from green, yellow, and teal cardstock.  Then I used a couple of coordinating teal inks to add shading to the flower portion.

I chose a few different green shades of embroidery thread to stitch the outer portion.  I used six strands of the thread on the flower portion and three strands of each color for the flower center and the leaves.

To adhere the finished pieces to my A2 card front I used liquid glue behind each stitched portion of the outer layer.  I added thin foam tape to the flower pieces.

To finished I stamped a sentiment from the Hummingbird Sentiments in black ink, added foam tape squares and adhered it to the card.

I have several other ideas for using these February stitching dies and hope to have time to try them out.  Be sure to check out all of the details of Spellbinders' Club Kits to see what may interest you!

Thank you for using my affiliate links to shop (never any additional cost to you)!