Showing posts with label stitching die. Show all posts

Tuesday, May 7, 2024

Hello, Sweet Friend!!

It's time for the latest Spellbinders Club Kits for May!  My card features two of the May Club Kits:  Stitching Die of the Month and the Embossing Folder of the Month!

First I embossed white cardstock with the Latticework embossing folder.  Before I adhered it to my A2 card base I added some pretty metallic gold splatters.

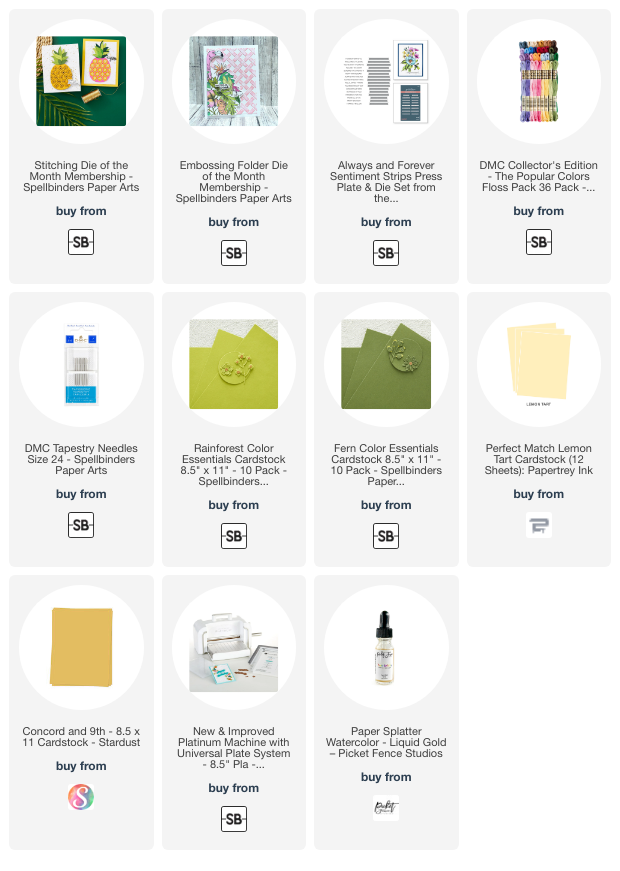
I die cut all of the pieces of the Stitched Pineapple from colored cardstock.  The colors are in the list below.  After stitching the base layer with six strands of yellow DMC embroidery floss (color #307), I adhered the layers together with glue.

I attached the pineapple to the card with foam tape.  Then I added coordinating gem stickers to the centers of the stitching.

I thought this sentiment from the Always and Forever Sentiment Strips Press Plate & Die set was absolutely perfect to go with the pineapple!  (The nice thing is that this set is one Press Plate to create several sentiments at once and die cut all together!  I just chose one that I had saved to use later.)

Be sure to check out all of the details of the Spellbinders Club Kits.  There are so many options to choose from!

Thank you for stopping by today!  I hope you have an awesome week!

Thank you for using my affiliate links to shop (never any additional cost to you)!
Friday, March 22, 2024

Just Wanted To Say... -- Spellbinders Stitching Die Of The Month

Happy Friday friends!  Today I'm sharing my fun card featuring Spellbinders March Stitching Die of the Month called Stitched Read & Sip!  If you've ever thought about trying a stitching die, this is a good one to try.  It has minimal stitching and would also be beautiful without any stitching!

All of Spellbinders monthly clubs, including the Stitching Dies of the Month have a window of time to enroll and receive that month's featured product.  This month's "window" is March 6-27.  The only time it might not be available is if the item has sold out for the month.  Also, you can cancel at any time.  Check out all of the specific details here.

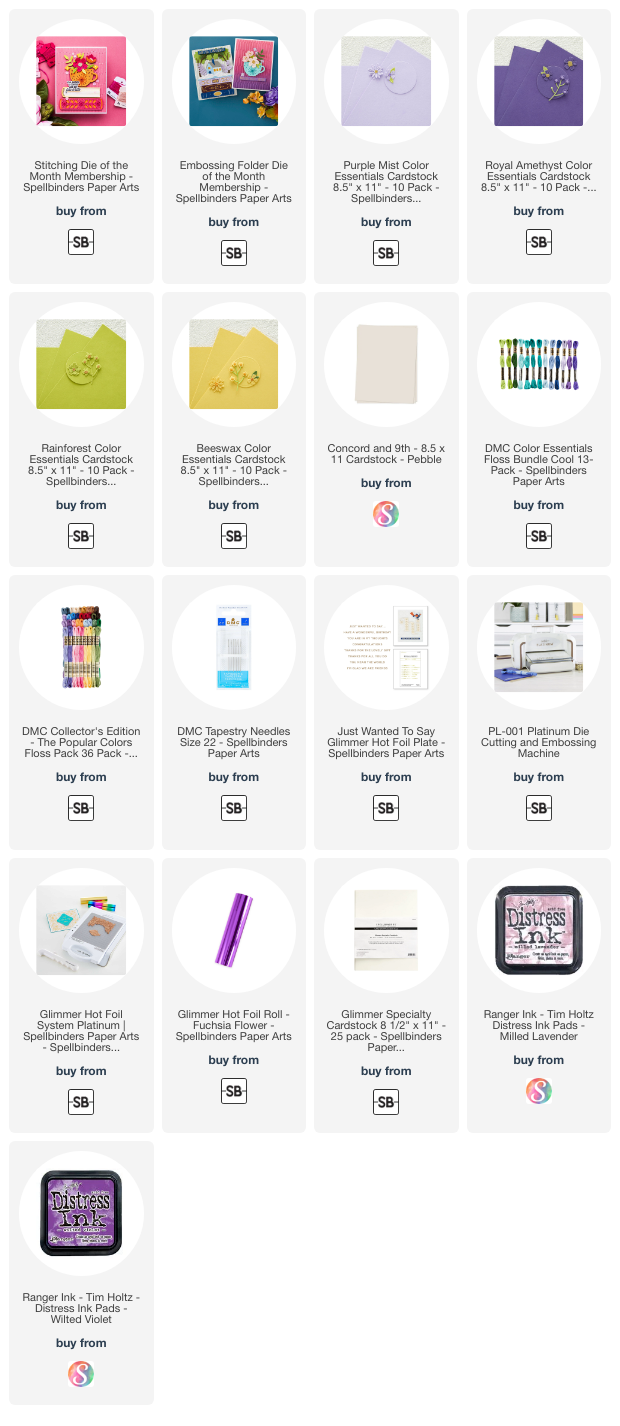
I die cut the Stitched Read & Sip from purple, green, yellow, and neutral cardstocks.  All available cardstocks are linked in the list below.  I added a bit of shading to the cup and flowers with coordinating ink.

Then I used purple and green DMC embroidery floss for the quick stitching.  The thread on the book is one that I had in my stash that I saved years ago when I used to do counted cross-stitch a lot.

To adhere the stitched layers to the base layer, I just put glue on the back of the stitching and aligned it with the base piece.  It gives instant dimension!

I embossed a white cardstock panel with the Checkered Scallops embossing folder.  This is the March Embossing Folder of the Month.  I embossed all but about ¾" of the bottom edge of the panel.  Then I glued it to an A2 card base.

I adhered the Stitched Read & Sip elements to the card.  I added a sentiment from the Just Wanted to Say Glimmer set that I foiled with Fuchsia Flower Glimmer Foil.  For easy foiling I used Spellbinders Glimmer Specialty cardstock.

I hope I've inspired you today to try these fabulous stitching dies.  It's really fun and makes a very special and unique card to give.  Thank you for stopping by!

Thank you for shopping with my affiliate links (never any additional cost to you)!

Sunday, January 7, 2024

Spellbinders January Stitching Die of The Month -- A Beautiful Butterfly

Hello crafty friends!  I'm happy to say that I will be sharing the Spellbinders Stitching Die of The Month with you this year!  

Are you familiar with Spellbinders' clubs?  They have no less than 10 different clubs to choose from!  And, there is also a club called the Deluxe Caboodle which includes each of the monthly items at a 60% savings.

There are several other benefits of belonging to a Spellbinders Club.  You can check it all out on their club information page.

Be sure to note that there is a window of time for new subscribers to join.  This month's dates are January 6 to January 27.

--------------------------------------------------------------------------------

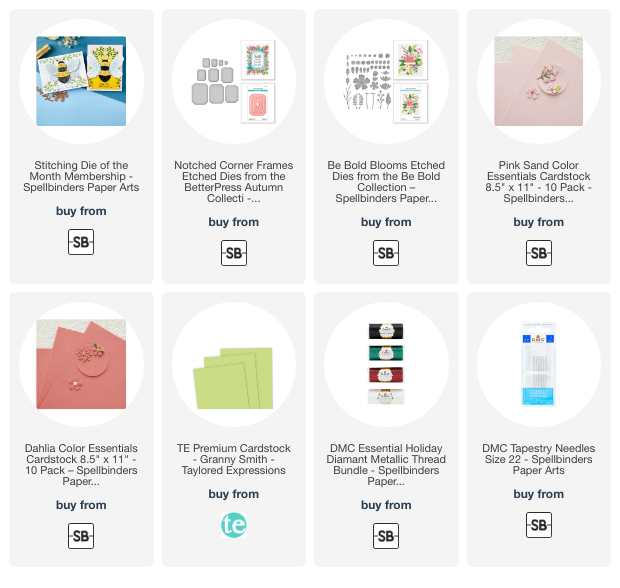
The January 2024 Stitching Die of The Month is this adorable bee!  This die set also includes flower dies to use in your card design!

You may notice that the flowers I used on my card are not the ones included in the set.  Well, I'll share my duh moment with you, but don't tell!  I somehow misplaced the entire set after I die cut the bee pieces.  It wasn't until after I had finished the entire card with other flowers (from the Bee Bold Blooms set) that I found it buried under some other random things!

I'm happy to say that inspired me to get my mess cleaned up!  LOL!  I decided to make my bee in some lovely pink colors, instead of the expected black and yellow.  I did some simple straight stitches and added a few French knots in the center of the stitches that look like flowers.  I used 6 strands for my stitching with DMC 3326 and DMC B5200.  I used two strands of DMC D5200 for the wings.

I die cut two panels from the Nested Notched Corner Frames dies for my card layers.  The sentiment is hot foiled (from a set I just discovered has been retired).  There are many sentiments that would work with this card!

Stitching dies really are fun and if you have not tried them, I would encourage you to try!  It's very basic stitching that is very easy to learn.  Of course, these dies are just a beautiful used without stitching!

Thank you for stopping by today!  I hope you have a wonderful week filled with lots of crafty fun!

Thank you so much for shopping with my affiliate links (never any additional cost to you)!

Saturday, July 9, 2022

A Quick and Easy Birthday Card with Spellbinders Stitched Fanfare Die

 Happy Saturday friends!  Today I'm sharing a super quick and easy birthday card made with Spellbinders new Stitched Fanfare die and the Stylized Happy Birthday sentiment.  This cover die is made to be stitched on with embroidery thread, but I wanted to show you an idea to use it without the stitching!

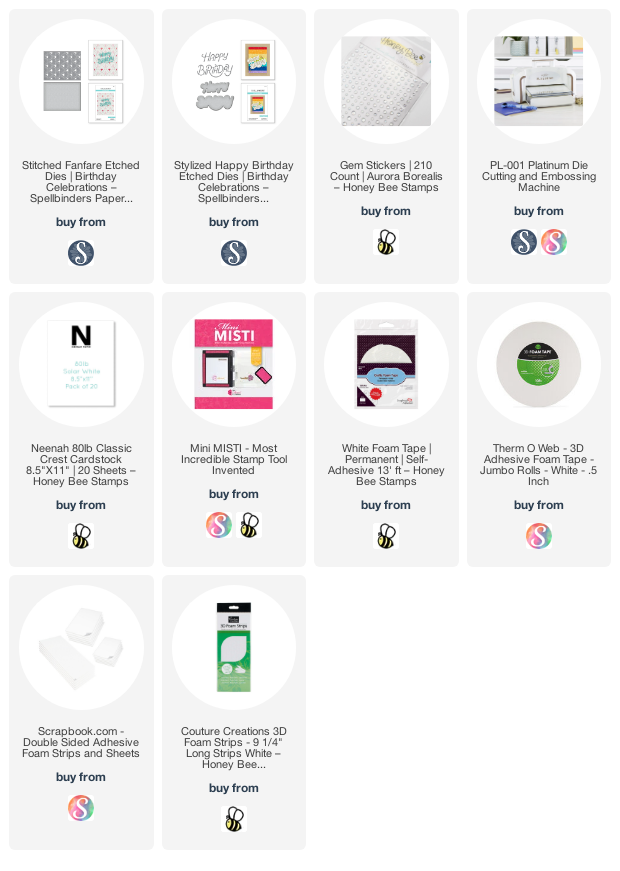
First I added an A2 sized layer of coral cardstock from my stash to my card base.  Then I die cut the Stitched Fanfare die from 110# Neenah cardstock.  I added pieces of foam tape to the back to adhere it to the card.

Then I added small gem stickers to the die cut hole of each section.  This would normally be used when you stitched the die cut, but I love that this can be used in such a pretty way when you don't have time for stitching!

I die cut the Stylized Happy Birthday top layer three times from 80# Neenah.  I glue all of the layers together, then adhered them to the coordinating coral cardstock shadow layer.  I added some foam tape to the back to pop it up on the card.

That's seriously all there is to it!  I want to keep this idea in mind and use a more masculine colored cardstock and maybe enamel dots instead of the gems for a card for the guys!  Thanks so much for stopping by today!  Have a wonderful, crafty weekend!

These are links to the products I've used: