
Today I have a super cute card featuring Rubbernecker Stamps adorable Vitamin Sea Set! I've created this sparkly infinity edge shaker card for even more fun!!

Here are the steps for the shaker portion:
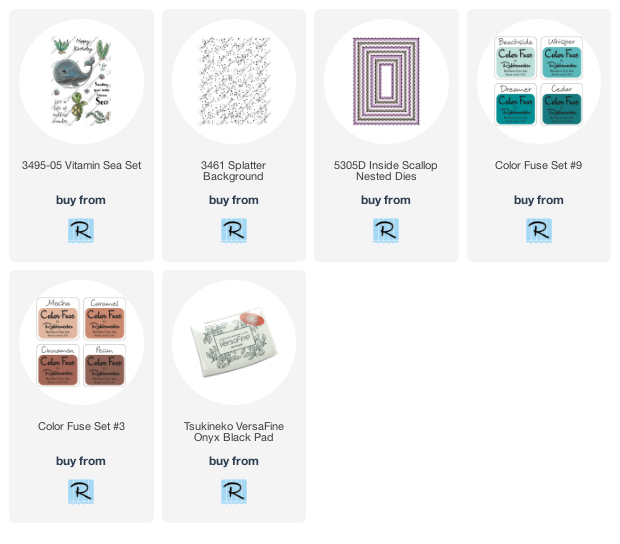
- Use ink blender brushes and Color Fuse #9 inks with the Wavy stencil to create an "ocean like" background. Stencil the darkest color at the bottom of an A2 card panel, working up to the lightest shade at the top. (Pixie Spray on the back of the stencil will hold it in place.)
- Trim about 1/8" off of one side and the top or bottom of the stenciled piece. This will allow the panel to lay flat in the shaker pocket.
- Place the stenciled piece in the shaker pocket. Remove the adhesive backer from both sides and the bottom. Fold over to adhere. These A2 Shaker Pockets make it SO easy to create shaker cards!
- Pour in the shaker bits (however much, or little, you want) and fold the top flap over to adhere.
- Add strong double-sided adhesive to the back of the shaker and adhere to an A2 card base.

The card details:
- Stamp the images from the Vitamin Sea set in Copic safe ink. Color all of the images. I used these Copic colors: whale: C5, C3, C1, W3, W1; turtle: G99, G46, YG63, G94, G43; sea plants: G07, YG17, YG25, YG03, E57, E31.
- Fussy cut the images.
- Create a "sandy" sea floor by coloring a strip of scrap cardstock with E31 Copic marker.
- Ink up the Splatter Background stamp set with Pecan ink (Color Fuse Set #3). Randomly stamp it over the strip for a look of sand.
- Trim the sand strip to 4-¼" and use liquid glue to adhere to the card.

- Stamp the sentiment from the Vitamin Sea set in Versafine black ink. Use a Nested Inside Scallop die to cut it out. First place the top of the die near the top of the sentiment. Run it through your die cutting machine. Reposition the die by lining up the scallops on the edge with the bottom edge of the die near the bottom of the sentiment. Die cut it.
- Adhere the sentiment and all of the images to the shaker with liquid glue.
- Adhere a few crystal dew drops above the turtle to emulate air bubbles.

Thanks so much for stopping by! Have a wonderful, and crafty, week!
No comments:
Post a Comment
Thank you so much for using my product links to shop. Some of the product links I've provided may have what is called an "affiliate" link. By using my links to purchase products, I may earn a bit of a commission, at absolutely no additional cost for you. Thank you for supporting my blog.