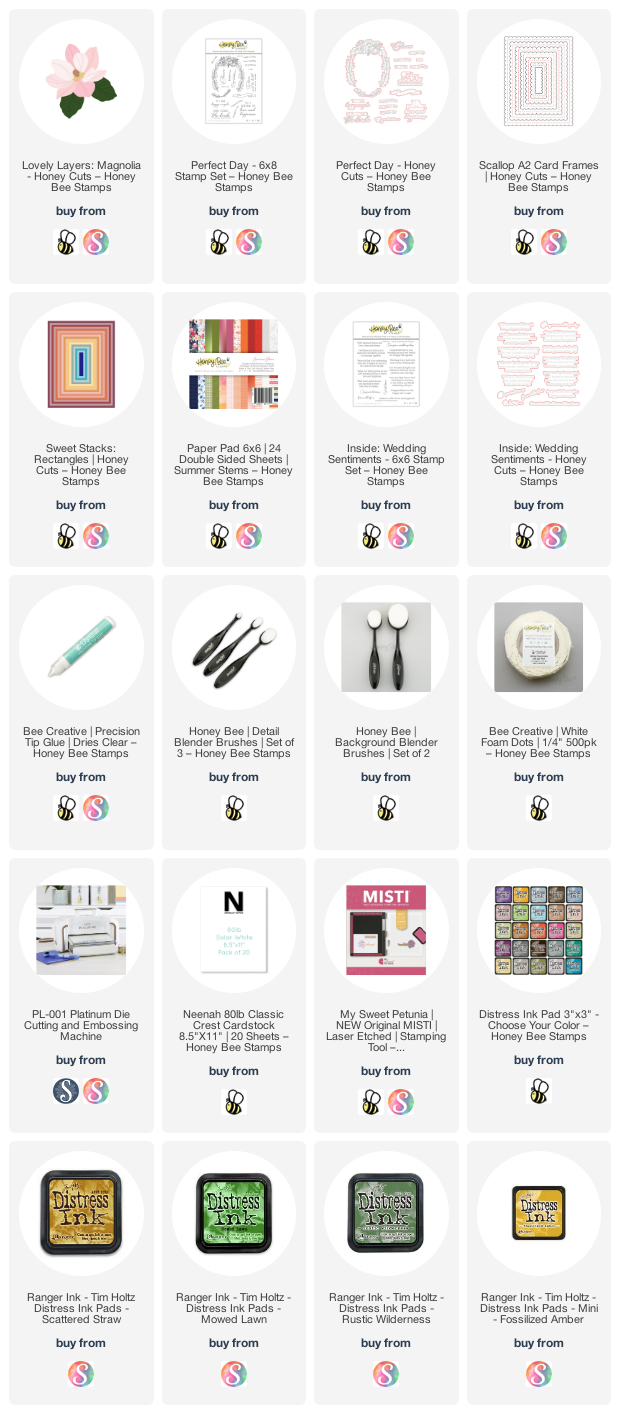
I created an A2 card base and layered on white cardstock die cut with the largest Scallop A2 Card Frames die. Then I die cut some patterned paper from the Summer Stems paper pad with a Sweet Stacks: Rectangles die. I adhered the layers with Bee Creative glue.
Next I die cut all of the Lovely Layers: Magnolia dies two times from 80# Neenah. I used ink blending brushes to add some Scattered Straw Distress ink to the centers of each layer. I colored the stamens and carpels (yes I looked that up! LOL!) with Fossilized Amber and Mowed Lawn Distress Inks.
Before I finished the card front, I stamped the sentiment from the Perfect Day stamp set with Versafine Onyx Black ink and used the coordinating dies to cut them out. I added foam tape to the back to adhere them to the card.
For even more dimension in the magnolia blossoms, I placed foam dots and squares between the magnolia layers and adhered them to the card with glue. After I blended on Mowed Lawn and Rustic Wilderness Distress inks onto the leaves, I tucked those under and around the flowers with glue.
This newest Lovely Layers set is definitely at the top of my favorites! What do you think?
If you'd like to check out the Instagram hop for more awesome inspiration from the Perfect Day release, click HERE. There will be two $50 gift certificates to the Honey Bee shop chosen from commenters on the Instagram posts. I hope you'll join us!
Thank you for shopping with my links: (affiliate links--never any extra cost for you!)


No comments:
Post a Comment
Thank you so much for using my product links to shop. Some of the product links I've provided may have what is called an "affiliate" link. By using my links to purchase products, I may earn a bit of a commission, at absolutely no additional cost for you. Thank you for supporting my blog.