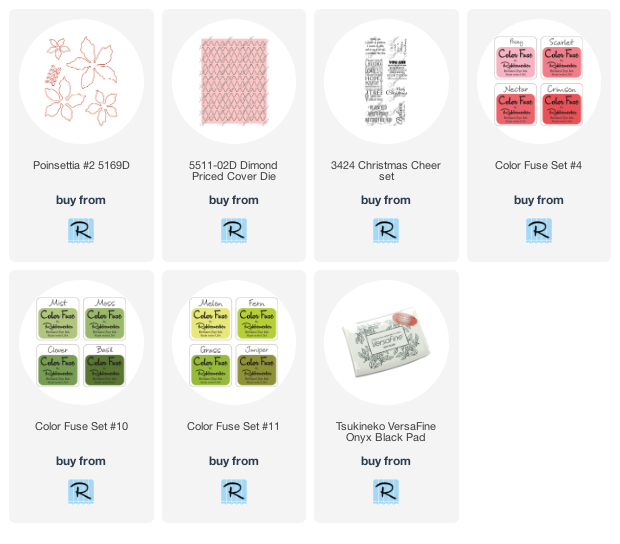
I love getting a head start on my holiday cards! So we all at Rubbernecker Stamps are sharing holiday card inspirations to help get those ideas flowing! Today, my card features the gorgeous Poinsettia #2 die set.
First I die cut the Poinsettia #2 dies two times from Specialty Cardstock. I love the subtle texture this paper gives! I used small ink blender brushes and sponge daubers to color the petals using Color Fuse inks from Set #4 and Set #10. I applied Crimson ink at the tips of the petals, working towards the centers with each lighter shade. I colored the largest petal with Basil ink.Next I used flower shaping tools and a foam pad to add shape and dimension to each layer. I colored the little flower centers with Fern ink from Set #11, and then shaped them with a tiny balled stylus.
To jazz up the flowers even more, I added splatters with a paintbrush and ink using a drop of the re-inker for Crimson and splatters of Basil re-inker on the green petals. Next I mixed a small scoop of Confetti White Perfect Pearls with water and splattered that over all. I set the pieces aside to dry.
I created my card base by stamping the greeting from the Christmas Cheer set with Versafine Onyx Black ink onto white 80# cardstock. Then I trimmed it to 4" x 5-¼". Next I ran the piece through my die cutting machine with the Diamond Pierced Cover die.
I really do like being matchy-matchy (LOL!) so I made a coordinating base layer by swiping the Scarlet ink pad along all four edges of an A2 white card. I adhered the layer to the pierced layer with glue. I glued my flower layers together and adhered them to my card. I added a few pearl stickers here to the card for some extra bling!
Thank you so much for stopping by and I hope you've been inspired to get started on your holiday cards!
Product links for my card supplies:


Really gorgeous, Carol! Love the pretty poinsettias, but they are really the next level with the pierced plate!
ReplyDelete