Showing posts with label Autumn. Show all posts

Wednesday, October 8, 2025

Thank You For Making My Heart So Full

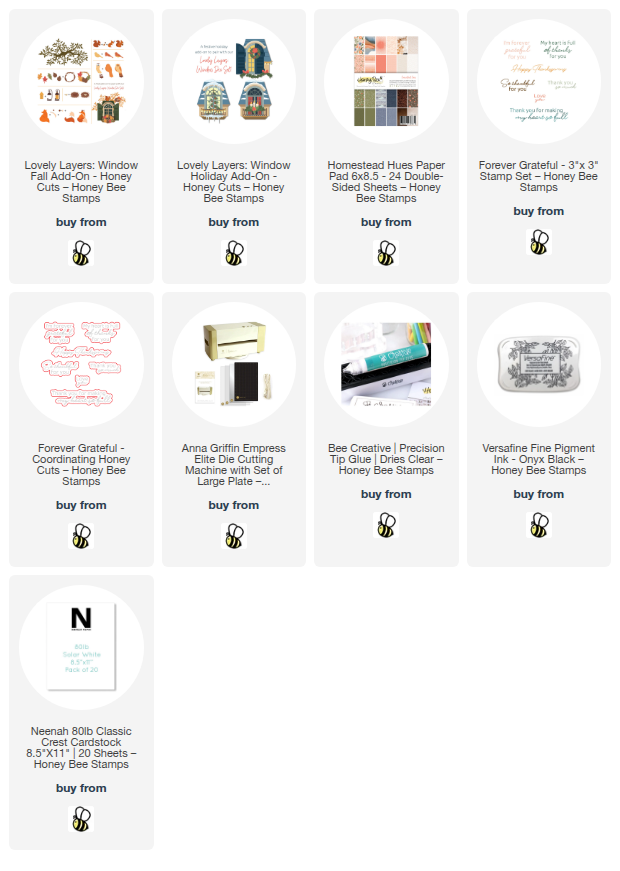
Happy Wednesday crafty friends!  Today I've used Honey Bee Stamps beautiful Lovely Layers: Window Fall Add-On and the Forever Grateful sentiments for my autumn card.  These are part of the awesome Hello Harvest release!

I love how the new Lovely Layers: Window Fall Add-On also coordinates with the Lovely Layers: Window AND the Lovely Layers: Holiday Add-On!  I've used bits from the older two sets to complete my window scene.

Do you ever struggle creating die cut cards and what colors to use?  What totally works for me is to think about a color palette.  That was a no-brainer for this autumn card. Once you have a color palette in mind just look through your colored cardstocks and choose the colors that you like.

I proceeded to die cut the pieces of colored cardstock with the dies in the window, the Fall Add-On, and the Holiday Add-On.  (I have to say that purchasing the Anna Griffin Empress Elite die cutting machine was a TOTAL game-changer for die cut lots of dies!  The magnetic mat means no more taping down the dies and the machine is electric.  I know it is pricey, but well worth the cost.)

The only piece I cut from white cardstock was the large leafy branch that's in the new Lovely Layers: Window Fall Add-On set.  I used my Copic markers to quickly color the branch.  (This branch is so pretty and is large!  It could easily be cut into 2-3 pieces, if needed.)

I used glue and referred to the Layering Guides to adhere the layers of each piece.  I tied a piece of twine into a bow and glue it to the wreath.

This is a 5" x 7" card and I cut a piece of pretty patterned paper from the Homestead Hues paper pad to fit the card base.  I wanted to use the entire branch (I love it!) so I tucked it and angled it around the left side of the window and used glue to adhere it in place.

Next I added foam tape to the back of the window and cut a few very narrow strips of the foam to go behind some of the branches.

The sentiment is from the new Forever Grateful stamp set.  After I stamped it in black ink I cut it out with the coordinating die.  A couple of foam strips adheres it to the card.

I do love making autumn themed cards!  Do you?  Be sure to check out the Fall Add-On set, if you haven't yet.  It's awesome!

Thank you so much for stopping by!  I hope your day a great one!

Thank you so much for using my affiliate links to shop (never any additional cost to you)!
Thursday, August 22, 2024

A Beautiful Stitched Pumpkin with Flowers by Poshta Design

I'm back with another adorable stitched project for Poshta Design's August 2024 release!  On this project I've used the Harvest Pumpkin Autumn Floral Details II Die.  This coordinates with the previously released Harvest Pumpkin Die.  Yes there is another die set that also coordinates with this!

I used more beautiful felt and thread from the Autumn Color Story felt collection for this one.  To add more interest to the details, I stitched a chain stitch for the vine.  If you aren't sure how to do a chain stitch, just do a search on the internet and you will find helpful sites for this.  It has been a while since my embroidery day, so I needed just a little reminder!

Please be sure to stop by the Poshta Design blog to see more awesome sets in this release!  Don't forget to leave a comment over there for your chance at a $50 store credit prize!!

Thank you for stopping by, and I hope I've inspired you with my project today!

Wednesday, August 21, 2024

Guest Designing for Poshta Design!

 I'm thrilled to be a guest designer for Poshta Design, creator of beautiful dies for stitching felt projects!  The August 2024 release will be available on Saturday, August 24 at noon EDT.  I will be sharing projects I've made featuring some of the awesome products in the new release!

I encourage you to check out her blog for lots more inspiration and information about the release!  Also, leave a comment there for your chance to win a prize of a $50 store credit!

My project today features the Just Write Die!

I chose to stitch this cute pencil die with felts, floss, and beads that are in the Autumn Color Story collection.  I added a bead dangle reminiscent of the days when our girls were in school.  It was actually a trendy thing to wrap floss around and around near the top of a pencil and add a dangle of beads to it!   Their decorated pencils were so fun and adorable!

Here's a graphic of the entire Autumn Color Story collection, part of the release available on August 24.

I sure hope you will go check out the Poshta Design blog and leave a comment there for your chance to win!

Thank you for stopping by today!!  I'll be back tomorrow with another project or two!

Monday, November 4, 2019

Pumpkin Spice Season | Art Impressions

Happy Monday friends!  As promised, I'm back this week with another card using the adorable Feast Mode Set!


I wanted to do something a little different for this card, but was stumped at first.  Then I had a thought to look through my drawer that has backgrounds I created, but didn't use.  I found this ink-blended panel and thought the colors were just right for an autumn card!  I made this background piece quite a while ago and am pretty sure it's inked with Mowed Lawn and Fossilized Amber Distress Oxides.  I die cut it with a die from the Oval Double Stitched Dies.

I stamped the cute fox onto Neenah 80# cardstock and colored it with my Copic markers.  I then fussy cut it out.  However....I did not cut the leaves that are floating in the air!  Instead, I put the panel in my MISTI and placed the fox stamp where I wanted my colored image to be.  Then I inked only the leaves that aren't connected to the stamp and stamped it directly onto the inked piece.  Since the background is in yellows and greens, I knew that the Copic colors I used would look just fine to color in the leaves.  (All the marker colors are listed below.)  I popped up the fox with some thin foam tape and adhered him to the matted oval.  I used an older embossing folder for the embossed layer that is on a top-folding A2 5-½" x 4-¼" card base.


I stamped the sentiment in Gathered Twigs Distress Oxide ink and die cut it using a tag from the Tag Stitched Dies.  I also die cut the little reinforcer in the same brown and blue paper I used for the card layers and adhered it to the tag.  I added a little white brad to complete it and popped it up with some foam tape.


Thank you for stopping by!  I always appreciate it so much!


Copic markers:
BF09, BG11, BG15, BG32, E08, E09, E17, E18, E19, E25, E29,
E40, E41, E42, E43, E95, T0, T2, Y17, Y18, Y21, Y26,
YG01, YG05, YG17, BY23, YG25, YG63, YG67, GY95, YG97,
YR14, YR18, YR24, YR27

Supplies:
Distress Oxide ink:  Gathered Twigs, Mowed Lawn, Fossilized Amber