Showing posts with label Sweet Stacks Honey Cuts. Show all posts

Friday, August 27, 2021

We Are Better Together | Honey Bee Stamps

 Hi friends!  My card today is part of an Instagram hop to celebrate Honey Bee Stamps Autumn Splendor release.  There are several new stencils in this release and today I've used the Art Deco Patterns Stencil set (3 included).  What I really love about this stencil set is that it coordinates with the new Stacking Art Deco Labels Honey Cuts!

I love inking up stencils and then using texture paste to enhance the inking!  I sprayed the back of the stencil with Pixie Spray and placed it onto some 80# Neenah card stock.  Then  I added Squeezed Lemonade, Fossilized Amber, and Carved Pumpkin Distress inks with a blender brush.  I left the stencil in place and wiped the ink off with a dry towel.  Then I spread some white Glitz Glitter Gel through the stencil for some fun sparkle!  (Be sure to clean up right away!)

When the stenciled piece was dry, I die cut it with the 2nd largest Sweet Stacks: Rectangles die.  I used Bee Creative glue to adhere it to an A2 card base.

Next I used the 3rd largest Stacking Art Deco Labels Honey Cuts and cut out some 80# Neenah.  Then I added Mowed Lawn and Tumbled Glass Distress ink for the background.   I added foam tape to the back and adhered it to the card front.

Next I stamped the cute images and sentiment from the Better Together stamp set with Intense Black ink.  After I colored them with my Copic markers, I used the coordinating Honey Cuts to cut them out.  I added foam tape to the rabbit, mouse, and sentiment and adhered them to the card.  I adhered the other images with Bee Creative glue.

For some finishing touches, I used a white gel pen to add details to several images.

From the stenciling to coloring the adorable images, this was so fun to create!  I hope you'll pop over to my Instagram and join the hop.  There will be two $25 gift cards to the Honey Bee shop given away to two of the commenters!  Plus you'll get to see lots more amazing inspirational cards from the team!  Thank you so much for stopping by!

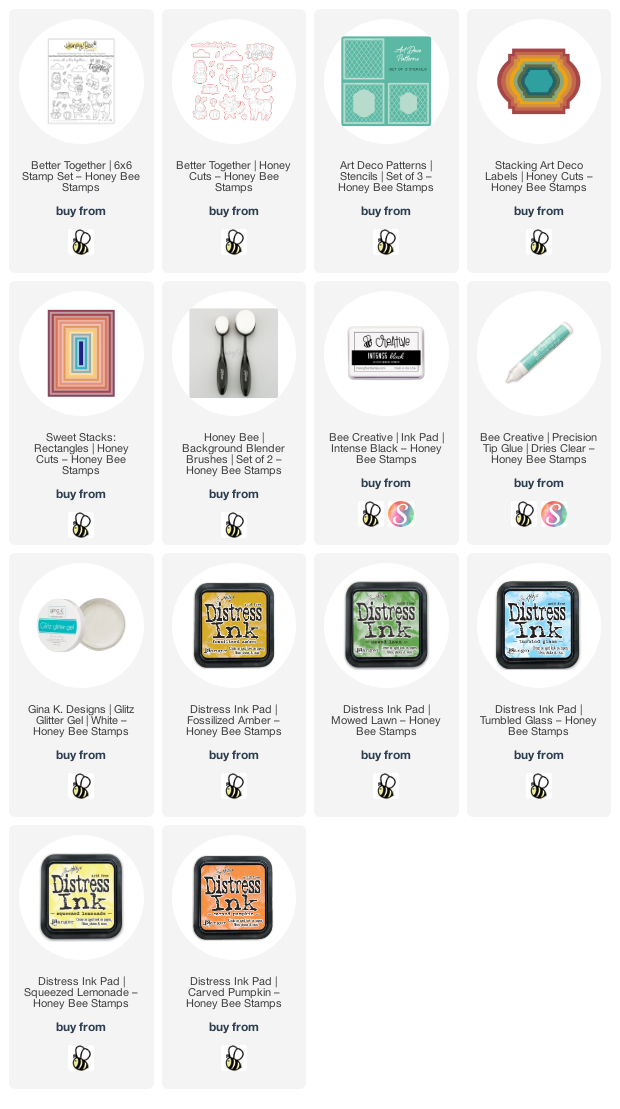
Products I used for today's card:
Wednesday, August 25, 2021

Fun With Sweet Stacks Dies & Scattered Leaves Stencils | Honey Bee Stamps

Hello crafty friends!  Today I have two cards that use several of the new items from Honey Bee Stamps Autumn Splendor release! I used the new Scattered Leaves stencil set and was able to create two cards from the one inked and textured piece!  

First I created my stenciled panel.  I inked three different Distress Oxide inks through the bottom background Scattered Leaves stencil.  I used Fossilized Amber, Fired Brick, and Mowed Lawn.  Then I positioned the detailed stencil of the set and spread some clear glossy texture paste through it.  I set it aside to dry and clean up the stencils and my tools.

This is an A2 card that I first die cut the gold layer with the largest of the Sweet Stacks: Rectangles (click the product links below for more details).  I love all of the Sweet Stacks!  Then I used the next largest die to die cut some white card stock.  I dry embossed it with the background Scattered Leaves Stencil by running it through my die cutting machine with a rubber embossing mat.  Then I smooshed a bit of my Distress Oxide inks onto my craft mat, spritzed water into them, and added spatters with a paint brush.  I adhered the card layers to my A2 card base with Bee Creative glue.

Next I used the awesome new Sweet Stacks: Circles.  When the stenciled piece was dry, I die cut three circles, keeping the dies as close together along one side as much as possible.  I wanted to reserve as much of the stenciled panel as I could for my next card.  Then I die cut some scrap card stock that I knew up the the Distress Oxides mentioned above.


Next I stamped the sentiments from the Praying Big Time stamp set with Intense Black Ink.  I die cut the large sentiment with the coordinating Honey Cut and die cut it three more times from white card stock.  I adhered the layers together with Bee Creative glue and added foam tape to the back of both sentiments to adhere them to the card.

For this next card I created a fun-sized mini slimline card with a coordinating envelope!

I created my card base by scoring a 6" x 6" white card stock piece at 3".  Then I used the Sweet Stacks: Mini Slimline Honey Cuts to die cut the bottom two layers.  Next I used the next two smaller Sweet Stacks: Mini Slimline to die cut the stenciled piece and some vellum.  I adhered all the layers, except the vellum, to the card base.

I stamped the sentiment from the Thinking of You Big Time stamp set onto white card stock with Fired Brick Distress Oxide.  I left the stamps and paper in my MIST, and then stamped them again, over the first stamping.  I sprinkled on some clear embossing powder and heat set them.  I used the coordinating Honey Cut to to cut the stamped "big hugs" and also three more times from white card stock.  I adhered all the layers together with Bee Creative glue.  After I trimmed the other sentiment with my paper trimmer, I added a thin foam strip to the back.

Next I inked up some scrap white card stock with Fired Brick, Mowed Lawn and Fossilized Amber Oxides and die cut a few flower pieces with the so cute Itty Bitty Fall Flowers Honey Cuts.  I adhered these the the sentiment to the vellum with Bee Creative glue.  Now I could add small pieces of foam tape to the back of the vellum so it won't show through and added it to my card.

I finished up by creating my coordinating envelope with the fabulous Mini Slimline Envelope Honey Cuts!  This die set makes the perfect envelope for all of your mini slimline cards!  It has two flap options--one with rounded corners and another with notched corners.  I die cut the pieces from Neenah Desert Storm card stock.   Then I used the detailed Scattered Leaves stencil to ink some Ground Espresso Oxide just around the edges.

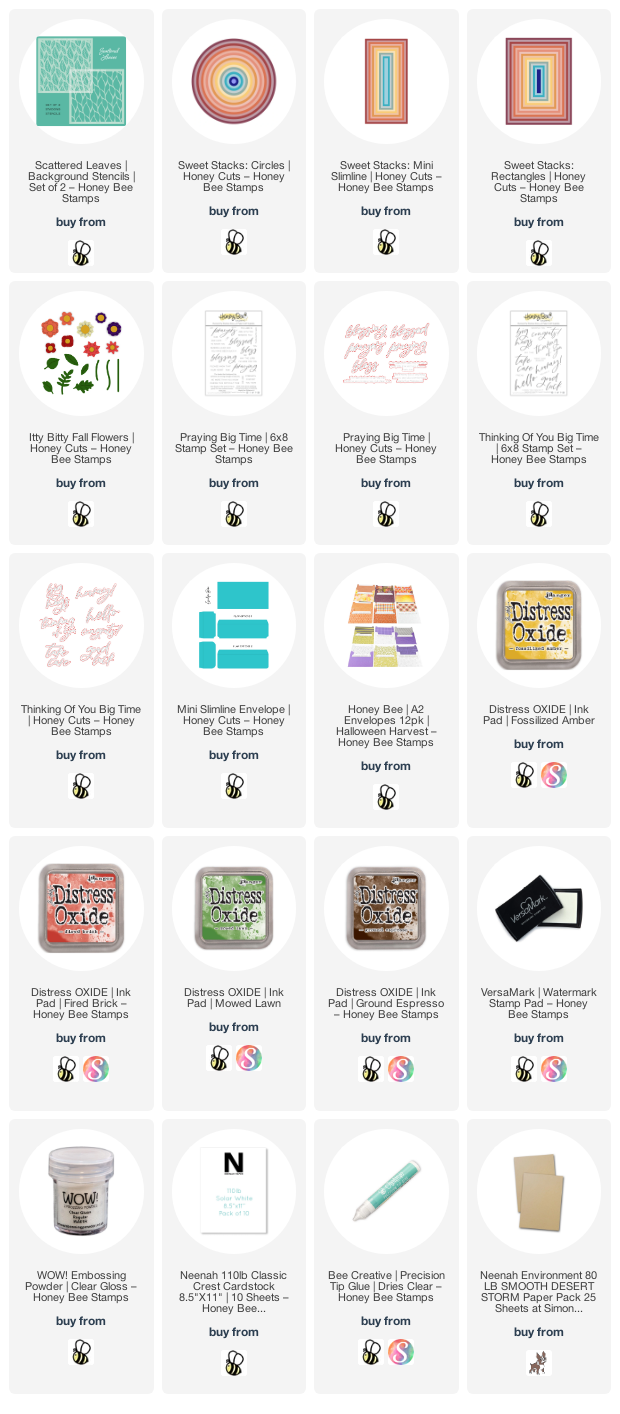
Thank you, if you're still reading, for hanging through my somewhat long post!  I always so appreciate you stopping by!  Have a great and crafty rest of your week!