Showing posts with label Itty Bitty Fall Flowers. Show all posts

Wednesday, April 20, 2022

Hope Your Day Blooms With Happiness!

Hello crafty friends! Today I'm sharing a card featuring some Honey Bee Stamps older, but favorite sets, the Branch and Leaves Honey Cuts and Itty Bitty Fall Flowers. I created a sweet card I can use for a birthday, anniversary, or even a wedding! I used newer products that were in the latest Modern Spring release too! I just love how Honey Bee's sets all work so well together--whether new or old! Read on for the easy card design details--with almost NO coloring! I haven't done that in a while. LOL!

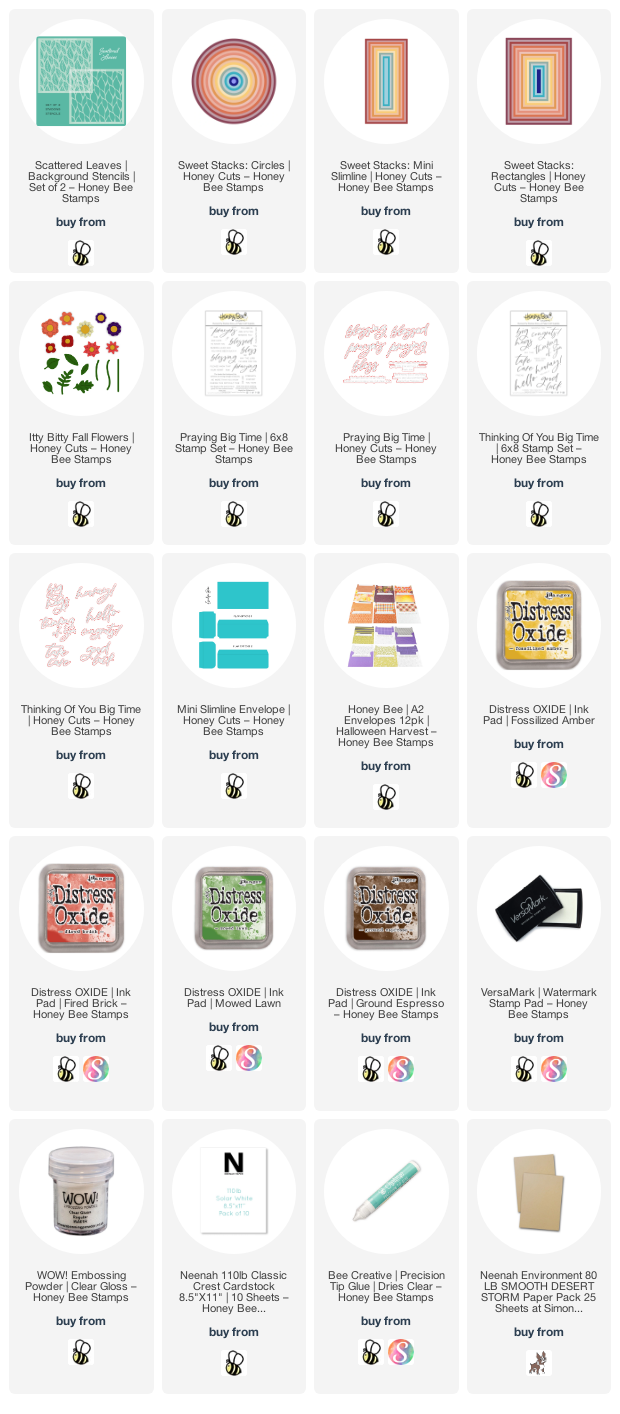
First I created my A2 card base by layering pink cardstock with a piece I die cut with the Spring Leaves A2 Pierced cover plate die that was trimmed to 4" x 5-¼".

Next I die cut two shades of green cardstock with the leaves from the Branch & Leaves die set.  I cut the branch from Neenah Desert Storm cardstock and inked on Gathered Twigs and Ground Espresso Distress Oxide inks with a blending brush.  I adhered the leaf layers together with Bee Creative glue and then glued them to the branch.  I snipped off the end of the branch for it to fit my card.

I die cut two flowers from the Itty Bitty Fall Flowers die set from pink cardstock.  If you use spring colors, these sure don't look like Fall Flowers at all!  I used a stylus from the Flower Shaping Essentials Kit to shape the flowers and then glued them to the branch.  To finish the flowers, I added pink gems from the Hugs and Kisses Gem Stickers set to the flower centers.

The sentiments are from the Bitty Buzzwords: Bloom stamp set and coordinating dies.  I die cut the top layer of "bloom" three times and stacked them up for more dimension.  The other two sentiments are stamped with Intense Black ink and popped up with foam tape.

For a bit of sparkle (that doesn't show in the photos!) I used a clear glitter pen on the flowers and the "bloom" sentiment.  In real life, it adds a very pretty subtle sparkle!!

Thank you so much for stopping by today!  I hope your day will bloom with happiness!

Click the links for more details of the products I've used for this card:
Wednesday, August 25, 2021

Fun With Sweet Stacks Dies & Scattered Leaves Stencils | Honey Bee Stamps

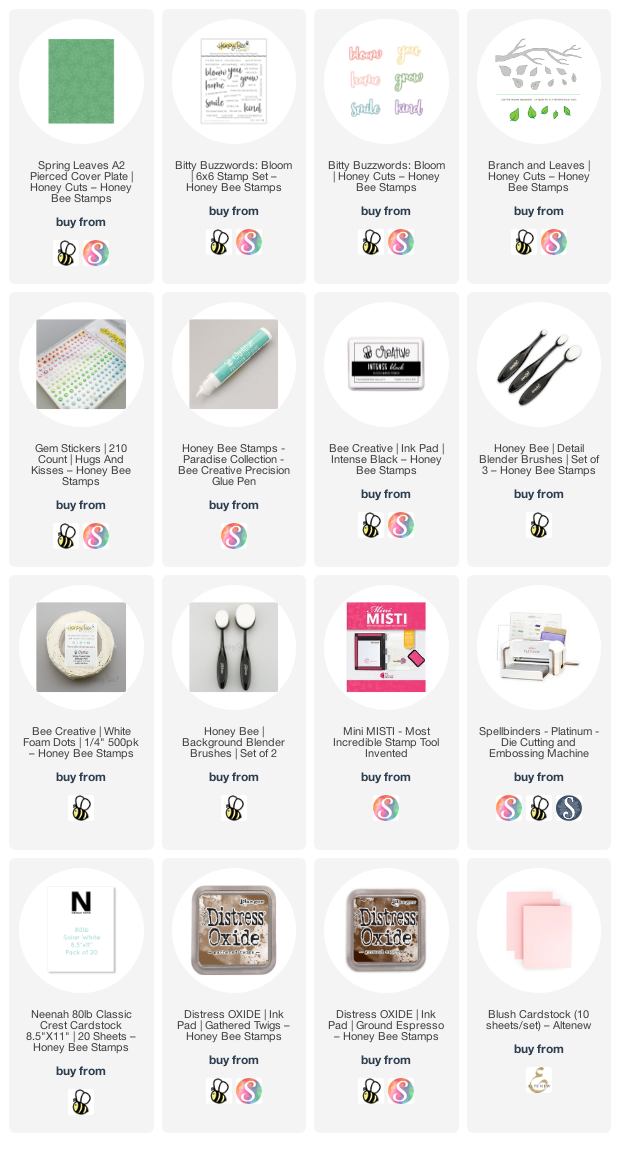
Hello crafty friends!  Today I have two cards that use several of the new items from Honey Bee Stamps Autumn Splendor release! I used the new Scattered Leaves stencil set and was able to create two cards from the one inked and textured piece!  

First I created my stenciled panel.  I inked three different Distress Oxide inks through the bottom background Scattered Leaves stencil.  I used Fossilized Amber, Fired Brick, and Mowed Lawn.  Then I positioned the detailed stencil of the set and spread some clear glossy texture paste through it.  I set it aside to dry and clean up the stencils and my tools.

This is an A2 card that I first die cut the gold layer with the largest of the Sweet Stacks: Rectangles (click the product links below for more details).  I love all of the Sweet Stacks!  Then I used the next largest die to die cut some white card stock.  I dry embossed it with the background Scattered Leaves Stencil by running it through my die cutting machine with a rubber embossing mat.  Then I smooshed a bit of my Distress Oxide inks onto my craft mat, spritzed water into them, and added spatters with a paint brush.  I adhered the card layers to my A2 card base with Bee Creative glue.

Next I used the awesome new Sweet Stacks: Circles.  When the stenciled piece was dry, I die cut three circles, keeping the dies as close together along one side as much as possible.  I wanted to reserve as much of the stenciled panel as I could for my next card.  Then I die cut some scrap card stock that I knew up the the Distress Oxides mentioned above.


Next I stamped the sentiments from the Praying Big Time stamp set with Intense Black Ink.  I die cut the large sentiment with the coordinating Honey Cut and die cut it three more times from white card stock.  I adhered the layers together with Bee Creative glue and added foam tape to the back of both sentiments to adhere them to the card.

For this next card I created a fun-sized mini slimline card with a coordinating envelope!

I created my card base by scoring a 6" x 6" white card stock piece at 3".  Then I used the Sweet Stacks: Mini Slimline Honey Cuts to die cut the bottom two layers.  Next I used the next two smaller Sweet Stacks: Mini Slimline to die cut the stenciled piece and some vellum.  I adhered all the layers, except the vellum, to the card base.

I stamped the sentiment from the Thinking of You Big Time stamp set onto white card stock with Fired Brick Distress Oxide.  I left the stamps and paper in my MIST, and then stamped them again, over the first stamping.  I sprinkled on some clear embossing powder and heat set them.  I used the coordinating Honey Cut to to cut the stamped "big hugs" and also three more times from white card stock.  I adhered all the layers together with Bee Creative glue.  After I trimmed the other sentiment with my paper trimmer, I added a thin foam strip to the back.

Next I inked up some scrap white card stock with Fired Brick, Mowed Lawn and Fossilized Amber Oxides and die cut a few flower pieces with the so cute Itty Bitty Fall Flowers Honey Cuts.  I adhered these the the sentiment to the vellum with Bee Creative glue.  Now I could add small pieces of foam tape to the back of the vellum so it won't show through and added it to my card.

I finished up by creating my coordinating envelope with the fabulous Mini Slimline Envelope Honey Cuts!  This die set makes the perfect envelope for all of your mini slimline cards!  It has two flap options--one with rounded corners and another with notched corners.  I die cut the pieces from Neenah Desert Storm card stock.   Then I used the detailed Scattered Leaves stencil to ink some Ground Espresso Oxide just around the edges.

Thank you, if you're still reading, for hanging through my somewhat long post!  I always so appreciate you stopping by!  Have a great and crafty rest of your week!