Showing posts with label Spring Leaves A2 Pierced Cover Plate. Show all posts

Wednesday, February 4, 2026

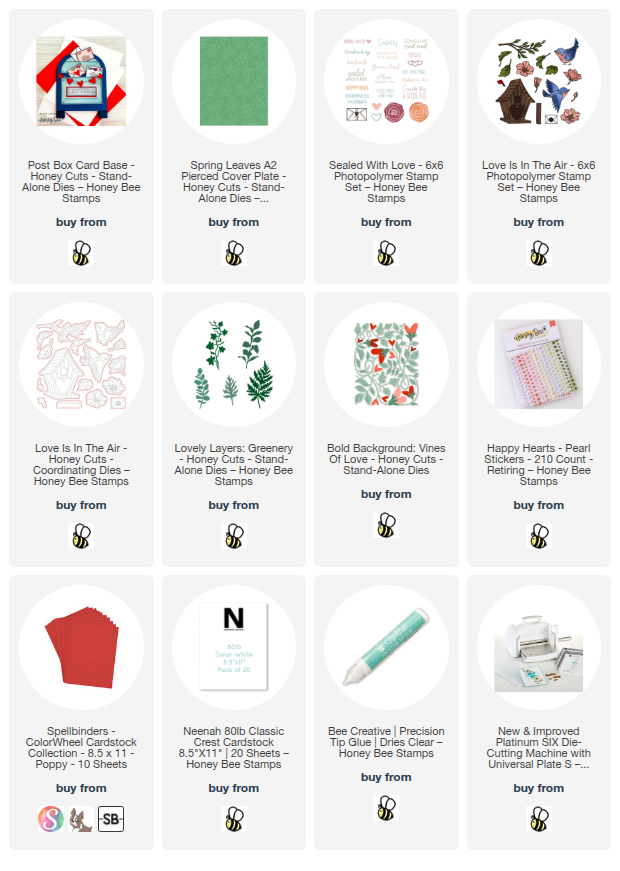
"You Are Loved" Post Box Shaped Card

Hello, and happy February, crafty friends!  Today I'm sharing this card I made with Honey Bee Stamps awesome Post Box Card Base Honey Cuts!  My goal was to create a card with a more masculine feel to it.  Do you think I succeeded?

To create my Post Box Card Base card I placed the fold of an A2 card base just below the top edge of the Post Box die and ran it through my die cutting machine.

Next I unfolded the Post Box card base.  Then I placed the Spring Leaves A2 Pierced Cover Plate die over the front of the card and die cut it.  This give you a fun and subtle pattern for more interest on the card!

I die cut two of the dies for the Post Box from gray cardstock and used foam tape to adhere them to the card front.

The sentiment is from the Sealed With Love stamp set and fits perfectly on this die cut piece that's part of the Post Box set.  More foam tape adheres this to the card.

The little stamped envelopes are from the Love Is In The Air stamp set.  I die cut them with the coordinating die and glued them to the card.

I die cut two vines from the Lovely Layers: Greenery dies from green cardstock.  I used a few green Copic markers to add shading.

I trimmed one of the vines to fit near the top of the card and used glue and foam squares to adhere it.  I only needed to trim the overhanging bit of the vine on the bottom after I glued it to the card.

For a pop of color, I used a die from the Bold Backgrounds: Vines Of Love set and cut the hearts from red cardstock.  I glued them scattered along each vine.

Finally, I added a few pearl stickers from the Happy Hearts Pearl Stickers set.  I noticed that these pearls along with a lot of other pearl and gem stickers are now in the retiring category!  You can grab some at a reduced price!

The Post Box Card Base set is an oldie but goodie that is good for so many occasions!  I really like how this turned out and I hope you do too!  Thank you for stopping by today!  I hope it's a good day for you!

Thank you very much for using my affiliate links to shop (never any additional cost to you)!
Wednesday, April 20, 2022

Hope Your Day Blooms With Happiness!

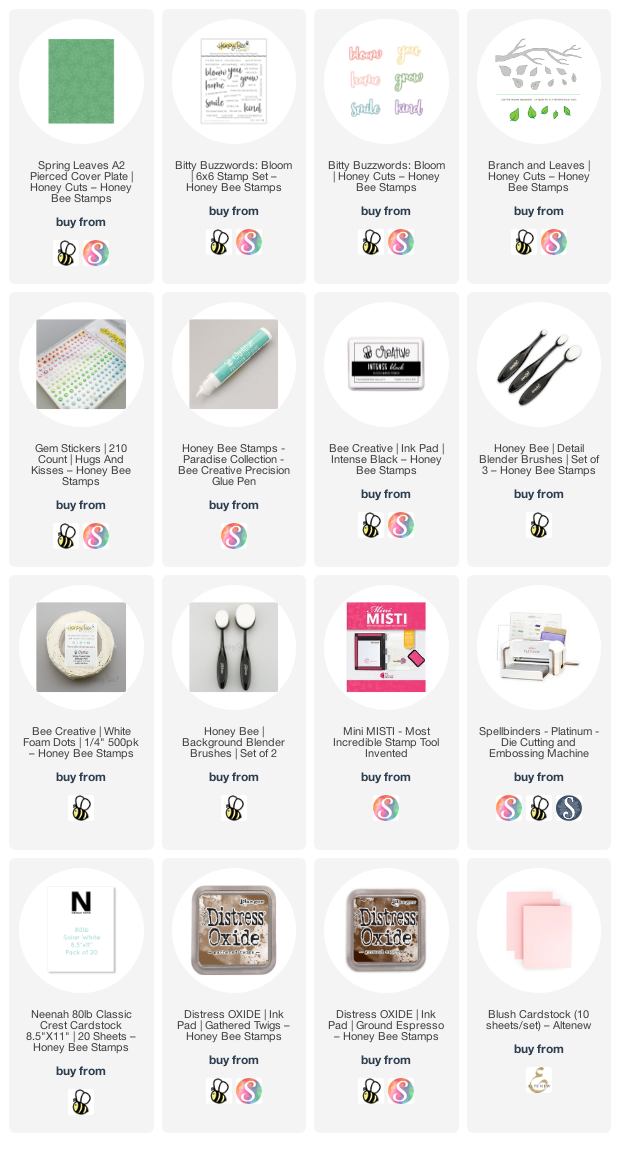
Hello crafty friends! Today I'm sharing a card featuring some Honey Bee Stamps older, but favorite sets, the Branch and Leaves Honey Cuts and Itty Bitty Fall Flowers. I created a sweet card I can use for a birthday, anniversary, or even a wedding! I used newer products that were in the latest Modern Spring release too! I just love how Honey Bee's sets all work so well together--whether new or old! Read on for the easy card design details--with almost NO coloring! I haven't done that in a while. LOL!

First I created my A2 card base by layering pink cardstock with a piece I die cut with the Spring Leaves A2 Pierced cover plate die that was trimmed to 4" x 5-¼".

Next I die cut two shades of green cardstock with the leaves from the Branch & Leaves die set.  I cut the branch from Neenah Desert Storm cardstock and inked on Gathered Twigs and Ground Espresso Distress Oxide inks with a blending brush.  I adhered the leaf layers together with Bee Creative glue and then glued them to the branch.  I snipped off the end of the branch for it to fit my card.

I die cut two flowers from the Itty Bitty Fall Flowers die set from pink cardstock.  If you use spring colors, these sure don't look like Fall Flowers at all!  I used a stylus from the Flower Shaping Essentials Kit to shape the flowers and then glued them to the branch.  To finish the flowers, I added pink gems from the Hugs and Kisses Gem Stickers set to the flower centers.

The sentiments are from the Bitty Buzzwords: Bloom stamp set and coordinating dies.  I die cut the top layer of "bloom" three times and stacked them up for more dimension.  The other two sentiments are stamped with Intense Black ink and popped up with foam tape.

For a bit of sparkle (that doesn't show in the photos!) I used a clear glitter pen on the flowers and the "bloom" sentiment.  In real life, it adds a very pretty subtle sparkle!!

Thank you so much for stopping by today!  I hope your day will bloom with happiness!

Click the links for more details of the products I've used for this card:

Wednesday, March 2, 2022

Sending Paper Hugs - Floral Vase Coloring Stencils

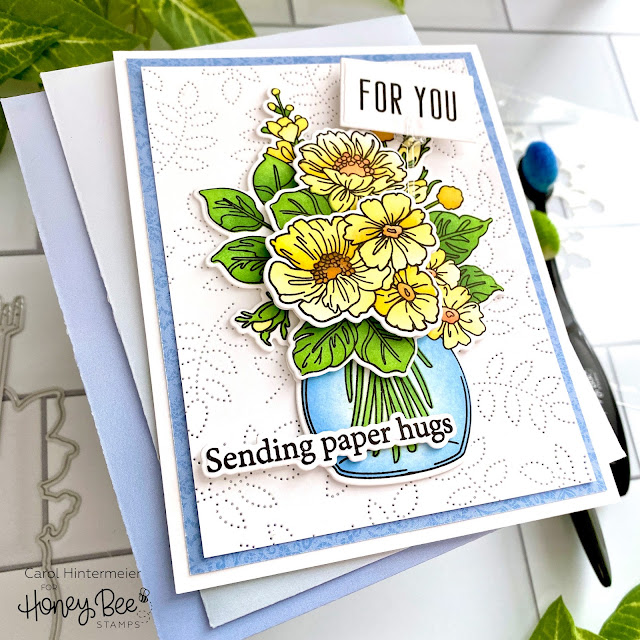
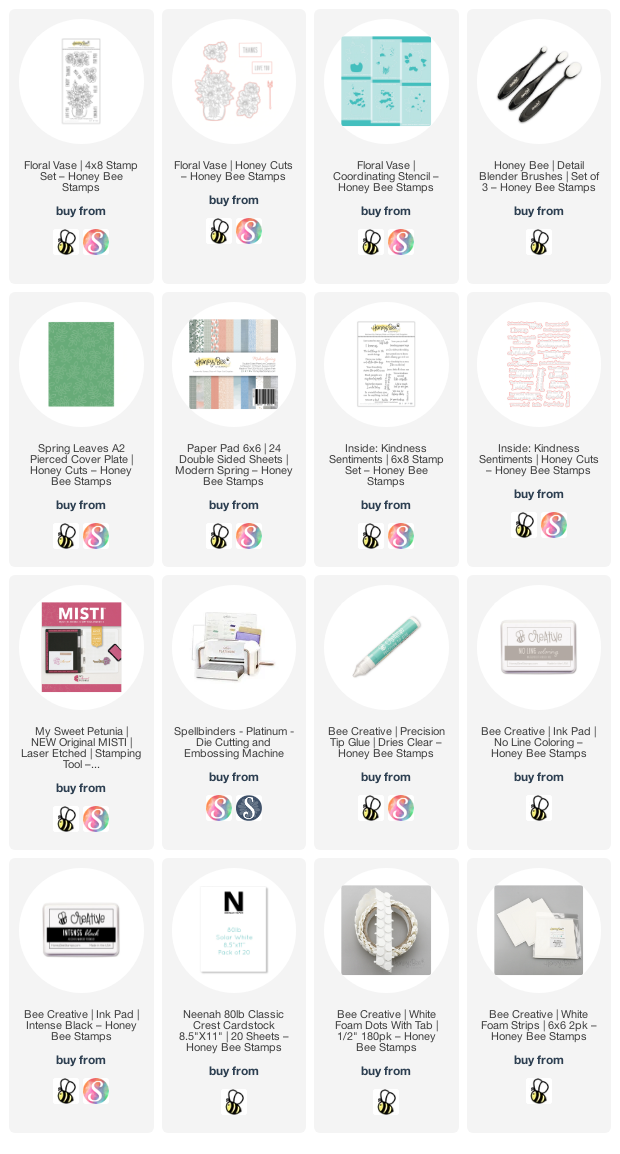
Hello crafty friends! Today I'm sharing a sweet card featuring Honey Bee Stamps new Floral Vase stamp set, coordinating Honey Cuts, and the Floral Vase stencils! I colored the entire image using just the Floral Vase stencils, and it was really lots of fun! The way these stencils have etched lines on them to help in lining it up makes these super easy to use! I also have a few tips for these coloring stencils, so read on for the details.

First I worked on the Floral Vase with the stencils. Now, my first tip is to stamp your images using the Bee Creative No Line Coloring ink. Why? When you leave your stamps in your MISTI, you can come back after the stenciling and re-stamp the images with Intense Black ink. (And that's my second tip: leave your stamps in place in your MISTI!) You will get a beautiful, crisp and clear stamped image over your stenciling! (This totally eliminates the worry of smearing the black ink, if you are impatient like me and don't let it dry enough--LOL!) My third tip is to let you know that these stencils will line up perfectly with the other two flower clusters in the set. I did use a few pieces of masking tape to cover up some openings before I stenciled. My fourth, and final, tip is that these Detail Blender Brushes are the perfect size for the details of these stencils! Check out this next photo for an example of my process:

The above photo shows one of the two additional floral clusters in this set in addition to the main floral vase stamp. You can use these as separate elements on a card, or you can pop them up on the main image for extra dimension as I did for this card. 

I used various inks from my stash that I've been neglecting a lot! My go to are usually the Distress inks and Distress Oxide inks. You could use Mowed LawnSqueezed LemonadeMustard Seed, and Carved Pumpkin for a similar look. After I finished stenciling and re-stamping the images with Intense Black ink, I used the coordinating Honey Cuts to cut them out. I added foam dots to adhere the layers together.

I adhered a piece of patterned paper from the Modern Spring paper pad that I trimmed to 4" x 5-¼" to an A2 card base. Then I ran the Spring Leaves A2 Pierced Cover Plate die and some white cardstock through my die cutting machine. I trimmed it to 3-¾" x 5" and used Bee Creative glue to adhere it to my card. I added some white foam strips to the back of the floral vase to pop it up a bit on the card. I tried to capture the beautiful dimension in this photo:

I die cut the floral pick from the Floral Vases Honey Cuts from some leftover clear plastic packaging and adhered the sentiment to it. I added some foam dots to the back to pop it up. Next I stamped the sentiments from the Inside: Kindnessset with Intense Black ink and used the coordinating dies to cut them out. I added foam strips to the sentiment on the front, and adhered the inside one with Bee Creative glue.

To add some decoration to the card inside, I stenciled a portion of the flowers in the bottom left corner. I think this adds a fun and pretty surprise when the card is opened!

I really enjoyed coloring the Floral Vase images with these stencils, and I hope you've been inspired to give these a try.  Thank you so much for stopping by!  Stay crafty!

Thank you should you choose to use my links to shop (some may be affiliate links--always no additional cost to you)