Showing posts with label Valentine card. Show all posts

Wednesday, February 4, 2026

"You Are Loved" Post Box Shaped Card

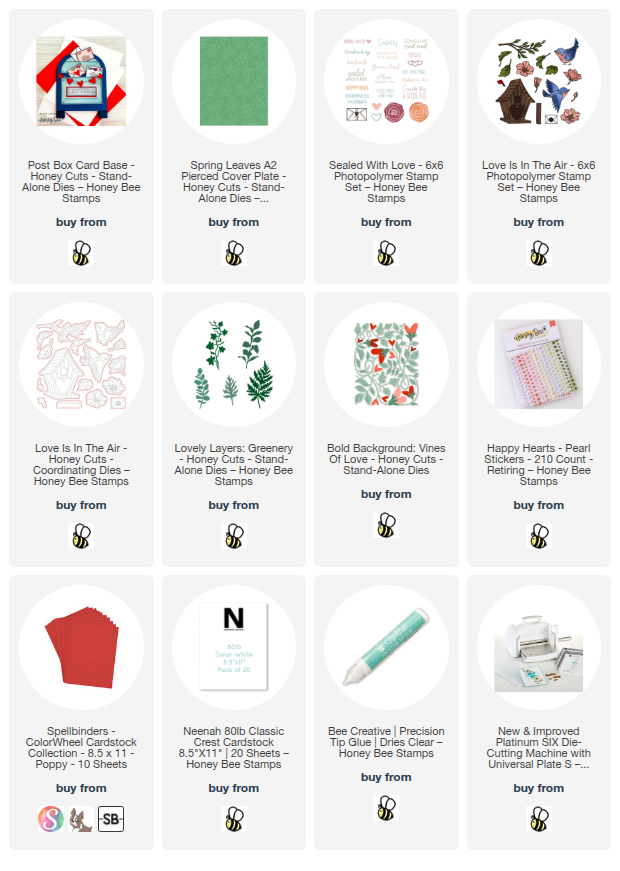
Hello, and happy February, crafty friends!  Today I'm sharing this card I made with Honey Bee Stamps awesome Post Box Card Base Honey Cuts!  My goal was to create a card with a more masculine feel to it.  Do you think I succeeded?

To create my Post Box Card Base card I placed the fold of an A2 card base just below the top edge of the Post Box die and ran it through my die cutting machine.

Next I unfolded the Post Box card base.  Then I placed the Spring Leaves A2 Pierced Cover Plate die over the front of the card and die cut it.  This give you a fun and subtle pattern for more interest on the card!

I die cut two of the dies for the Post Box from gray cardstock and used foam tape to adhere them to the card front.

The sentiment is from the Sealed With Love stamp set and fits perfectly on this die cut piece that's part of the Post Box set.  More foam tape adheres this to the card.

The little stamped envelopes are from the Love Is In The Air stamp set.  I die cut them with the coordinating die and glued them to the card.

I die cut two vines from the Lovely Layers: Greenery dies from green cardstock.  I used a few green Copic markers to add shading.

I trimmed one of the vines to fit near the top of the card and used glue and foam squares to adhere it.  I only needed to trim the overhanging bit of the vine on the bottom after I glued it to the card.

For a pop of color, I used a die from the Bold Backgrounds: Vines Of Love set and cut the hearts from red cardstock.  I glued them scattered along each vine.

Finally, I added a few pearl stickers from the Happy Hearts Pearl Stickers set.  I noticed that these pearls along with a lot of other pearl and gem stickers are now in the retiring category!  You can grab some at a reduced price!

The Post Box Card Base set is an oldie but goodie that is good for so many occasions!  I really like how this turned out and I hope you do too!  Thank you for stopping by today!  I hope it's a good day for you!

Thank you very much for using my affiliate links to shop (never any additional cost to you)!
Wednesday, January 22, 2025

You're My Queen Of Hearts Valentine Card

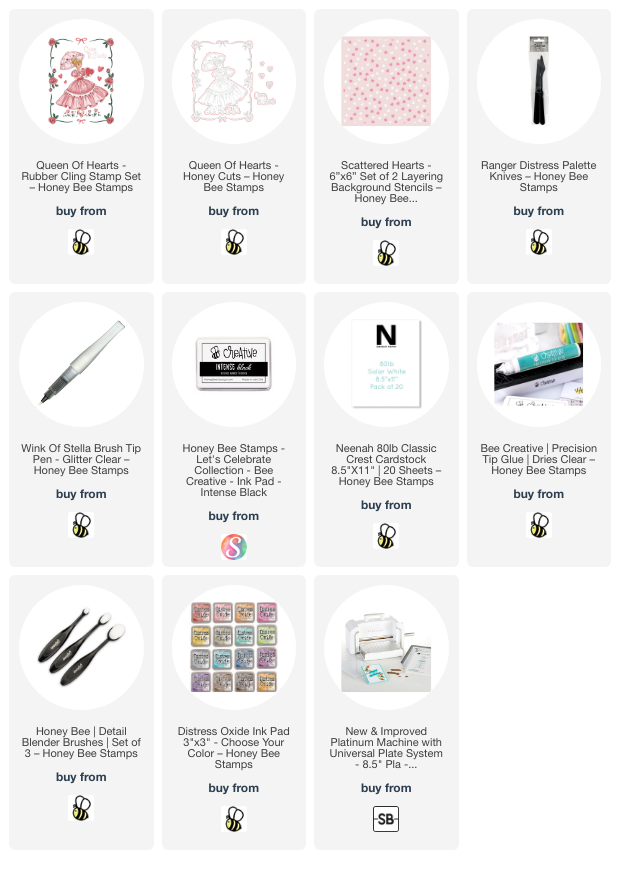
Hello crafty friends! Today I'm sharing my vintage Valentine card that features Honey Bee Stamps' beautiful Queen of Hearts stamp set. This set is made from red rubber and I totally love the crisp stamped image you get! You can also stamp the entire piece all at one time!

First I worked on my stenciled background. I inked up a 4" x 5-¼" piece of white cardstock with three pink Distress Oxide Ink colors. For my ombre pattern I used Picked Raspberry, Kitsch Flamingo, and Spun Sugar.

After using my heat tool to dry the ink a bit, I placed one of the two Scattered Hearts stencil over the inked panel. I added Picked Raspberry Oxide ink through the stencil with an ink blending brush.

Before I added the texture paste with the second stencil, I stamped the four hearts in the Queen of Hearts set with the pink Distress Oxides randomly over the panel.

Next I placed the second Scattered Hearts stencil over the panel. Then I added some pretty Frosted Petal Glacier Paste through the stencil with a palette knife. I carefully removed the stencil and set piece aside to dry.

Next I stamped the Queen of Hearts girl with Intense Black ink onto white cardstock. (Did you know that the Queen of Hearts set is made so you can use all of the images separately?) Next I colored her with my Copic markers. I used these colors:

  • dress: C5, C3, C1, C00
  • parasol & other pink elements: R39, RV25, RV06, RV04, RV02, RV10, RV00
  • hair: E59, E57, E55
  • leaves/grass: G17, G25
  • skin: E11, E51, E50

I used glue to adhere the dry stenciled panel to an A2 folded card base.

Next I cut out the Queen of Hearts with the coordinating Honey Cut. I added foam dots to the back to pop it up on the A2 card.

I stamped extra hearts from the Queen of Hearts with Picked Raspberry Oxide ink and cut them out with the coordinating dies. I used foam squares to adhere them to the card.

The sentiment is also another separate stamp in the Queen of Hearts stamp set. It is stamped with black ink and cut out with the coordinating die.

Since I was thinking her pretty white dress would have a sparkly overlay in real life, I used a clear glitter pen to add lots of sparkles on her dress!

I hope you've found some inspiration today for your card making!  Be sure to check out the entire Perfect Match release for other fun themed products.  Thank you for stopping by!!

Thank you for using my affiliate links to shop (never any additional cost to you)!

Sunday, January 14, 2024

Beep! Beep! A Light-up Pickup Card

 Hi friends!  Today I'm thrilled to be a guest designer for Pear Blossom Press using their amazing EZ-Lights!  All of my card details are over on the Pear Blossom Press blog.


I'm just showing you all of the fun photos, including some of my process to build this sweet light-up card.

Remember, I have the details steps on Pear Blossom's blog.


These light-up cards are actually very easy to create when using the EZ-Lights!

It is so fun to press the button for the lights!

Here I dimmed the lights a bit to show off those lights:


I hope you'll join me over on the Pear Blossom Press blog for lots more about my card.  Be sure to leave me a comment over there if you stop by!  Have a wonderful day!

These are some of the supplies (affiliate links) I used to make my card:

Saturday, December 3, 2022

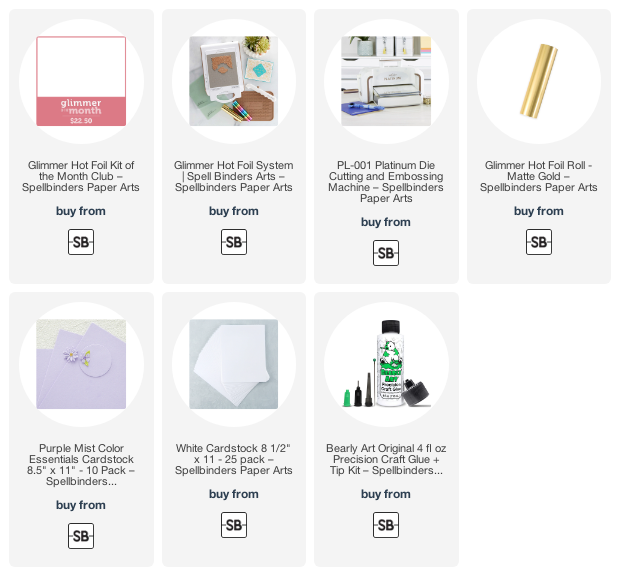
Spellbinders December 2022 Glimmer Hot Foil Kit

Hello friends!  Today my card features the December 2022 Glimmer Hot Foil Kit by Spellbinders!  I created a window card using the included dies and I love how it turned out!  Read on for the details.


 First I trimmed some lavender cardstock (all supplies are listed below) to 4" x 5-¼".  I used some temporary tape to adhere it to an opened A2 card base.  Then I positioned the included scallop heart die over both pieces.  I ran this through my Platinum die cutting machine to create the window opening. 

Then I foiled the floral heart onto the lavender cardstock centering it around the die cut opening.  I used glue to adhere it to the card front taking care to center the die cut openings.

Next I foiled the scallop heart hot foil plate onto white cardstock and die cut it with the scallop heart.  (I used Matte Gold Glimmer foil on all of the foiled elements.)  I closed the card and adhered the foiled scallop heart with glue.


 Did you notice that the solid heart has a distressed foiled look?  Well, I haven't had time to verify, but I think it happened because I used some extra foil that had already been heated!  It was the center of the scallop foiled heart!  I popped that up with some thin foam tape.

The banner sentiment is die cut with the included die.  There's just enough overhang that I was able to add a few dots of glue to the ends to adhere it across the heart on the front of the card!

I used the dies from the kit to die cut the flowers and leaves from more lavender cardstock and some green cardstock.  I popped the flowers up with foam tape and glue the leaves.

To finished up I added some sparkly gem stickers to the flower centers!

This was such a fun card to make!  If you'd like to learn more about Spellbinders Club Kits, check it out HERE.  Thank you so much for stopping by.

Thank you for using my affiliate links for your shopping (never any additional cost to you).

Wednesday, January 13, 2021

See Through Valentine Card | Honey Bee Stamps

Hello crafty friends! Today I have a fun see through card using Honey Bee Stamps Lovely Layers: Heart Vine as my main feature. I have been wanting to make a see through card for a long time!!  I don't know why I waited because it's really easy and lots of fun!  I created some inky watercolor paper to use too!  Read on to see how I put this card together.

To create my clear card base I used heavyweight 10 mil. acetate.  The brand I have is by Inky Antics and comes in 8-½" x 11" sheets.  I cut one sheet in half, scored it and folded it to make a top-folding A2 card base.

Next I had some inky fun!  I love smooshing watercolor paper into Distress Inks for a fun background.  I smooshed the ink pads, one color at a time, onto a craft mat.  Then I spritzed it a few times with water and pressed the watercolor paper into the ink.  The look you get will depend on how much water you add!  Experimenting is fun so just keep trying with less, or more, water until you get the look you like.  Also be sure to use your heat tool to dry after each layer of color!  I used these Distress Inks:  Spun Sugar, Picked Raspberry and Festive Berries.  Here is a photo to show my process: (click the photo to see close up.)  I ended up making four total.


When the Distress Ink panels were dry, I used the base layer of the Lovely Layers: Heart Vine die and die cut four from them.  I die cut four of the Heart Vine top layer from white watercolor paper.  I adhered them together with small dots of Bee Creative glue.

I used a heart from the Scallop Hearts Honey Cuts to die cut one from the inky card panel and three from white watercolor card.  Then I die cut one heart from the Stacking Hearts Honey Cuts from white watercolor card.

Here are the steps for assembling the card:

  • Adhere the vine pieces to the clear card with small dots of Bee Creative glue.  Set a large stamp block on top and let dry for several minutes.
  • When the vines were dry, I used my scissors to trim of the pieces that hung over the edge.  I used a few of the smaller trimmings to fill in a few places along the edges.  Be sure to save the remaining pieces for later!
  • Adhere the Stacking Heart to the inky Scallop Heart.  Adhere to the card front.
  • Open the card and adhere one white Scallop Heart to the back of the card front.  This will give a cleaner finished look inside the card.
  • Next, adhere a scallop heart to the card inside, centering it behind the heart on the card front.  This is where you can write your sentiment.
  • Adhere the last scallop heart to the backside of the card.  This will hide the adhesive from the heart on the inside.

I didn't worry about the adhesive showing (or a bit of ink) on the back of the vines.  It doesn't show that much and seeing the bit of ink gives it that handmade feel!


I used a sentiment from the Gal Pals stamp set and stamped it in black ink onto watercolor cardstock.  I used my MISTI to be able to stamp it a few times on the textured watercolor cardstock.  I die cut it out with the coordinating Honey Cut.  I popped it up with foam squares and adhered it to the card front.


I took a few of the leftover vine pieces and tucked them around the sentiment with glue.  To add some sparkle and shine, I first used a clear glitter pen on them and then filled them in with Glossy Accents.


I sure had fun making this card and hope you've enjoyed the process!  Thank you so much for stopping by!  Stay crafty!!


Wednesday, January 6, 2021

Will You Be My Galentine? | Honey Bee Stamps

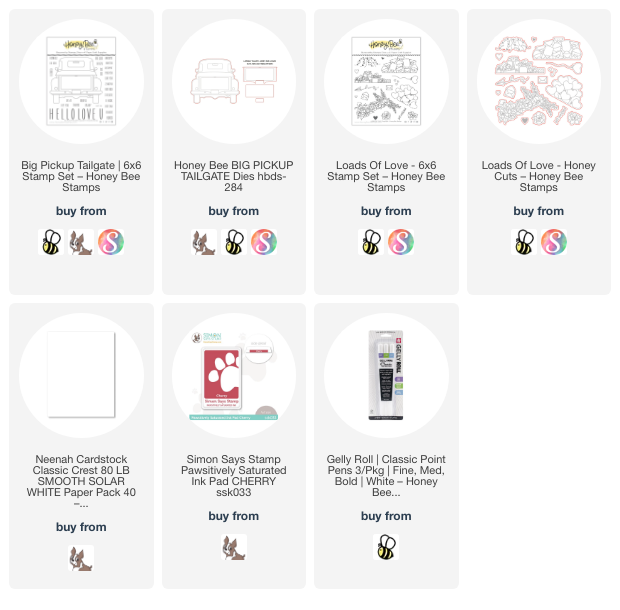
Hello my friends!  For my card today I'm using one of the stamps from Honey Bee Stamps Loads of Love stamp set in a bit of an unexpected way!  This set is designed to be used with the Big Pickup Tailgate stamp to add adorable things to the back of the truck.  But I had this idea in my head to use it like this!


I started by stamping and die cutting two of the flower swags from the Loads of Love stamp set and coordinating Honey Cuts.  I colored one swag with my Copic markers (colors listed below) and then decided to make sure my idea would actually work on an A2 size card!  Haha!  Here's a photo where I was trying it out.


Ok, so my idea will work!  I colored the remaining swag and then created the card base.  I die cut a piece of patterned paper from the Love Letters paper pad with the largest A2 Double Stitched Frames die.  I used the next to smallest A7 Double Stitched Frames die to cut 80# Neenah into a rectangle shape.  I die cut some gray card stock to layer behind both of these pieces and adhered the layers with Bee Creative glue.  I glued the patterned paper layer to the top-folding card base.  I added foam tape to the white card stock layer and adhered it to the card.


To adhere the two floral swags, I added bits of foam tape to the back where it extends beyond the white rectangle layer.  I added Bee Creative glue to the rest of the swags and adhered them to the card.  I took care to make sure that the flowers did not go past the edges of the card.  Next I stamped the sentiment from the Will You Be My stamp set in gray ink and die cut it with the coordinating Honey Cuts.   Then I added foam tape to the back of the sentiment and adhered it to the card.

To add a bit of bling I added some yellow gems I found in the Autumn Afternoon Gem Stickers.


Thank you so much for stopping by!  I hope the new year is off to a good, and crafty, start for you!

Copic markers:
flowers: RV17, RV25, RV13, V09, V17, V15, YR27, Y19, Y18, Y13, YG11
leaves:  YG25, YG23, YG03, YG01, YG06

Supplies:

Monday, February 10, 2020

You're Paw-some! | Art Impressions

Happy Monday friends!  I have one last card (well for a while-LOL!) using the Art Impressions' Lovable Animals set.  This cute little fox is perfect for a birthday card, or switch up the colors, and it would be just right for Valentine's Day!


I stamped the fox and other images in Copic safe ink with my MISTI and colored them with the Copic markers listed below.  I started with an A2 top-folding card base and added blue, black, and patterned paper layers with liquid adhesive.  I cut two thin strips of the blue card stock and adhered them on each side of the black striped paper.  


Then I used the included dies to cut out the images.  I love how the die cuts the slits for the fox to hold a treat, a cupcake in this case.  I popped up the fox and second cupcake with foam squares.


Stamp the sentiment with black ink and die cut it with a Flag Double Stitched die.  I then die cut the end again to shorten the overall length.  Matt this on a blue layer then pop it up with foam squares.  For a bit of sparkle and shine I added some clear sparkle with a glitter pen to the cupcake icing and Diamond Glaze to the cupcake sprinkles.


Thank you so much for stopping by!  I hope you've enjoyed seeing these cards using each cute animal from the Lovable Animals set.  Thanks for stopping by and I hope you have a fun, crafty week!


Copic markers:
BG15, BG13, BG11, BG10, C3, C1, C00,
E99, E97, E95, E53, E51, E50, E33, E27,
RV23, RV21, RV10, R00, Y19, Y04

Supplies:

Monday, February 3, 2020

Owl Always Love You | Art Impressions

Happy Monday friends!  Today I have another card using Art Impressions new Lovable Animals set.  If you missed the first two I made, check out the blog post here.  

This card features the cute little owl, which is one of the four cute critters in the set.  I love how the included dies cut slits for the critters to hold various objects!


After I stamped and Copic colored the owl and flower, I used the coordinating dies to cut them out.  The Copic colors I used are listed at the end of this post.  Next I used the heart die that's also in the set to cut an opening in some red card stock.  I used a white gel pen to add some stitching around the edge of the heart.  Next, emboss a 4-¼" x 5-½" piece of white card stock with a heart embossing folder.  I added foam tape to the back of the red layer and wrapped some bakers twine around the top before adhering it to the white embossed layer.


I adhered the flower in his wings, added some foam squares to the back of the owl and centered it in the heart opening.  I stamped the sentiment in black ink and die cut it with a Tag Stitched die.  I used more baker's twine to tie it on.


Stay tuned for next week when I'll have the fourth critter in the set on a sweet card.  Thank you so much for stopping by!  Stay crafty!


Copic markers:
owl:  E18, E39, E15, E13, E11, Y19, Y08, Y13
flower:  Y19, Y15, Y08, YG17, YG25, YG01

Supplies:

Monday, January 27, 2020

New Lovable Animals | Art Impressions

Hello friends!  Today I have two cards using the new Lovable Animals set.  This is an absolutely adorable set that has four cute critters, several accessories for them to hold, and sentiments for each critter.  It even comes with all the dies you need to cut them out.  The dies for the animals cut around their paws/feet so they can hold whatever you'd like to tuck in!  I love how this set has a large heart die to use in various ways.


This first card features the oh, so cute elephant.  Both critters and the accessories are stamped in Copic safe ink and colored with the markers I've listed below.  I used the Rectangle A2 Double Stitched dies to cut a white rectangle, and a red one.  These were layered onto a top-folding A2 card base.  I die cut the heart from the same red card stock and added some white stitching and sparkle with a clear Wink of Stella.  I layered the heart onto a black striped strip and cut off the over hanging part.  The elephant is popped up with foam squares on top of the heart.


I stamped the sentiment in Versafine Onyx Black ink and die cut it with a Tag Stitched die.  I cut a larger red tag to go behind it and tie them together with red gingham ribbon from my stash.  I used foam squares to pop it up.


This next card has the cute kitty with the sentiment made just for him!


After I colored the cat and die cut it out, I worked on the background.  I die cut pink card stock with a Rectangle A2 Double Stitched die and inked on clouds with a cloud stencil and white pigment ink.  This layer adhered to a white rectangle, and this is on a top-folding red A2 card base.  I popped the cat up with foam squares.


The heart he is holding was die cut with an included die.  I added white stitching, clear sparkle, and Glossy Accents.  Once it was dry I tucked it into his paws.

The sentiment was die cut with a Rounded Rectangle A2 Double Stitched die and also popped up.


I love the size of the critters in this set.  They are easy to color and so fun for your Valentine cards.  Be sure to check back next Monday as I will have two more cards using the other two critters in the set.  Have a wonderful, crafty week!

Copic markers:
Elephant card:  C5, C3, C1, RV25, RV25, RV14, RV13,  RV25, RV14, RV13, C3, C1, C00
Cat:  YR24, YR31, YR20, R32, R21, R20, R00, W3, W1, W00

Supplies:
Elephant card:

Cat card: