Showing posts with label light-up card. Show all posts

Wednesday, March 18, 2026

Light-Up Lighthouse Retirement Card

Hello, crafty friends!  Did you hear about Honey Bee Stamps' first EVER Love & Strength Card Kit announcement Monday evening?

Update:  As of Friday, March 20, PRE-ORDER is available!!  It is expected to ship April 5!  Don't wait, it will not be restocked another time!!

For your inspiration today, I am sharing this special light-up card I made using the light that is included in the kit.  Book mark this blog post so you can refer back to this to complete your order with other products I've linked!

I created the background for the Lighthouse with the Steady Waters stencil set from the Foundry & Field release.  I love this gorgeous stencil set!  I used Distress Oxide inks in the following colors with the stencils:  Salty Ocean, Mermaid Lagoon, Tumbled Glass, Mowed Lawn, Lost Shadow, and Gathered Twigs.

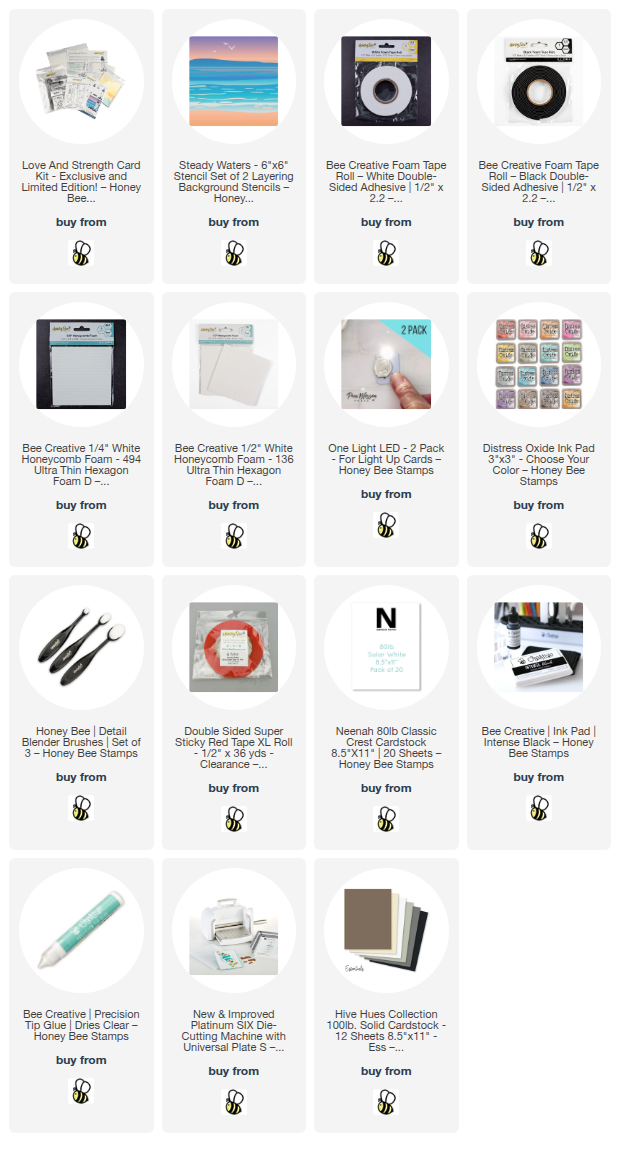
Next I used the dies in the Lovely Layers: Lighthouse set to cut various colors of cardstock.  The Layering Guide is also included in the kit and I referred to the guide as I used liquid glue to adhere it all together.

I added Honey Bee's NEW ½" Honeycomb Foam to the back of the Lighthouse.  These are the steps to create the light-up feature for the card.

  • Using your die release tool, poke a small hole in the Lighthouse where the light is.
  • Place the lighthouse onto the card (don't adhere) and use a pencil to place a mark through the hole of the lighthouse onto the stenciled layer.
  • Next use your die release tool to poke another hole at the pencil mark on the stenciled piece.
  • Now we will place the stenciled panel over an A2 top-folding card base.  Use your pencil to place a pencil mark through the hole on the card base.
  • Add double-sided adhesive to the back of the included Pear Blossom Press One Light.  (Be sure to put the battery into the light base.)
  • Position the One Light so that the light is over the pencil mark on the card base.
  • Add extra-thick foam tape around the card base edges and in the center around the One Light.
  • Tip:  Use a double layer of the new Honey Bee White Foam Tape as you need your tape to be higher than the light.
  • Remove the foam tape backing and adhere the stenciled panel to the card base.

Here is a photo of what my card looks like before I adhered the stenciled panel.

With the stenciled panel adhered, now we just need to adhere the Lighthouse, ensuring that the holes line up so the light will shine through.

Choose a sentiment in the kit's Love & Strength stamp set and stamp it with black pigment ink.  Cut the sentiment out with the coordinating die.  Use foam strips to adhere it to the card.

So your recipient knows where to press to light up the lighthouse, use a stamp or hand write "press here" onto a piece of paper inked up to match the sky.  Use a small die or hold punch to cut it out.  Then glue it into place over the light's button.

Here is what the light up feature looks like when I pressed the spot!  Isn't it pretty?  And what a surprising feature for anyone that receives the card!  Honey Bee sells these Pear Blossom lights in their shop.  Be sure to check it out!

Here is the other card I made with the kit.  Check out the details on this blog post.

I hope you've enjoyed my card today and are inspired to make your own!  Be sure to go click that "NOTIFY ME WHEN AVAILABLE" button so you will know when the awesome Love & Strength Card Kit is back in stock!!

Thanks so much for stopping by today!  I hope it is a wonderful one!

Thank you very much for using my affiliate links to shop (never any additional cost to you)!
Sunday, March 17, 2024

Just Buzzing By To Say Hi Light-Up Card

 Hello friends!  Today I'm sharing this fun light-up card I made as part of a collaboration with Picket Fence Studios and Pear Blossom Press.  We are having an Instagram hop and each company will give away a $25 gift card to a randomly chosen commenter!

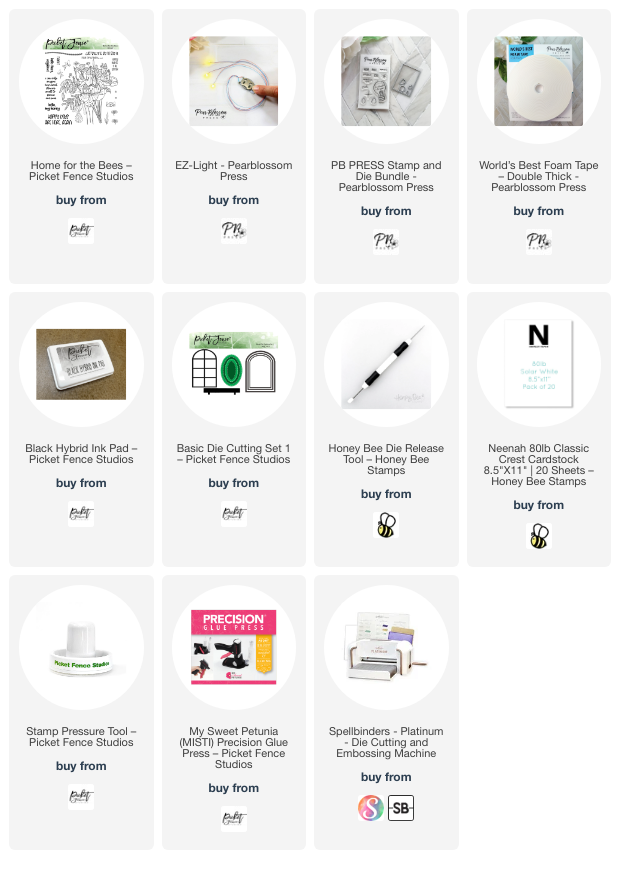
I made this card with Picket Fence Studios' adorable Home For The Bees stamp set and one of Pear Blossom Press's EZ-Light.

I stamped the Home For The Bees image onto white cardstock with Picket Fence's Black Hybrid Ink.  Then I used an assortment of Copic markers to color it.  I colored the flowers with these markers:  RV69, RV66, RV17, RV55, R83, R81.  The leaves were colored with a ridiculous number of YG and G markers--LOL.  For the bee house roofs, I used a yellow colored pencil and a black Micron pen.  These was much easier than trying to use my markers!  I also used a green pencil on some of the thinner stems.

I wanted to make a shaped card with the arched dies from the Basic Die Cutting Die Set 1.  But let me tell you, after I spent the time coloring the image, I was pretty nervous to cut into it like this!!  What if I messed it up?!!

Thank goodness it worked out just fine!  After I used the largest arched die to cut a folded card base I glued on the outer piece of the die cut image and began to plan the placement of the EZ-Light.

I stamped the tiny "press here" stamp in a light gray ink in the lower right corner, as you can see in the photo above.  This is in Pear Blossom's Stamp and Die Bundle.  Then I used my die pick tool to poke a hole in three of the windows.  I placed the piece over the card and made a pencil mark through the holes to indicate where I will need to tape down the lights.

After I inserted the battery into the battery pack and tested it, I added a piece of red line double sided tape to the back of it to adhere the pack to the card.  Then I taped the lights where the pencil marks are.  I added pieces of Pear Blossom's Worlds Best Foam Tape.  It REALLY is the BEST as the tape is temporary for about 30 minutes which allows you to get perfect placement of anything you put onto it!

I removed the backing from the tape and placed the die cut image onto the card.  Take a look at how pretty it looks all lit up!

I have a short video included in my Instagram post showing the lights in action, if you'd like to check it out.

I stamped one of the sentiments from the Home For The Bees stamp set and trimmed it into a strip.  I added thin foam squares to the back to adhere it to the card.

Have I inspired you to try making your own light up card?  These are so fun and will be a surprise to your recipient too.  I hope you will join my over on Instagram for the hop.  You will see so many awesome light up cards!

Thank you so much for using my affiliate links to shop (never any additional cost to you)!

Sunday, January 14, 2024

Beep! Beep! A Light-up Pickup Card

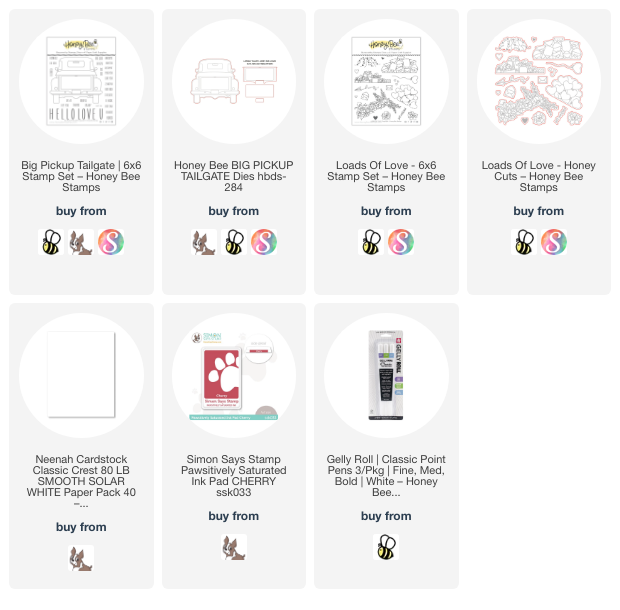
 Hi friends!  Today I'm thrilled to be a guest designer for Pear Blossom Press using their amazing EZ-Lights!  All of my card details are over on the Pear Blossom Press blog.


I'm just showing you all of the fun photos, including some of my process to build this sweet light-up card.

Remember, I have the details steps on Pear Blossom's blog.


These light-up cards are actually very easy to create when using the EZ-Lights!

It is so fun to press the button for the lights!

Here I dimmed the lights a bit to show off those lights:


I hope you'll join me over on the Pear Blossom Press blog for lots more about my card.  Be sure to leave me a comment over there if you stop by!  Have a wonderful day!

These are some of the supplies (affiliate links) I used to make my card:

Saturday, September 12, 2020

Espresso My Gratitude--Pink & Main with Pear Blossom Press Blog Hop

 Hello friends!  I'm so happy to be part of the Pear Blossom Press and Pink & Main collaboration blog hop!  We are creating fun and interactive projects with some awesome stamps and dies from Pink & Main and the so easy to use EZ-Lights from Pear Blossom Press!

I used the Pear Blossom Press EZ-Lights to create a fun card that lights up the sparkles on the whipped cream topping!  The Pink & Main Need To Venti set is awesome for all of your coffee cards!


Read on for the details to make this fun card!

I began by making my card base.  I added some brown card stock to an A2 card base.  I trimmed a piece of patterned paper (all supplies are listed below) to 4" x 5-¼" and adhered it to the card base.

I stamped the leaves and the acorn several times.  Then I die cut them out with the coordinating dies.  I added Glossy Accents to the acorn tops and set them aside to dry.

Next I created the panel for my lights and images.  I used another piece of the brown card stock trimmed to 4" x 2-½" and added a piece of 4" x 2" patterned paper.

I stamped two leafy cups from Pink & Main's Need to Venti set in Copic safe ink.  I colored one of the cups with my markers.  The colors I used are:  YG97, YG95, YG93, YR27, YR24, YR21, B39, B37, and B23.  I used the coordinating die to cut it out.  I fussy cut the whipped cream from the second cup.  Then I stamped the sentiment from the Need To Venti set with Versamark and and heat embossed it with brown embossing powder.  I adhered the cup to the panel and punched holes for the lights with a 1/8" hole punch.  Then I planned where to place the battery pack of the EZ-Light set from Pear Blossom Press.  I adhered the battery pack with double sided tape.  Next I positioned the wires and lights and kept it all in place with pieces of washi tape.  


I added a double layer of 2mm foam tape to the panel and adhered it to the card front.  I added some small pieces of foam tape to the other whipped cream, making sure I didn't cover the holes and added it to the cup.  I glued the leaves and acorns along the bottom of the panel.  For a bit of bling, I added some chunky glitter to the whipped cream.


Thank you so much for hopping along with us!  For more awesome inspiration, check out all of the stops in the hop and leave a sweet comment along the way!

Here's the full hop list:

Carol Hintermeier <---that's me!

Supplies:

Thursday, June 11, 2020

Beep! Boop! You Light Up My Life! | Honey Bee Stamps

Today I have a fun light-up card using the adorable Honey Bee Stamps Build-A-Bot set!  Have you ever made a light-up card?  These Pear Blossom Press EZ-Lights make it so easy! Keep reading to see how to make this fun card.

This is the card as you would see it out of the envelope.


Push where it says "press here" and ta-da!


Here are the steps I took to make my card.  I hope this makes it easy to understand!
  • Die cut Neenah Solar White card stock with the largest A2 Double Stitched Frames die.
  • Create the galaxy background by blending Distress Oxide inks on the die cut panel.  I used Picked Raspberry, Blueprint Sketch, Mustard Seed, and Black Soot.  The blending brushes make this so easy!
  • I used an ink blending tool to add some Distress Micro Glaze to the inked background and used a paper towel to wipe off the excess.  I love how this enhances the colors and also takes away the chalky look of the Oxide inks.
  • I used the Twinkle, Twinkle stencil and some texture paste to add the stars to the background stencil, sprinkled on some glitter, and set it aside to dry.  When it was dry, I adhered it to a pink card stock layer.
  • I used stamps and dies from these sets for the scene on my card:  Build-A-Bot, Far Out Friends, Gear Up, and One-Of-A-Kind (for the press here).
  • The Bot pieces were colored with Copic markers and the moon with Distress Oxides using the To The Moon Scene Builder stencil set.  Distress Oxides for the moon are Weathered Wood, Black Soot, Festive Berries, Picked Raspberry and Spun Sugar.
  • I used a craft knife to cut out the grid in the middle piece for the Bot.  I stamped that piece again, this time on vellum, with StazOn black ink.  I colored the back of the grid with Copics, die cut it, and adhered it to the back of the Bot middle.  Now I can adhere the Bot pieces together with glue.  See first photo below.
  • I planned out where to place my pieces to know where to add three holes for the lights and marked the spots with a black marker.  I used a craft pick to punch the holes.  Align the panel over the card base and use a pencil to mark the spot for the lights through the punched holes.  See the next photos for the lights, battery pack, and foam tape placement.  I used double-sided adhesive to hold the battery pack in place.
Click the photos to see larger images.


Once I double-checked that I had the lights in the correct spot, I removed the foam tape backing and adhered the galaxy panel.  Now it's just a matter of adding foam tape to your pieces and adding them to the card!


I could play with this card all day!  Haha!  I hope I've inspired you to play with this fun Build-A-Bot set and add some lights for more fun!  Thank you so much for stopping by!


Supplies:
Honey Bee Stamps:

Other:
Distress Oxide inks:  Spun Sugar, Picked Raspberry, Festive Berries, Weathered Wood, Black Soot, Blueprint Sketch, Mustard Seed

Wednesday, March 18, 2020

Pear Blossom Press EZ-Light Blog Hop | Lighting Up the Treat Shop!


Hello friends!  I'm so happy to be joining so many awesome crafters for the Pear Blossom Press Light-Up Card Hop with EZ-Lights.  Trust me when I say, "You will be using these all the time once you see how EZ they are to assemble!"  There are prizes for commenters too!  You will need to visit each stop and comment for your chance.  Please see the complete list of hoppers and prize information at the end of this post.


I have lots of photos for you, so on to the fun part!  I have always been impressed by the light up cards I've seen; however, I've been totally intimidated by trying to make one.  The EZ-Lights really are SO easy to use.


Check out these COOL lights!!!


I used the Honey Bee Stamps Treat Shop Add-On set that coordinates with their House Builder dies for my card.  (Links to all products are below.)  I created my card base from the House Builder dies.  I die cut one more house to use all of my elements on and to add the EZ-Lights to.

Next I have some photos of my assembly.   The top left is a photo of the back of the top layer showing how I laid out the unit and situated the wires, taping them down as I went along.  The next photo show how I used a small hole punch to make a hole for the umbrella light to stick through before adhering the roof .  The bottom right photo shows the foam tape (doubled up) and the Scar-Tape I used on the battery pack.   Finally, CHECK the lights before adhering it to your card base!!


After I had the top layer adhered to my card base, I could finish up with the cute little details to complete my treat shop!  So the recipient knows this is an interactive card, I stamped "press" onto the shrub on the left.


I don't really do videos, but I here's a short one that I hope works!  Haha!


I'm so glad you stopped by for a look, and I hope I've given you some inspiration to give these AWESOME EZ-Lights a try!  Be sure to go to  each stop and comment along the way for your chance to win!  See the prize information below this list.

Carol<<that's me!
Tanna<<your next stop

Now, who wants to win an awesome prize from Pear Blossom Press?  Two prizes will be awarded to two separate winners, chosen at random, from comments left on participating blogs and videos.  No purchase is necessary to win.  Comments must the posted by 11:59 p.m. PST on March 25, 2020.  Only one comment per blog or video will be counted, but you can comment on multiple blogs and videos in the hop for additional entries. (This is to prevent spam.)  Contest is open internationally to participants over 18 years of age.  Void where prohibited by law.  Any personal information collected will only be used for the purposes of contacting winners, your information will never be shared or sold.  Comments left on YouTube videos must not violate community guidelines.  This contest is not sponsored by YouTube.  Winners will be announced on April 1, 2020 at pearblossompress.com and prizes must be claimed within 30 days of announcement, or new winners will be drawn.

Supplies:
Distress Oxide inks:  Cracked Pistachio, Evergreen Bough

Honey Bee Stamps products: