Showing posts with label Twinkle Twinkle stencil. Show all posts

Wednesday, June 2, 2021

Red, White & Blue Patriotic Pickup Truck | Honey Bee Stamps

 Hello crafty friends!  Today I'm sharing a card with Honey Bee Stamps Big Pickup Tailgate stamps, dies, and coordinating stencils.  I've decorate our pickup to be ready for a July 4th parade!  I'd love to ride in a truck like this, want to join me?

Here are the steps for my card:  (Do you like the steps as bullet points?  Let me know)

  • First create the background.  Using a Background Blender brush, ink some red ink through the Twinkle, Twinkle stencil onto white card stock.
  • Leave the stencil in place, and add some Nuvo Moonstone Glimmer Paste through the stencil.  I like the subtle sparkle it adds and how it somewhat mutes the brightness of the red ink!
  • Remove the stencil and set the panel aside to dry.  Clean the stencils and tools immediately!
  • Stamp the Big Pickup Tailgate stamp with black Copic safe ink.  I colored it with Copic markers R39, R29 and R27.  Then die cut it with the coordinating die.
  • Next I used the Big Pickup Cab & Tailgate stencil set and a blender brush to add silver metallic ink to the bumper, side and center mirrors.  I added black ink to the tires.
  • Stamp the license plate sentiment with dark blue ink.
  • Then I used a white gel pen to add the details to the tires and highlights on the pickup.
  • Add Glossy Accents to the tail lights and side mirrors and set aside to dry.

  • I used the flag in the United We Stand set and stamped it in some red and dark blue ink from my stash.
  • Next I took the die in the Big Pickup Tailgate die set that is for the tailgate and centered it over the flag.  I positioned it so that more of the blue portion showed and ran it through my die cutting machine.
  • Then I stamped, colored and die cut the flowers and grass from the Loads of Spring stamp set with the coordinating dies.
  • I adhered the grass edge and flowers to the top of the flag tailgate with Bee Creative glue. Then I added foam tape to the back and adhered it to the truck.
  • The small flag is in the Farmhouse Add-on stamp set.  It is a blank flag and after I stamped it, I used a red and blue gel pen to add in the details.

  • Next I trimmed the stenciled panel to 5" x 5" and added it to a dark blue layer I had cut to 5-¼" x 5-¼".  These were adhered to a 5-½" x 5-½" white card base.
  • Then I adhered the pickup to the card base with Bee Creative glue.
  • I used the Grass Border die to cut a strip of white card stock.  Then I colored it with a couple of green Copic markers and added it to the bottom of the top panel.
  • Finally, I stamped the sentiment from the United We Stand stamp set in dark blue ink.  Then I die cut it with the coordinating die, and also once again from dark blue card stock.  I adhered the dark blue layer behind the sentiment slightly offset.
  • Add foam strips to the sentiment and attach it to the card.

I hope you've found inspiration for another way to use the fun Big Pickup Tailgate set!  Thanks so much for stopping by, and I hope you have a wonderful week!

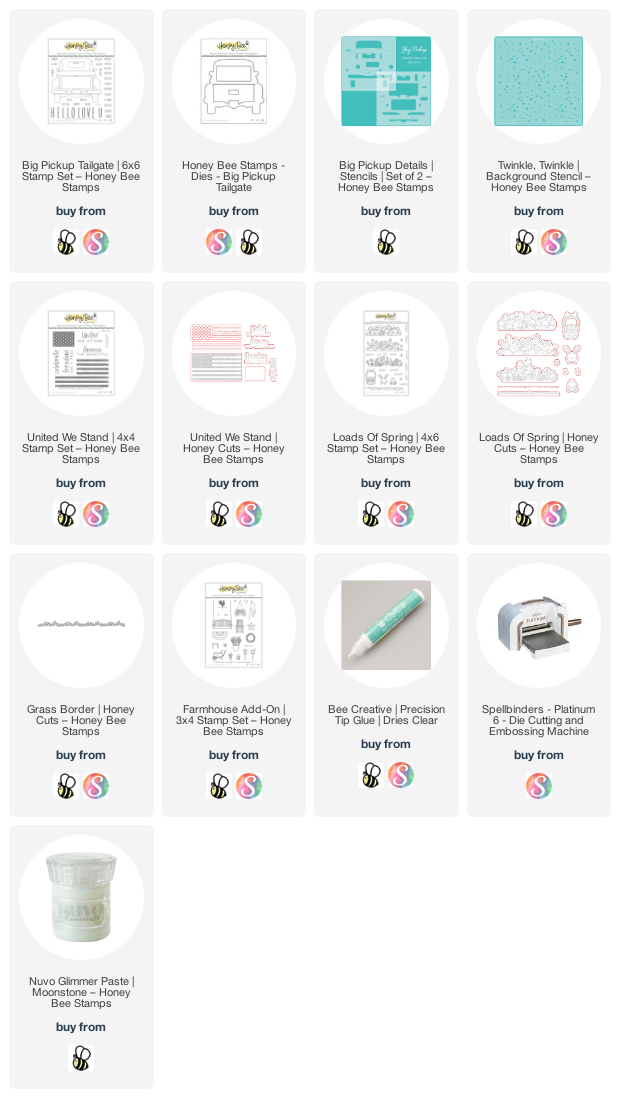
Links for products I used today:

Thursday, June 11, 2020

Beep! Boop! You Light Up My Life! | Honey Bee Stamps

Today I have a fun light-up card using the adorable Honey Bee Stamps Build-A-Bot set!  Have you ever made a light-up card?  These Pear Blossom Press EZ-Lights make it so easy! Keep reading to see how to make this fun card.

This is the card as you would see it out of the envelope.


Push where it says "press here" and ta-da!


Here are the steps I took to make my card.  I hope this makes it easy to understand!
  • Die cut Neenah Solar White card stock with the largest A2 Double Stitched Frames die.
  • Create the galaxy background by blending Distress Oxide inks on the die cut panel.  I used Picked Raspberry, Blueprint Sketch, Mustard Seed, and Black Soot.  The blending brushes make this so easy!
  • I used an ink blending tool to add some Distress Micro Glaze to the inked background and used a paper towel to wipe off the excess.  I love how this enhances the colors and also takes away the chalky look of the Oxide inks.
  • I used the Twinkle, Twinkle stencil and some texture paste to add the stars to the background stencil, sprinkled on some glitter, and set it aside to dry.  When it was dry, I adhered it to a pink card stock layer.
  • I used stamps and dies from these sets for the scene on my card:  Build-A-Bot, Far Out Friends, Gear Up, and One-Of-A-Kind (for the press here).
  • The Bot pieces were colored with Copic markers and the moon with Distress Oxides using the To The Moon Scene Builder stencil set.  Distress Oxides for the moon are Weathered Wood, Black Soot, Festive Berries, Picked Raspberry and Spun Sugar.
  • I used a craft knife to cut out the grid in the middle piece for the Bot.  I stamped that piece again, this time on vellum, with StazOn black ink.  I colored the back of the grid with Copics, die cut it, and adhered it to the back of the Bot middle.  Now I can adhere the Bot pieces together with glue.  See first photo below.
  • I planned out where to place my pieces to know where to add three holes for the lights and marked the spots with a black marker.  I used a craft pick to punch the holes.  Align the panel over the card base and use a pencil to mark the spot for the lights through the punched holes.  See the next photos for the lights, battery pack, and foam tape placement.  I used double-sided adhesive to hold the battery pack in place.
Click the photos to see larger images.


Once I double-checked that I had the lights in the correct spot, I removed the foam tape backing and adhered the galaxy panel.  Now it's just a matter of adding foam tape to your pieces and adding them to the card!


I could play with this card all day!  Haha!  I hope I've inspired you to play with this fun Build-A-Bot set and add some lights for more fun!  Thank you so much for stopping by!


Supplies:
Honey Bee Stamps:

Other:
Distress Oxide inks:  Spun Sugar, Picked Raspberry, Festive Berries, Weathered Wood, Black Soot, Blueprint Sketch, Mustard Seed