Hello, crafty friends! Did you hear about Honey Bee Stamps' first EVER Love & Strength Card Kit announcement Monday evening?
Update: As of Friday, March 20, PRE-ORDER is available!! It is expected to ship April 5! Don't wait, it will not be restocked another time!!
For your inspiration today, I am sharing this special light-up card I made using the light that is included in the kit. Book mark this blog post so you can refer back to this to complete your order with other products I've linked!

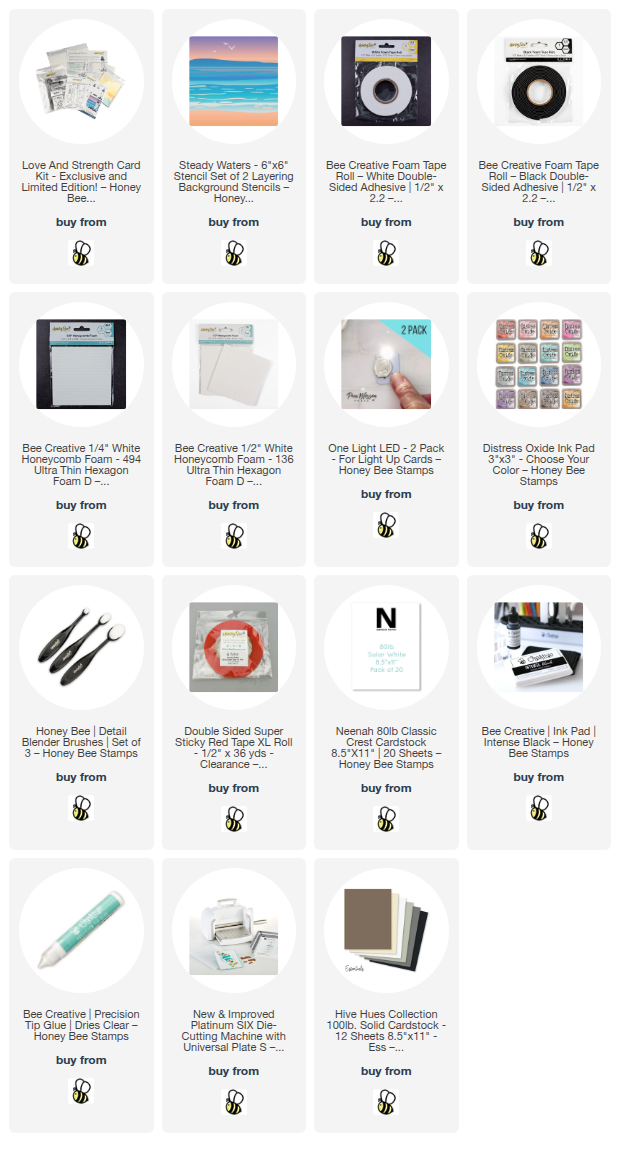
I created the background for the Lighthouse with the Steady Waters stencil set from the Foundry & Field release. I love this gorgeous stencil set! I used Distress Oxide inks in the following colors with the stencils: Salty Ocean, Mermaid Lagoon, Tumbled Glass, Mowed Lawn, Lost Shadow, and Gathered Twigs.
Next I used the dies in the Lovely Layers: Lighthouse set to cut various colors of cardstock. The Layering Guide is also included in the kit and I referred to the guide as I used liquid glue to adhere it all together.

I added Honey Bee's NEW ½" Honeycomb Foam to the back of the Lighthouse. These are the steps to create the light-up feature for the card.
- Using your die release tool, poke a small hole in the Lighthouse where the light is.
- Place the lighthouse onto the card (don't adhere) and use a pencil to place a mark through the hole of the lighthouse onto the stenciled layer.
- Next use your die release tool to poke another hole at the pencil mark on the stenciled piece.
- Now we will place the stenciled panel over an A2 top-folding card base. Use your pencil to place a pencil mark through the hole on the card base.
- Add double-sided adhesive to the back of the included Pear Blossom Press One Light. (Be sure to put the battery into the light base.)
- Position the One Light so that the light is over the pencil mark on the card base.
- Add extra-thick foam tape around the card base edges and in the center around the One Light.
- Tip: Use a double layer of the new Honey Bee White Foam Tape as you need your tape to be higher than the light.
- Remove the foam tape backing and adhere the stenciled panel to the card base.
Here is a photo of what my card looks like before I adhered the stenciled panel.

With the stenciled panel adhered, now we just need to adhere the Lighthouse, ensuring that the holes line up so the light will shine through.
Choose a sentiment in the kit's Love & Strength stamp set and stamp it with black pigment ink. Cut the sentiment out with the coordinating die. Use foam strips to adhere it to the card.
So your recipient knows where to press to light up the lighthouse, use a stamp or hand write "press here" onto a piece of paper inked up to match the sky. Use a small die or hold punch to cut it out. Then glue it into place over the light's button.

Here is what the light up feature looks like when I pressed the spot! Isn't it pretty? And what a surprising feature for anyone that receives the card! Honey Bee sells these Pear Blossom lights in their shop. Be sure to check it out!

Here is the other card I made with the kit. Check out the details on this blog post.

I hope you've enjoyed my card today and are inspired to make your own! Be sure to go click that "NOTIFY ME WHEN AVAILABLE" button so you will know when the awesome Love & Strength Card Kit is back in stock!!
Thanks so much for stopping by today! I hope it is a wonderful one!
Thank you very much for using my affiliate links to shop (never any additional cost to you)!