Showing posts with label Into The Woods 3D embossing folder. Show all posts

Wednesday, December 3, 2025

Nutcracker Die Cut Holiday Card With Non-traditional Colors

Hello crafty friends!  Now that we are into December, (can you believe it?!) I am making as many Christmas cards as I can and hope to still have time to mail them!  What about you?  Well, if you aren't finished either, I have some inspiration to share today!  My card features Honey Bee Stamps awesome Lovely Layers: Nutcracker dies.  Check it out!

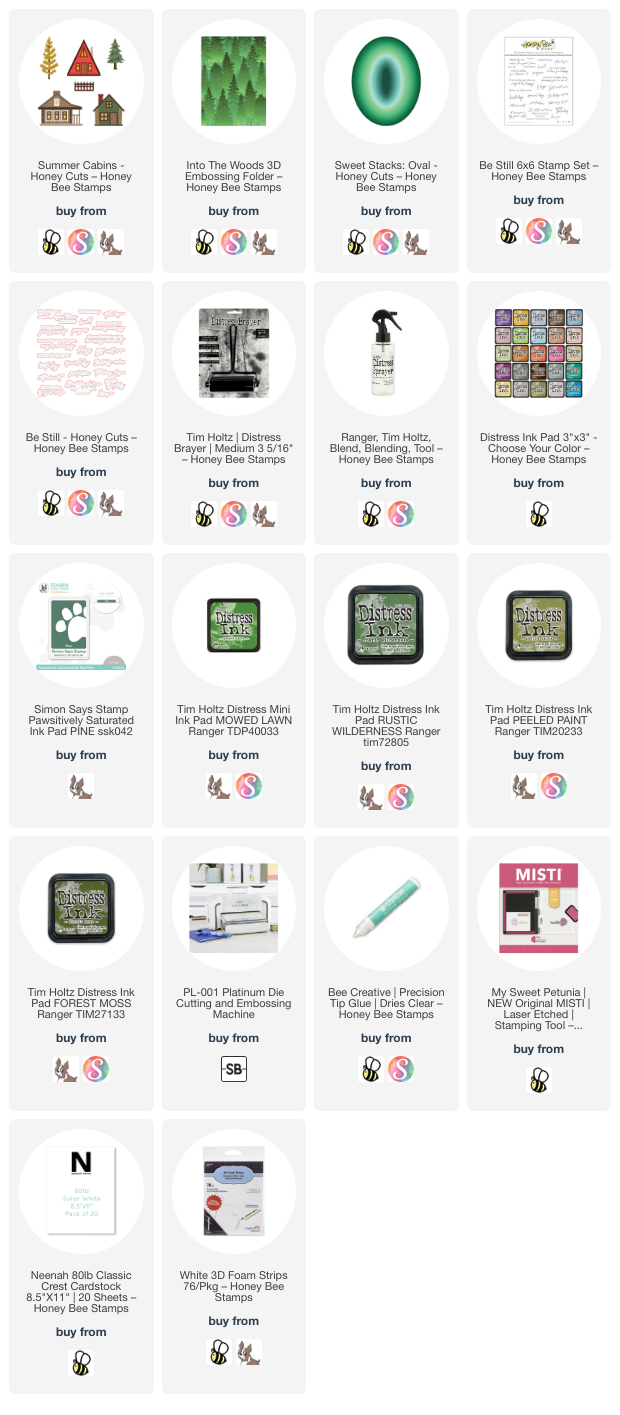
I put a different twist on the Lovely Layers: Nutcracker by using pastel colors instead of the typical red.  I chose some minty green cardstocks, a very pale peach color cardstock, matte gold cardstock, and 80# Neenah to die cut each of the various layers.

I love how Honey Bee provides layering guides for the Lovely Layers sets!  The Nutcracker has some small die cut pieces, but the layering guides makes the assembly easy!  I used Bee Creative glue to adhere all of the layers together.

Note:  I did use a few Copic markers to color the skin and hair.

For the background, I embossed a 4-¼" x 5-½" piece of white cardstock with the beautiful Into The Woods 3D embossing folder and glued it to an A2 card base.

Then I cut white cardstock with my scissors to make a hilly, snowy ground layer and glued that at the bottom of my card.

For more detail, I die cut two shades of minty green and peach cardstocks with the Lovely Layers: Trees dies to create two trees.  For the tree trunk, I die cut gold matte cardstock.  I glued the large tree to the base.  Then I popped up the smaller tree and the Nutcracker with foam tape.

I still have sentiments saved from the one time I stamped the awesome Simply Stated: Holiday stamp.  I love that you get all these sentiments at once and then can die cut them all at once with the Simply Stated die!  I used a foam tape strip to adhere the sentiment to my card.

For a bit of bling, I added gold and pearl stickers from the Merry Moments Pearl Stickers.

I hope you love this Lovely Layers: Nutcracker in the non-traditional colors as much as I do!  Thank you so very much for stopping by!  I hope your day is wonderful!

Thank you SO much for using my affiliate links to shop (never any additional cost to you)!
Wednesday, June 7, 2023

Woodsy Birthday Card with Embossing Folder Techniques

Hello Honey Bee friends!! I love ink smooshing watercolor panels anytime. But when you emboss that panel with an awesome embossing folder like the Into The Woods 3D embossing folder, it takes it to the next level!! Check out the details of how I made this woodsy card with the Summer Cabins that's great for a guy's birthday, but I know I'd love to get one like this too!

I also have a reel posted on my Instagram feed if you'd like to see some of the inky fun!

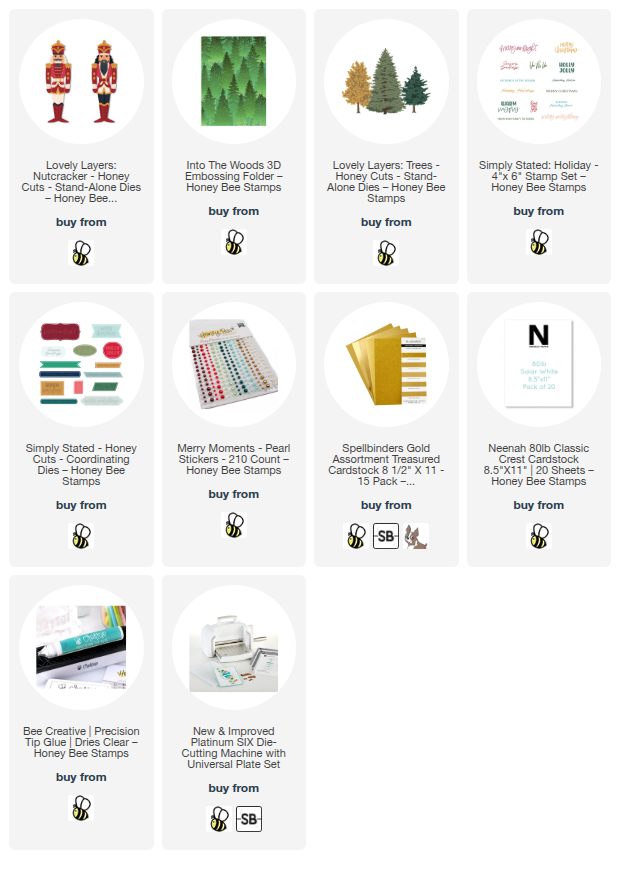
For the inky panel I used these Distress Inks: Mowed Lawn, Rustic Wilderness, Peeled Paint, and Forest Moss. I used a silicone mat and smooshed Peeled Paint and Forest Moss first. Just press each ink pad 3-4 times onto the mat. Then I used a water sprayer and spritzed water 4-5 times over the ink. I took a panel of watercolor cardstock and began to dip it.

Note: If you don't want ink to stain your fingers, be sure to use gloves. For the first layer, just press the cardstock into the ink two or three times. Use your heat tool to dry the ink. Then press it into the remaining ink and dry again. I repeated these steps with Mowed Lawn and Rustic Wilderness. As long as you dry between each dip into the ink, you will get beautiful layers.

Don't worry if you don't think it's perfect! Because with this next step it will turn into WOW! Take the Into The Woods embossing folder and use a brayer to roll on a dark green ink (I used Simon Says Stamp's Pine ink--linked below). Be sure to brayer the ink onto the side of the embossing folder that is the recessed area behind the trees.

Place your inky cardstock onto the non-inked side of the embossing folder. Carefully close the embossing folder closed and run it through your die cut machine with the suggested layers for embossing folders. I was totally amazed at the dimension this adds! Trim this to 4" x 5-¼" and adhere to an A2 card base.

Next I die cut one of the cabins in the Summer Cabins Honey Cuts from 80# Neenah. I used Copic markers to color all of the pieces. Here's a list of the colors I used:

  • Green pieces: G29, G28, G94, G24
  • Browns: E59, E57, E25
  • Chimney and stone foundation: W5, W3
  • Window lights: YR31

I used Bee Creative glue to adhere the layers together. If you need some help, be sure to check out the graphics in the product link. Then I used an oval from the new Sweets Stacks: Oval to cut a piece of vellum. I used tape runner and some dots of glue on the cabin and trees to adhere them to the oval. Now it's easy to hide the glue by adding tape runner on the back of the oval behind the cabin to adhere it to your card!

I stamped the sentiments from the Be Still stamp set with the Pine ink. Then I cut them out with the coordinating Honey Cuts. I used thin foam strips to pop them up onto the card.

This is such a fun technique and I hope I've given you inspiration today!  Thanks so very much for stopping by!  Have a crafty day y'all!

Thank you so much for using my affiliate links to shop (never any additional cost to you)!