Showing posts with label Simply Stated stamp set. Show all posts

Wednesday, December 3, 2025

Nutcracker Die Cut Holiday Card With Non-traditional Colors

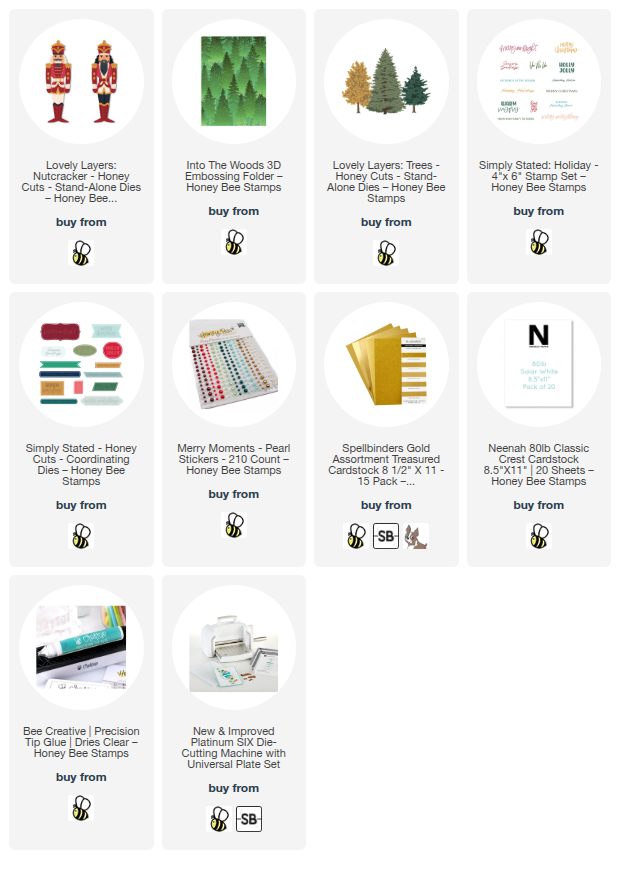
Hello crafty friends!  Now that we are into December, (can you believe it?!) I am making as many Christmas cards as I can and hope to still have time to mail them!  What about you?  Well, if you aren't finished either, I have some inspiration to share today!  My card features Honey Bee Stamps awesome Lovely Layers: Nutcracker dies.  Check it out!

I put a different twist on the Lovely Layers: Nutcracker by using pastel colors instead of the typical red.  I chose some minty green cardstocks, a very pale peach color cardstock, matte gold cardstock, and 80# Neenah to die cut each of the various layers.

I love how Honey Bee provides layering guides for the Lovely Layers sets!  The Nutcracker has some small die cut pieces, but the layering guides makes the assembly easy!  I used Bee Creative glue to adhere all of the layers together.

Note:  I did use a few Copic markers to color the skin and hair.

For the background, I embossed a 4-¼" x 5-½" piece of white cardstock with the beautiful Into The Woods 3D embossing folder and glued it to an A2 card base.

Then I cut white cardstock with my scissors to make a hilly, snowy ground layer and glued that at the bottom of my card.

For more detail, I die cut two shades of minty green and peach cardstocks with the Lovely Layers: Trees dies to create two trees.  For the tree trunk, I die cut gold matte cardstock.  I glued the large tree to the base.  Then I popped up the smaller tree and the Nutcracker with foam tape.

I still have sentiments saved from the one time I stamped the awesome Simply Stated: Holiday stamp.  I love that you get all these sentiments at once and then can die cut them all at once with the Simply Stated die!  I used a foam tape strip to adhere the sentiment to my card.

For a bit of bling, I added gold and pearl stickers from the Merry Moments Pearl Stickers.

I hope you love this Lovely Layers: Nutcracker in the non-traditional colors as much as I do!  Thank you so very much for stopping by!  I hope your day is wonderful!

Thank you SO much for using my affiliate links to shop (never any additional cost to you)!
Wednesday, November 26, 2025

A Holly Jolly Holiday Hello and A Sneak of the Black Friday/Cyber Monday Specials!

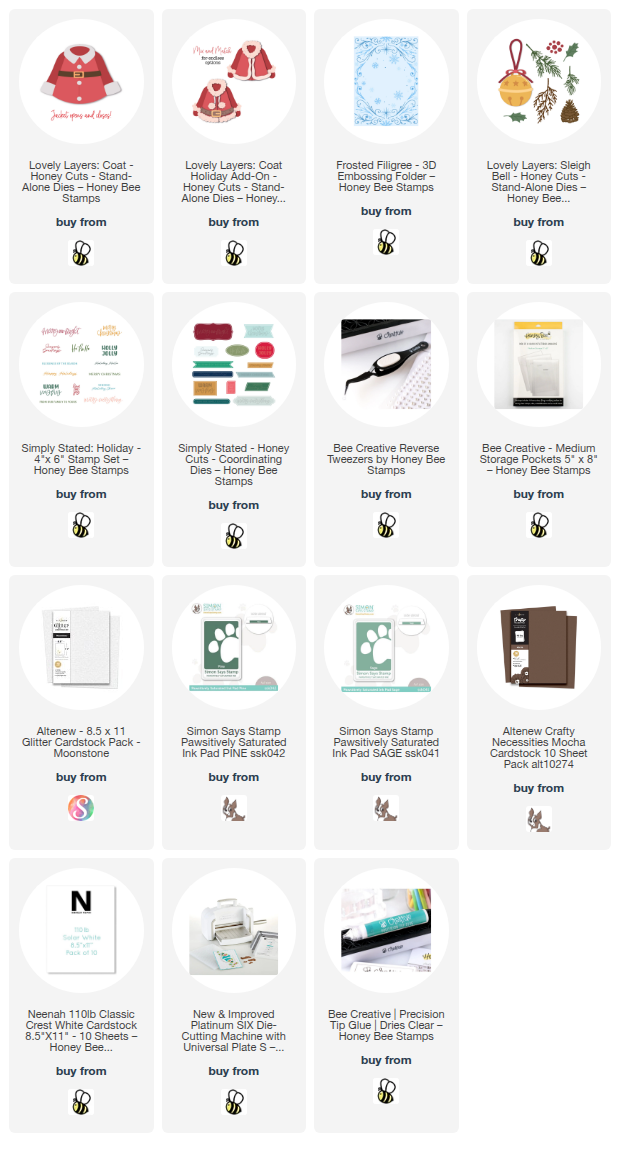
Hello crafty friends!  Today I'm sharing my card I made featuring the so fun and festive Honey Bee Stamps Lovely Layers: Coat and Lovely Layers Coat Holiday Add-on!  I love the decorative Santas I see in stores that are dressed in all white and have used that as my inspiration!

Before I get to my card details, today is the day that we are allowed to share with you the Honey Bee Stamps awesome Black Friday/Cyber Monday deals from!  Tomorrow, November 27, kick off the holiday weekend with 25% off your entire purchase — no exclusions!  No code needed — your discount will automatically apply at checkout.  (Please note:  Offer cannot be combined with any other sales, coupon codes, or Honey Coins.)

Read until the end for a first-ever extra holiday cheer giveaway!

The card base is 5" x 7" which was needed to accommodate the Lovely Layers: Coat and Holiday Add-on.  I embossed a 5" x 7" panel of white cardstock with the beautiful Frosted Filigree 3D embossing folder and glued it to the card base.

For the Lovely Layers: Coat and Holiday Add-on I chose white glitter cardstock along with white, brown, and silver mat cardstocks to die cut all of the layers from.  Note: I used 110# white cardstock for just a bit more dimension.

Referring to the layering guides available in each product's description, I adhered each layer with glue.  Because of the glitter cardstock, I did need to use my reverse tweezer to clamp the layers for a few minutes while the glue dried.  To get just a bit of a dimensional curve on the top layer of the Coat, I added a strip of foam tape down the center of the layered die cut.  Then I used foam tape to adhere the completed coat to the card.

To add a bit of color and interest to the card, I die cut the pine branches from the Lovely Layers: Sleigh Bell set from white cardstock.  I used blending brushes and two shades of green ink to color each branch.  After snipping just a bit from the ends of the branches, I used glue to adhere them to my card.

The sentiments are from the Simply Stated: Holiday stamp set and die cut with the Simply Stated Honey Cuts.  Because this is a one piece stamp and die, all I had to do was reach into the Honey Bee storage pocket and choose two of the sentiments I stamped from a previous project.  I used foam tape to adhere each one to my card.

I hope you love this all-white, sparkly version of the Lovely Layers: Coat and Holiday Add-on as much as I do!!  Be sure to save this blog post and come back tomorrow for the first day of Honey Bee's Black Friday sales!  I will be sharing the sales each day from Friday through Monday over on my Instagram, so be sure to check it out!

Now, here is the first-ever offered giveaway!

This means that for every individual order you make during the Black Friday/Cyber Monday sales weekend you will receive one entry for your chance to win a $100 Honey Bee gift card!  How awesome is that?!! 

Thank you so much for stopping by!  If you are in the USA, my wish for you is that you have a wonderful and happy Thanksgiving.  No matter where you are from, I hope you know that I am so very thankful for you!

Thank you so much for using my affiliate links to shop (never any additional cost to you)!

Wednesday, March 8, 2023

Happy Birthday Card with a Custom Quilted Background!

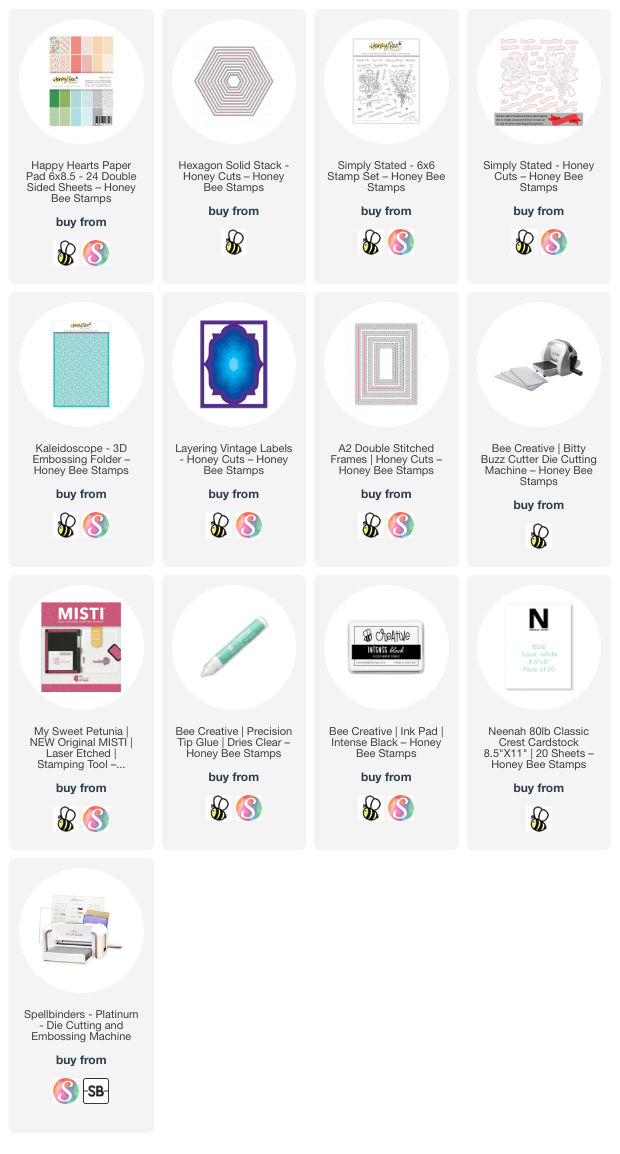
Hello crafty friends! Today I'm sharing a birthday card and I've created a quilted background layer with patterned paper from the Happy Hearts paper pad! I thought this made such a pretty layer for the bouquet in the Simply Stated stamp set!

I chose five different coordinating patterned papers from the Happy Hearts paper pad. Then I had lots of die cutting fun by cutting a bunch of little hexagons with the smallest die in the Hexagon Solid Stack Honey Cuts.  I was so happy that I have the Bitty Buzz Cutter to die cut these! It's small, easy to use, and will sit right in front of you, wherever you are! I die cut a fairly equal number of hexagons for each pattern. Next I used Bee Creative glue to adhere the hexagons to an A2 sized piece of white cardstock. I adhered them all the way to the edge and beyond. Here's a photo to show you:

After I had the entire card covered with hexagons, I used the largest A2 Double Stitched Frames die to cut it out. Then, I put the piece into the Kaleidoscope 3D embossing folder and ran it through my die cutting machine. This looks so pretty and adds that "quilted" look!!

Next I die cut a vellum layer with a die from the Layering Vintage Labels Honey Cuts and adhered it with just a few drops of glue in the center of the piece.

Next I stamped the flower bouquet from the Simply Stated stamp set in Intense Black ink. I colored it with Copic markers in colors that coordinate with the patterned papers. Then I cut it out with the coordinating Honey Cut. I added foam dots to the back of the bouquet to pop it up on my card.

I really wanted to add some gem stickers for sparkle, but after giving it a bit of thought, I decided that this card had enough going on! Haha!

Have you ever made a "quilted card"? You could use squares, diamond shapes, and triangles too! I sure hope I've inspired you with something a bit different today. Thank you so very much for stopping by! Have a wonderful and crafty day!

Thank you for using my affiliate links to shop (never any additional cost to you)!