Showing posts with label Simply Stated dies. Show all posts

Wednesday, December 17, 2025

Ho Ho Ho! A Vintage Santa Christmas Card

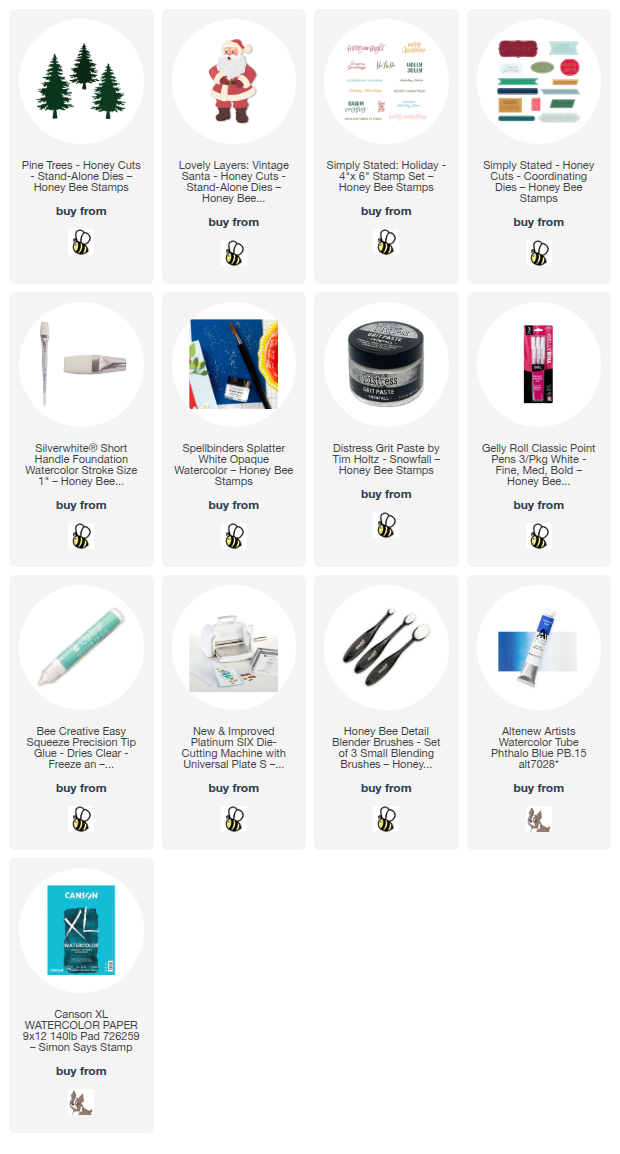
Hello crafty friends!  With eight days to go until Christmas, I thought I'd make a card to share with you using Honey Bee Stamps totally amazing Lovely Layers: Vintage Santa Honey Cuts.  The details on this Santa's face are truly amazing and so life like!

First I worked on making the Lovely Layers: Vintage Santa.  I die cut red and brown cardstocks with the clothing dies.  All other die cut pieces are from white cardstock.

I used Copic markers to color each die cut of the facial details.  Here is a list of colors I used:

  • skin tones: E11, E50, E51, E53
  • cheeks, tongue: R20, R21, R30
  • eyes: BG02, 100
  • shading hair/beard and trim on clothes: B0000, C00, C00, C01

I also used a dark red and brown Copic maker to add some quick shading to the clothes and boots.

Using the Layering Guide (link to download is in product description) is so helpful when assembling the layers for the first time.  I used Bee Creative glue to adhere each layer.  Then I added details to Santa's cheeks, hat, and clothes with a white gel pen.

Next I die cut green cardstock with the Pine Trees Honey Cuts.  I used a blending brush to add dark green ink for shading.  Then I used my finger to add Snowfall Distress Grit Paste here and there on the trees.  I set them aside to dry.

Next I created a fun bokeh watercolor background.  Later today, I will have a reel on my Instagram where you can see exactly how I made this.  The basic steps are as follows.

  • Trim watercolor paper to 5" x 7" and tape it down to your work surface with removable tape.
  • Use a wide flat paintbrush to wet the entire panel.
  • Starting at the top, brush on dark blue watercolor from side to side to create an ombre look.
  • For the bokeh dots I took a small piece of clean paper towel and wrapped a few coins of different sizes with it.  If you panel is still wet, just dab the wrapped coin onto the panel to lift the paint.
  • My panel was dry, so I misted just a bit of water onto the paper towel and pressed it onto the painted surface to lift off the paint.
  • Next I diluted bleed-proof white paint with a bit of water and added splatters to the panel with a paint brush.

When the splatters were dry, I diluted more white paint and used a brush to paint the snowy ground and dried it with my heat tool.  Then  I used a pallet knife to smear Snowfall Distress Grit Paste over the white paint.  This Grit Paste gives a subtle sparkle for the snow.

I adhered the dry panel to a 5" x 7" card base.  Then I used glue and foam tape to adhere all of the elements to the card.

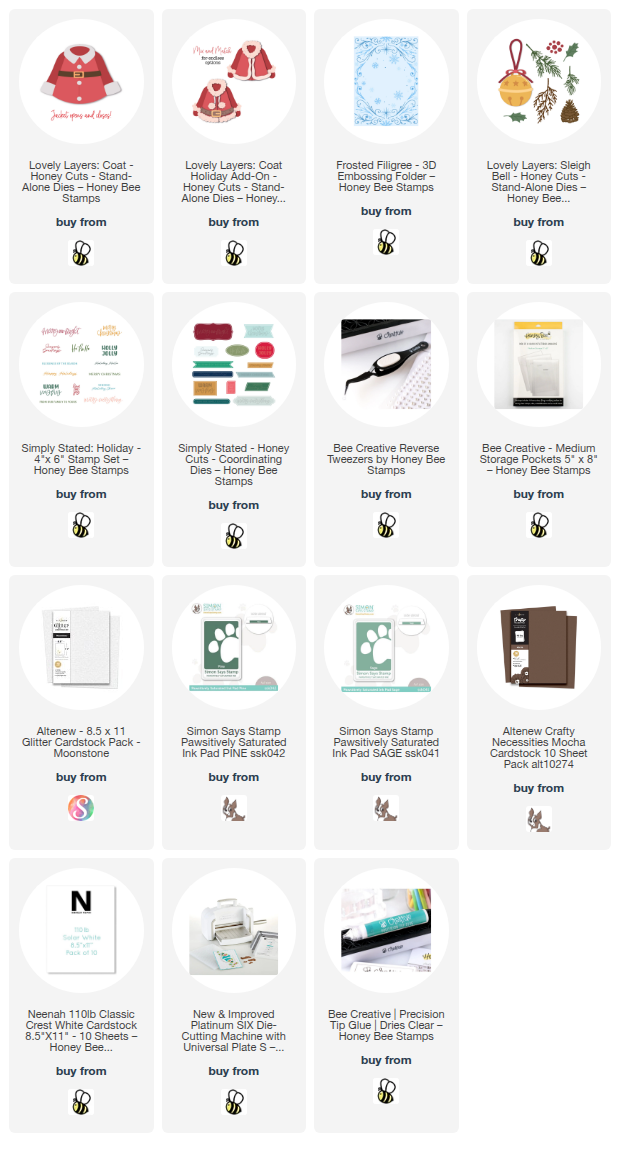
I'm still using the sentiments from the Simply Stated: Holiday stamp set.  I stamped this once a few weeks ago.  You get 14 sentiments on one stamp!  Then die cut them out all at once with the coordinating Simply Stated die.

I find creating backgrounds like this one so very relaxing!  Do you ever create inky backgrounds for your cards?  You should try it!  Just remember to have fun and don't worry about messing up--it's just paper!

Thank you so much for stopping by today!  I'll be back here on Christmas Eve to share one more holiday card!  Have a wonderful week until then!

Thank you so very much for using my affiliate links to shop (never any additional cost to you)!
Wednesday, November 26, 2025

A Holly Jolly Holiday Hello and A Sneak of the Black Friday/Cyber Monday Specials!

Hello crafty friends!  Today I'm sharing my card I made featuring the so fun and festive Honey Bee Stamps Lovely Layers: Coat and Lovely Layers Coat Holiday Add-on!  I love the decorative Santas I see in stores that are dressed in all white and have used that as my inspiration!

Before I get to my card details, today is the day that we are allowed to share with you the Honey Bee Stamps awesome Black Friday/Cyber Monday deals from!  Tomorrow, November 27, kick off the holiday weekend with 25% off your entire purchase — no exclusions!  No code needed — your discount will automatically apply at checkout.  (Please note:  Offer cannot be combined with any other sales, coupon codes, or Honey Coins.)

Read until the end for a first-ever extra holiday cheer giveaway!

The card base is 5" x 7" which was needed to accommodate the Lovely Layers: Coat and Holiday Add-on.  I embossed a 5" x 7" panel of white cardstock with the beautiful Frosted Filigree 3D embossing folder and glued it to the card base.

For the Lovely Layers: Coat and Holiday Add-on I chose white glitter cardstock along with white, brown, and silver mat cardstocks to die cut all of the layers from.  Note: I used 110# white cardstock for just a bit more dimension.

Referring to the layering guides available in each product's description, I adhered each layer with glue.  Because of the glitter cardstock, I did need to use my reverse tweezer to clamp the layers for a few minutes while the glue dried.  To get just a bit of a dimensional curve on the top layer of the Coat, I added a strip of foam tape down the center of the layered die cut.  Then I used foam tape to adhere the completed coat to the card.

To add a bit of color and interest to the card, I die cut the pine branches from the Lovely Layers: Sleigh Bell set from white cardstock.  I used blending brushes and two shades of green ink to color each branch.  After snipping just a bit from the ends of the branches, I used glue to adhere them to my card.

The sentiments are from the Simply Stated: Holiday stamp set and die cut with the Simply Stated Honey Cuts.  Because this is a one piece stamp and die, all I had to do was reach into the Honey Bee storage pocket and choose two of the sentiments I stamped from a previous project.  I used foam tape to adhere each one to my card.

I hope you love this all-white, sparkly version of the Lovely Layers: Coat and Holiday Add-on as much as I do!!  Be sure to save this blog post and come back tomorrow for the first day of Honey Bee's Black Friday sales!  I will be sharing the sales each day from Friday through Monday over on my Instagram, so be sure to check it out!

Now, here is the first-ever offered giveaway!

This means that for every individual order you make during the Black Friday/Cyber Monday sales weekend you will receive one entry for your chance to win a $100 Honey Bee gift card!  How awesome is that?!! 

Thank you so much for stopping by!  If you are in the USA, my wish for you is that you have a wonderful and happy Thanksgiving.  No matter where you are from, I hope you know that I am so very thankful for you!

Thank you so much for using my affiliate links to shop (never any additional cost to you)!