Showing posts with label Kaleidoscope 3D embossing folder. Show all posts

Wednesday, April 1, 2026

Sending Easter Blessing

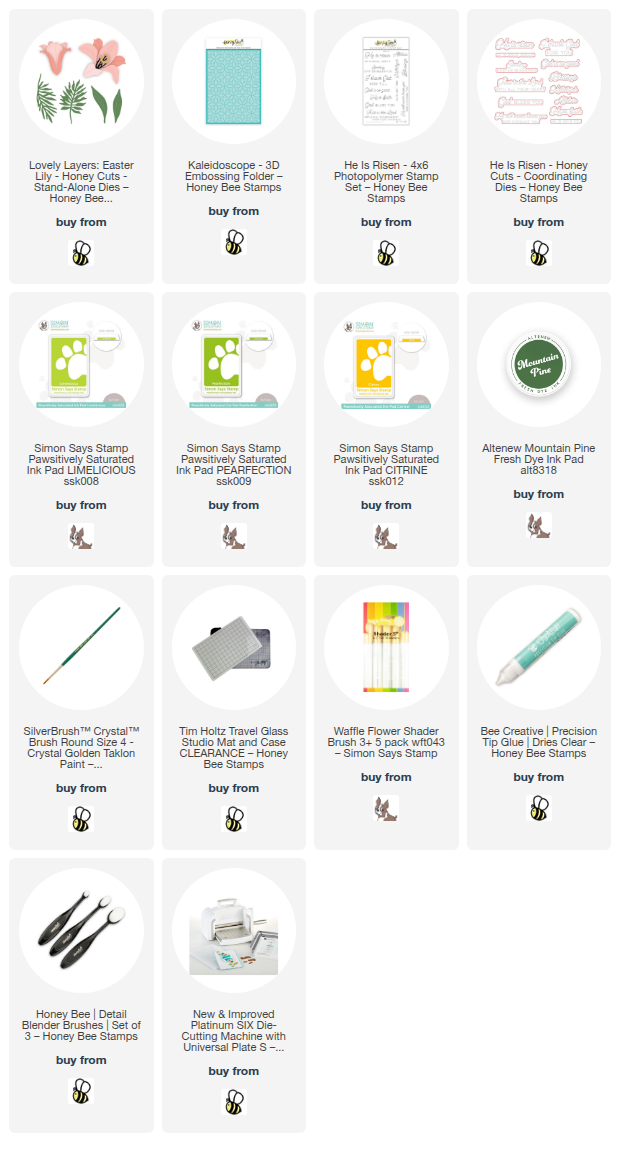
Hello crafty friends!  It's April, spring has sprung, and it's Easter weekend coming up!  All of that has inspired my card today that features Honey Bee Stamps' beautiful Lovely Layers: Easter Lily Honey Cuts!  This could easily be made into a springtime card for any occasion by changing out the sentiment!

First I worked on the A2 card base layer first.  I placed a piece of white cardstock into the Kaleidoscope 3D embossing folderand ran it through my die cutting machine.

Next I added yellow-green splatters to the panel.  I did this by smooshing my ink pad onto my craft mat and added a few drops of water.  Then I picked it up with a paint brush and splattered away!

I cut white cardstock with the dies from the Lovely Layers: Easter Lily set.  I repeated the die cutting for the lily so I can have two.

Next I picked two shades of yellow green inks and used a small ink blending brush to add some light green shading near the base of each layer of the lilies.  The flat tipped blender brushes (linked in the list below) really help to add ink in a narrow strip!  I used those inks plus a darker green ink to color the leaves and palm fronds.

The assembly is super easy for the Easter Lilies.  I used Bee Creative glue to adhere all of the layers.  I used glue and foam adhesive to adhere my Lily arrangement to the card.

The sentiment is from the He Is Risen stamp set and stamped with black pigment ink.  I cut it out with the coordinating die.

I totally love how Honey Bee's previously released products remain so timeless and I enjoy using them so much!

Thank you so much for stopping by today!  I hope your day is wonderful and that Easter is filled with many blessings for you!

Thanks so very much for using my affiliate links to shop (never any additional cost to you)!
Wednesday, December 6, 2023

Beautiful Amaryllis with 3D Embossing Folder Holiday Card

Hello, and happy December!  Today I'm sharing my card featuring Honey Bee Stamps gorgeous Holiday Blooms stamp set and coordinating dies

First I stamped the Holiday Blooms images with Copic safe black ink onto 80# Neenah.  I used these Copic markers to do my simple coloring:  B63, R29, R27, R35, Y13, C3, C2, C1, C00, green in flowers: YG13, YG11, G20; leaves: G07, YG17, YG25, YG23.

I have a little tip for the blending of the red colors of the pot.  I use B63 along the edges first.  Then go over that layer with my darkest red marker, R29.  Then I finish up, darker to lighter shades, with R27 and R35.  Using a B marker under the red is an easy way to add a deeper shadow without having to choose one of the super dark red Copic colors.

Next I cut the images out with the coordinating Holiday Blooms dies and added foam dots to the back.

For the background layers, first I found some pretty red cardstock from my stash and cut it to 4-¼" x 5-½".  Then I used ink blending brushes to add Aged Mahogany Distress Ink around the edges.  Then I used a lighter red ink from my stash to add more shading.  I finished up by adding just a bit of Black Soot Distress Ink just around the edges to deepen the shading even more!

Next I embossed the panel with the Kaleidoscope 3D embossing folder.  This is such a beautiful embossing folder!  Then I added white splatters with diluted white paint.  When the splatters were dry, I adhered it to an A2 card base.  

The sentiment is one of several included in the Holiday Blooms stamp set.  After I stamped it with black ink, I cut it out with the coordinating die.

I hope you've enjoyed my card making for today and have been inspired as well.  Thanks so much for stopping by!

Thank you for using my affiliate links to shop (never any additional cost to you)!

Wednesday, March 8, 2023

Happy Birthday Card with a Custom Quilted Background!

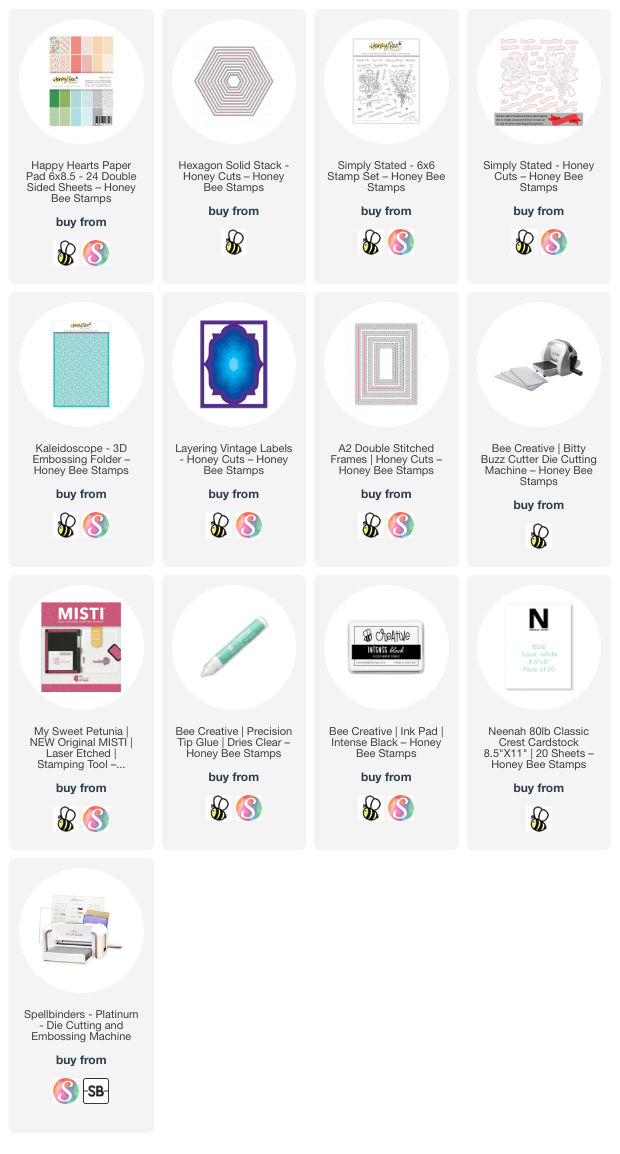
Hello crafty friends! Today I'm sharing a birthday card and I've created a quilted background layer with patterned paper from the Happy Hearts paper pad! I thought this made such a pretty layer for the bouquet in the Simply Stated stamp set!

I chose five different coordinating patterned papers from the Happy Hearts paper pad. Then I had lots of die cutting fun by cutting a bunch of little hexagons with the smallest die in the Hexagon Solid Stack Honey Cuts.  I was so happy that I have the Bitty Buzz Cutter to die cut these! It's small, easy to use, and will sit right in front of you, wherever you are! I die cut a fairly equal number of hexagons for each pattern. Next I used Bee Creative glue to adhere the hexagons to an A2 sized piece of white cardstock. I adhered them all the way to the edge and beyond. Here's a photo to show you:

After I had the entire card covered with hexagons, I used the largest A2 Double Stitched Frames die to cut it out. Then, I put the piece into the Kaleidoscope 3D embossing folder and ran it through my die cutting machine. This looks so pretty and adds that "quilted" look!!

Next I die cut a vellum layer with a die from the Layering Vintage Labels Honey Cuts and adhered it with just a few drops of glue in the center of the piece.

Next I stamped the flower bouquet from the Simply Stated stamp set in Intense Black ink. I colored it with Copic markers in colors that coordinate with the patterned papers. Then I cut it out with the coordinating Honey Cut. I added foam dots to the back of the bouquet to pop it up on my card.

I really wanted to add some gem stickers for sparkle, but after giving it a bit of thought, I decided that this card had enough going on! Haha!

Have you ever made a "quilted card"? You could use squares, diamond shapes, and triangles too! I sure hope I've inspired you with something a bit different today. Thank you so very much for stopping by! Have a wonderful and crafty day!

Thank you for using my affiliate links to shop (never any additional cost to you)!

Wednesday, December 28, 2022

Thank You Card with Layered Chickadee

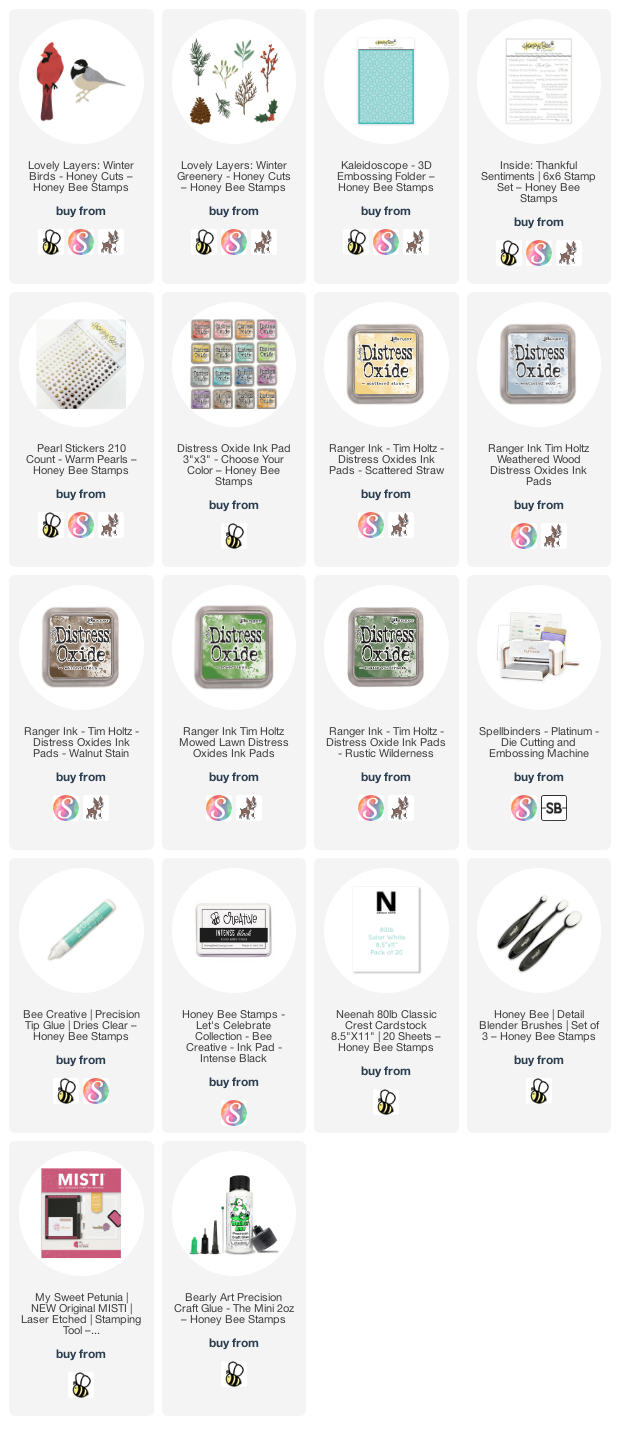
Hello crafty friends! I hope your holidays have been good! After all of the glitzed up cards of the holidays (which truthfully are my favorite-LOL) I'm sharing a more clean and simple thank you card featuring the Chickadee in the beautiful Lovely Layers: Winter Birds Honey Cuts by Honey Bee Stamps.

First I stamped the sentiment from the Inside: Thankful Sentiments set with black ink. The piece of 80# Neenah is A2 sized. I stamped the sentiment near the bottom in order to partially emboss it with the Kaleidoscope 3D embossing folder. You just place your card into the embossing folder with the stamped edge hanging out. Once you have it straight, then run it through your die cutting machine! I adhered it to an A2 card base with Bee Creative glue.

I die cut the branch and two leafy sprigs from the Lovely Layers: Winter Greenery from 80# Neenah.  Then I used Walnut Stain, Mowed Lawn, and Rustic Wilderness Distress Oxides to color them with detail blender brushes. I adhered the branch with glue, clipped apart the greenery and glued the pieces in place.

Next I die cut the pieces of the Chickadee from the Lovely Layers: Winter Birds. I used 80# Neenah and black cardstock. Then I quickly blended on some Weathered Wood and Scattered Straw Distress Oxide inks. Here's a photo for you to see what the individual pieces look like:

I used glue to adhere the chickadee layers and adhered it to my card with some foam squares. I added pearls from the Warm Pearls pearl sticker set to the branch for a bit of bling.

I hope I've given your some ideas for your thank you cards! I'll definitely be keeping these Winter Birds out to use year round (we have cardinals and chickadees all the time where I'm at). Thank you so much for stopping by today! See you next year!!

Wednesday, November 16, 2022

Potted Poinsettia Holiday Card & 3D Embossing Folder

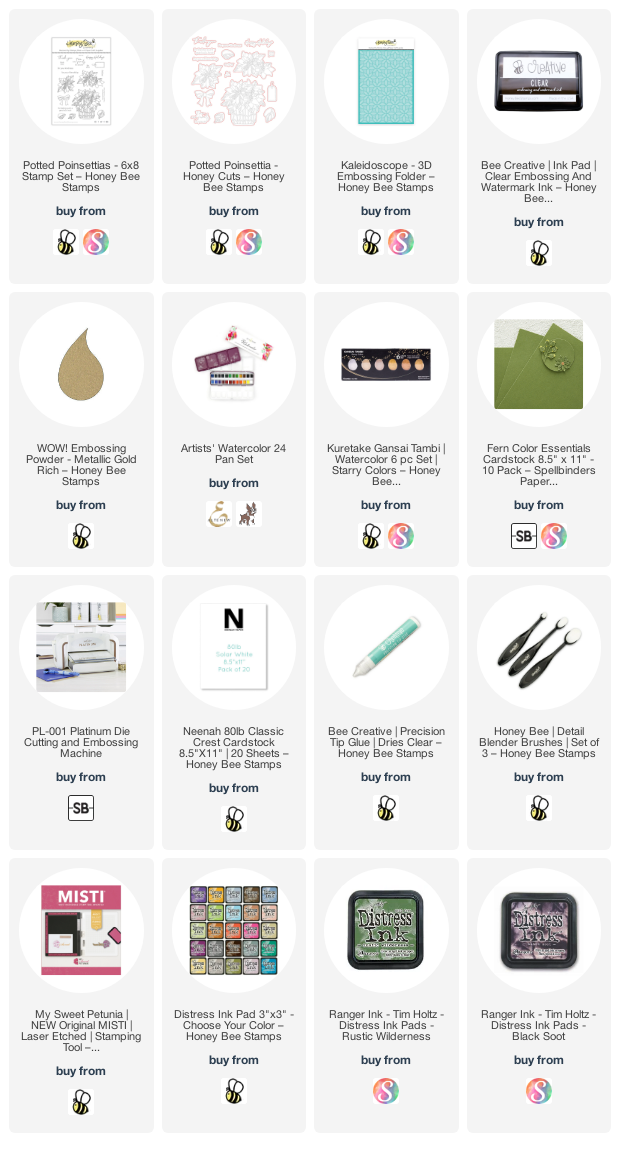
Happy Wednesday friends! Today my card features a few new products from Honey Bee Stamps wonderful Make it Merry release.  I've used the beautiful Potted Poinsettias stamp set and coordinating dies for this card.  The new Kaleidoscope 3D Embossing Folder made the perfect background for these gorgeous watercolored poinsettias!

First I created the background by running some dark green cardstock through my die cutting machine with the Kaleidoscope 3D embossing folder. I love the look of inked edges on colored cardstock! I used a couple detail blender brushes to ink up the edges with Rustic Wilderness and Black Soot Distress Ink. Then I used a paintbrush to dilute some gold metallic watercolor and add splatters to the embossed panel. I used Bee Creative glue to adhere the panel to an A2 card base.

Then I stamped all of the flowers, leaves, the bow and sentiment from the Potted Poinsettias stamp set onto Bristol Smooth cardstock with clear embossing ink. Don't forget to use your anti-static tool first! Then I sprinkled on gold embossing powder and heat set it.

I used some watercolors I have in my stash to paint the flowers and other elements of the image. I ended up not using the other poinsettias, but now I have some to use for another card! I watercolored the bow with the same gold metallic watercolor that I splattered on the background. Once everything was dry, I die cut the images with the coordinating dies.

I hope you've enjoyed my card process and have found some inspiration for your own cards!  Thank you so much for stopping by!

Thank you for using my affiliate links (never any additional cost to you).