Showing posts with label A7 Double Stitched Frames. Show all posts

Wednesday, June 14, 2023

Retirement Card Using Products in an Unexpected Way!

Happy Wednesday crafty friends! This retirement card I'm sharing today features a few new products from Honey Bee Stamps newest Adventure Awaits release along with some previously released products that I still love! When I was making this card, I was reminding myself that I (we) need to always look at the products for what they are, not what they may be called. Keep reading and you'll see what I'm talking about!


Here is the first example of looking just at the product, not at what the name of it is. I used the Ocean Circlescape Honey Cuts to create a small "lake" scene that would coordinate with the new Lovely Layers: Rod & Reel and the Lovely Layers: Trees!

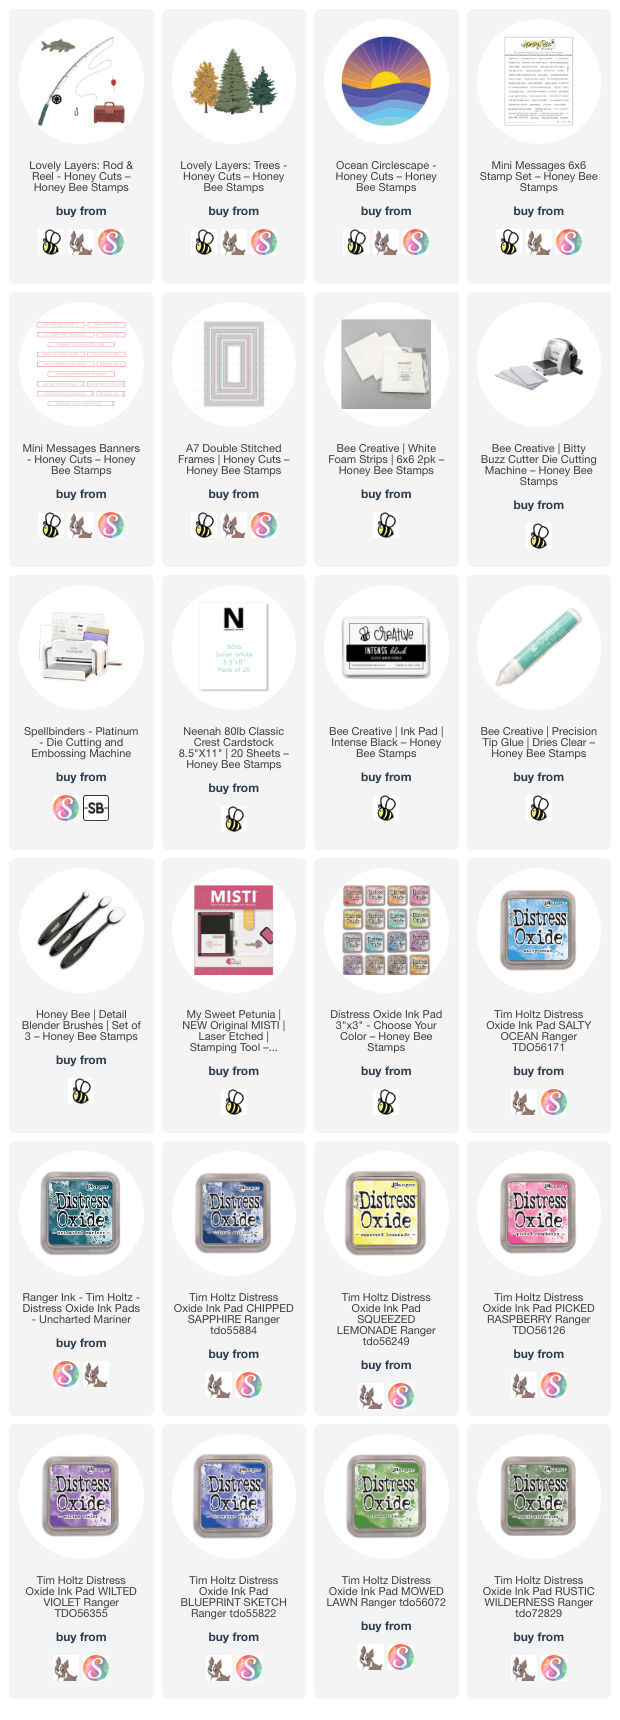
After I die cut the Ocean Circlescape die from 80# Neenah, I added a few pieces of removable tape to the back of the "lake" layers for ease of ink blending. Then I used several Distress Oxide inks and my Detail Blending brushes to color the lake and sunset. For the lake I used: Chipped Sapphire, Uncharted Mariner, and Salty Ocean. I added some water splatters and white paint splatters to the waves. For the sunset I used: Squeezed Lemonade, Picked Raspberry, Wilted Violet and Blueprint Sketch. 

I cut a circle with a die from the Circlescape Shaker Frames Honey Cuts. Then I used Bee Creative glue to adhere the Ocean Circlescape to the die cut circle.

The Lovely Layers: Rod & Reel pieces were die cut from 80# Neenah and the rod portion from silver cardstock. I used a few Copic markers to color the rod pieces, tackle box, and the fish. I used glue to adhere the rod pieces together.

The Lovely Layers: Trees are also die cut from 80# Neenah and colored with Mowed Lawn, Rustic Wilderness, and Twisted Citron Distress Oxide inks. I colored the trunks with a brown Copic marker.

Here is the second example of looking at the product, not the name. I die cut a piece of paper from the Make It Merry paper pad with the largest A7 Double Stitched Frames die for the card base layer. It was the perfect color to coordinate with my card!

The sentiment strips from the new Mini Messages: Everyday are stamped with Intense black ink and die cut with the coordinating dies. The trees and sentiments have foam tape to pop them up a bit, and the other elements are adhered with glue.

I love combining new products with older favorites! And with this design and card style, just switch out the sentiment to make a birthday, Father's Day, or other masculine card.

I hope you've found inspiration today for looking at your Honey Bee goodies in a different way! If you give this a try, I hope you'll share it over on the Honey Bee Buzzworthy Facebook group (you can share any card made with Honey Bee products in addition to the challenge cards) and tag me--I'd love to see what you create! Thank you so much for stopping by!

Thank you very much for using my affiliate links (never any additional cost to you)!
Wednesday, May 18, 2022

Vintage Hive All-Occasion Card

Happy Wednesday! I love making cards that are suitable for lots of occasions, and my card featuring Honey Bee Stamps new Vintage Hive stamps and coordinating Honey Cuts is another one for my stash! I decided to step outside my usual color comfort zone and play with colors I don't normally. Read on for the details!

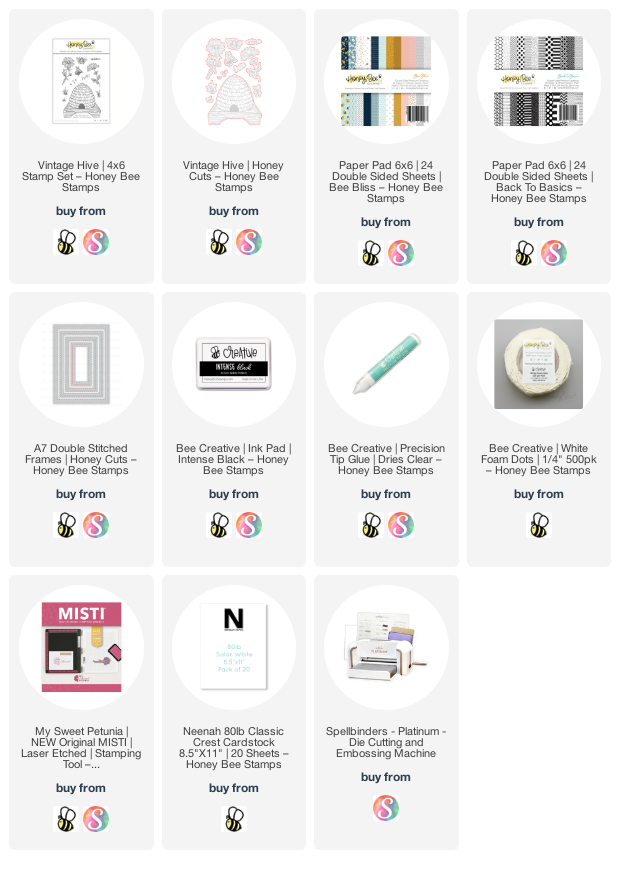
First I stamped all of the Vintage Hive stamp set images with Intense Black ink. This is a fabulous ink for Copic coloring, which I did next. I created the look of a worn painted wooden stand by adding in some brown Copics, then finishing it with blue-green colors. For the hive I used markers that were much less of a bright yellow, as I might have typically used. This time I colored it with YR27, YR24, YR23, and YR12. I stamped the grass pieces with green ink, and then I used the coordinating Honey Cuts to cut them out.

I began to plan my arrangement for the images on an A2 card base. I quickly realized I needed more room!! So I went with an A7 card base made from 80# Neenah. Then I die cut a black layer with the largest A7 Double Stitched Frames die. I adhered it to the card with Bee Creative glue. Then I used some patterned paper from the new Bee Bliss paper pad (I love the little bees on this paper!) and gingham piece from the Back to Basics paper pad. I added a narrow black card stock strip between the two pieces. This layer measures 5-7/8" x 4".

I adhered the images to the card with foam dots and Bee Creative glue. I tied a little gingham bow and adhered it to the hive with a glue dot. The sentiment is from the Vintage Hive set and die cut with the coordinating Honey Cut. I absolutely love having coordinating dies for sentiments!

I always appreciate that you've stopped by for an extra look at my cards!  I hope you have a wonderful day!

Wednesday, September 1, 2021

Lots of Lovely Layers Birthday Card | Honey Bee Stamps

Happy September crafty friends!  Today I have a card where I've used four of the Honey Bee Stamps  gorgeous Lovely Layers Honey Cuts including the newest Lovely Layers: Sunflower from the Autumn Splendor release.  I had so much fun coloring these with ink blending brushes and arranging them on my 5" x 7" card.  The colors I used are a kind of transition towards autumn, but y'all, it's still HOT here in Texas, so my brain is not quite to full on autumn colors.  Hopefully soon our weather will feel like it!

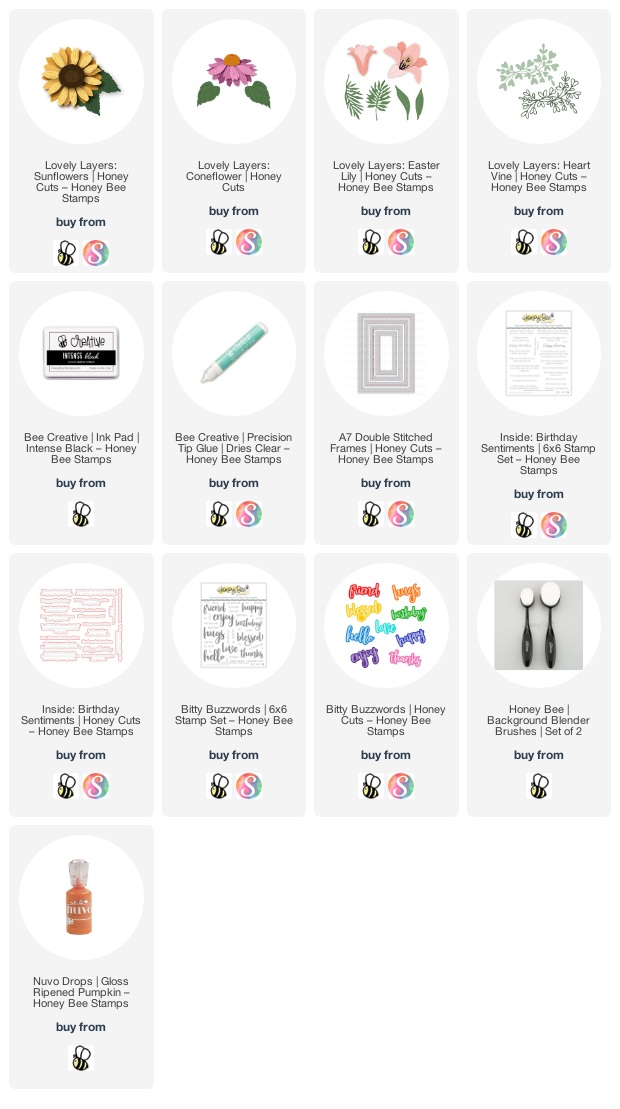
For this card I used these die sets:  Lovely Layers: Sunflowers; Lovely Layers: Coneflower; Lovely Layers Easter Lily; and Lovely Layers: Heart Vine.  I die cut them all from 80# Neenah Solar White card stock.  Then I used a few Background Blender Brushes and various inks from my stash to color the pieces.  (I have all of the brands/colors I used listed at the end.)

Next I used Bee Creative glue to adhere all of the flower layers together.  While the flowers were drying, I made my card base by scoring a 7" x 10" piece of card stock at 5".  Before I added my flowers to the card front, finally!, I remembered to stamp a sentiment inside!  Haha!  I used sentiments from the Bitty Buzzwords and Inside: Birthday Sentiments and stamped them with Intense Black Ink.  There are coordinating die sets for both of these, which I've linked below.  Then I die cut some textured white card stock from my stash with the largest A7 Double Stitched Frames die.  I adhered it to my card front.

I stamped the sentiment for the card front, again, from the Inside: Birthday Sentiments with Intense Black Ink.  I love how these work for the outside of your card too!  Then I die cut it with the coordinating die.

Next I arranged my flowers and leaves on my card front, fussing around with them a bit till I was happy.  I did snip the Lovely Layers: Heart Vine into pieces to tuck them in around the arrangement.  I adhered everything with Bee Creative glue or a few foam squares.

I used just a small piece of a thin foam strip to attach the sentiment.  Then I felt like I needed a few extra details on my flowers.  I used a fine point marker on the sunflower center to highlight the etched lines from the die.  I did the same with a matching pencil for the coneflower.  I used Copic YR12 to add little dots on the lily.  Then I added some Ripened Pumpkin Nuvo Drops to the stamen of the lily.  I added some sparkle to the other flower centers with a clear glitter pen.

I hope you've enjoyed my card with the amazing Honey Bee Stamps Lovely Layers sets!  Thank you so much for stopping by!

Inks/brands I used to color the images:
Coneflower: Simon Says Stamp Blue Violet, Wisteria; Distress Ink: Peeled Paint, Mowed Lawn
Sunflower:  Simon Says Stamp Lemon Chiffon, Sunshine, Key Lime, Jellybean
Lily: Simson Says Stamp Sunshine, Distress Ink: Spiced Marmalade
Heart Vine: SSS Key Lime, Jellybean

For more info on any of the products, just click the image.

Wednesday, July 14, 2021

You're My Favorite Flower! | Honey Bee Stamps

 Happy Wednesday friends!  Today I'm sharing this A7 sized card that features Honey Bee Stamps adorable Sandie and Sis stamp set and the coordinating Honey Cuts.   I had lots of fun tucking little Sis into the wheelbarrow of flowers and dressing her and Sandie in some paper pieced hats and apron!  Read on for the details!

To begin, I die cut the largest A7 Doubled Stitched Frames Honey Cut from 110# Neenah Solar White card stock.  I added some purple tape to mask off the edges, then I used the Background Blender Brushes and Hexagon Palm Blender brush (which I love for its flat surface when blending larger areas) to blend on the sky and grassy background.  I used Salty Ocean, Mowed Lawn, and Rustic Wilderness Distress Oxide inks.

Next I die cut a fence with the fence die found in the Horizon Slimline Borders Honey Cuts.  This slimline die set is such a great one to have on hand since you can use the die cuts for any size card!  I adhered the fence to the background and added the penal to a top-folding a& card base with Bee Creative glue.  I set this aside to work on my card elements.

I stamped the images from the Sandie and Sis stamp set with Intense Black ink, which is alcohol marker friendly.  I truly love this ink!  I have tried several other black alcohol friendly inks and this one is definitely my favorite!  I colored all of the images with my Copic markers and then used the coordinating Honey Cuts to cut them out.

Next I stamped the little hats and apron with Bee Creative Intense Black ink onto some patterned paper from the Summer Stems 6x6 paper pad.  I die cut them with the coordinating Honey Cuts  but decided to fussy cut up to the black stamped line.  I used my Memento Tuxedo Black markers to go around the edges to hide the white core of the paper--it really gives them a more finished look.  Next I adhered the hats and apron to the bears with Bee Creative glue.  I adhered little Sis in the wheelbarrow after I trimmed off the bottom of the image so it wouldn't show.  I wend ahead and glued a few flowers in the wheelbarrow and one for each bear to hold.

I stamped the sentiment from the My Favorite Flower stamp set and die cut it with the coordinating Honey Cut.  Then I added foam tape to the bears, wheelbarrow, sentiment, bees butterfly, and a few of the flowers and added them to my card.  To finish it up, I used a white gel pen to add details to the hats, apron, and wheelbarrow just for fun!

I just adore this sweet set and can see using it many different ways!  Thank you so much for stopping by!

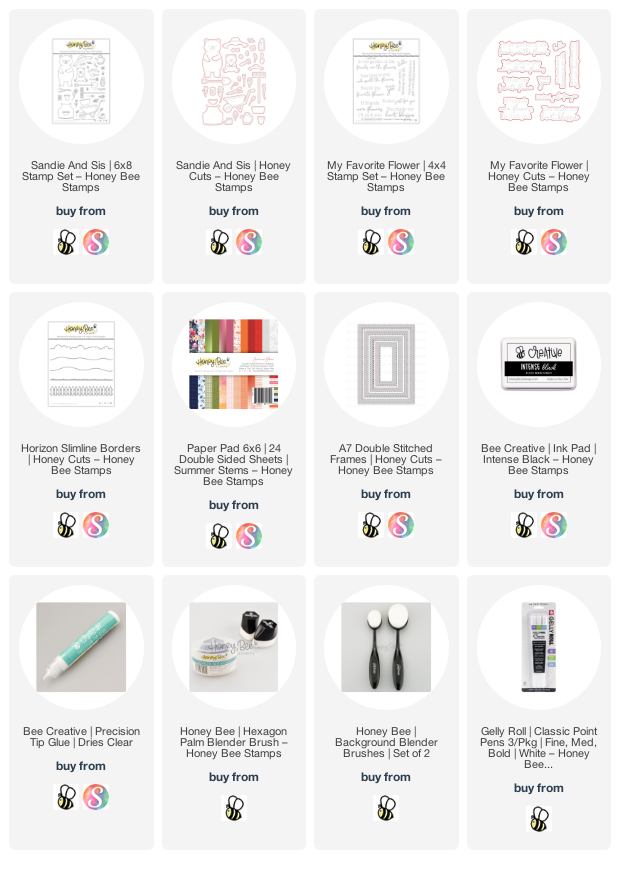
Links to products I used, if you'd like more information.

Wednesday, July 7, 2021

Bicycling Through The Wildflowers

Happy Wednesday crafty friends!  Today I have a card featuring Honey Bee Stamps Wildflowers stamps and dies with the Bicycle Builder die set!  I love the thought of biking through a field of wildflowers!  How about you?!  Read on for the details! 

My card is an A7 sized card.  I created the panel by die cutting the largest A7 Double Stitched Frames with white card stock.  (I have all supplies linked below--thank you if you use my links.)  I die cut the grass and hills from two shades of green card stock using the dies in the Horizon Slimline Borders die set.  (These are so versatile as you can cut them down from their 8-½" length to work with any sized card!  There's also a cloud and fence die in the set.)  I die cut the grass and hills by using the same A7 Double Stitched die.  I stenciled in some clouds using a stencil from the Outdoor Scene Builder set with a Background Blender brush and Tumbled Glass Distress Oxide.  I adhered the pieces to a side-folding A7 card base.

Next I stamped the flowers, butterfly and bees from the Wildflowers stamp set in Bee Creative Intense Black ink, which is Copic safe, and colored them with my Copic markers.  I used the coordinating dies to cut them out.

Next I used the Bicycle Builder die set to create the bicycle.  I die cut the pieces from teal, silver, and black card stock and adhered them all together with Bee Creative glue.  I adhered the bicycle to the card with some glue.  Then I popped up the green plant with foam squares and adhered it to the card.  I tucked in the flowers adding glue just to the bottom of the stems.  I also trimmed a few of the stems before adhering them.  I didn't add glue or foam to the back of the flowers so that they kind of float!  Gives the card just a touch of dimension!

The sentiment is from the My Favorite Flower stamp set and is stamped with Intense Black Ink.  I die cut it with the coordinating die and added some thin foam strips to pop it up.  I also popped up the butterfly and bees.  I absolutely love how Honey Bee has so many sentiments with coordinating dies!  Makes it so easy to play around with your placement!

Well, I hope you enjoyed our bide ride through the meadows!  LOL!  Thank you SO much for stopping by!

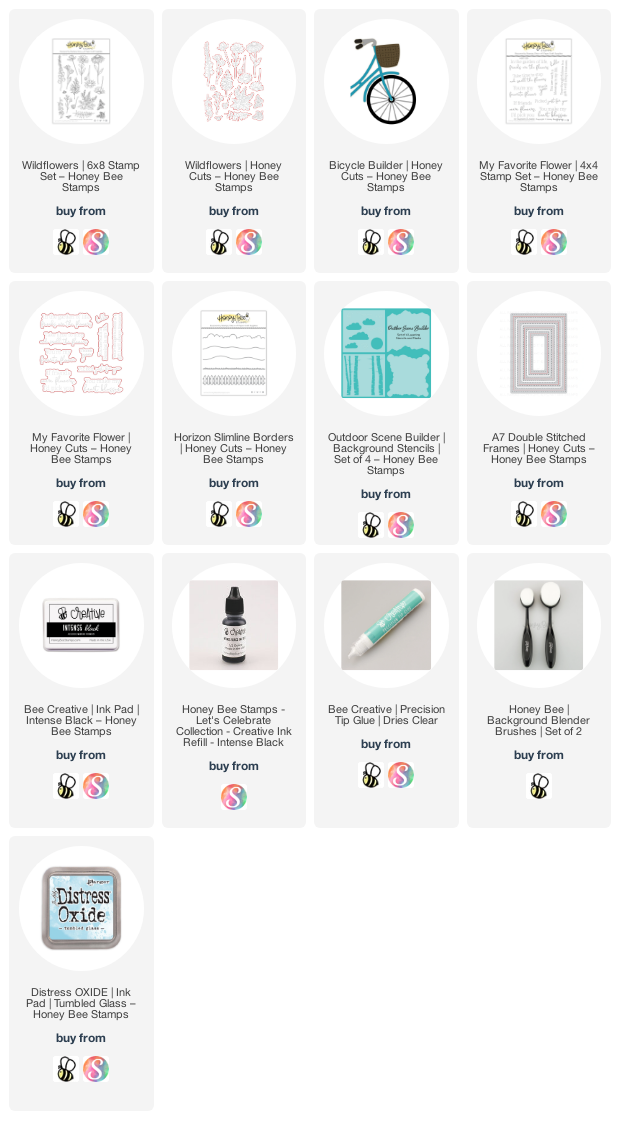
Thank you, should you use my links: