Showing posts with label Back to Basics paper pad. Show all posts

Wednesday, May 18, 2022

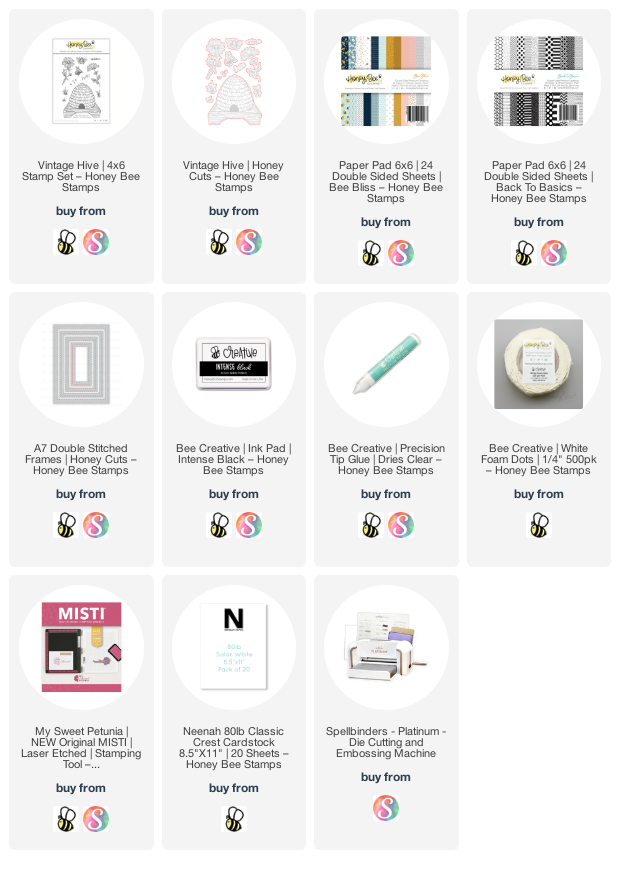
Vintage Hive All-Occasion Card

Happy Wednesday! I love making cards that are suitable for lots of occasions, and my card featuring Honey Bee Stamps new Vintage Hive stamps and coordinating Honey Cuts is another one for my stash! I decided to step outside my usual color comfort zone and play with colors I don't normally. Read on for the details!

First I stamped all of the Vintage Hive stamp set images with Intense Black ink. This is a fabulous ink for Copic coloring, which I did next. I created the look of a worn painted wooden stand by adding in some brown Copics, then finishing it with blue-green colors. For the hive I used markers that were much less of a bright yellow, as I might have typically used. This time I colored it with YR27, YR24, YR23, and YR12. I stamped the grass pieces with green ink, and then I used the coordinating Honey Cuts to cut them out.

I began to plan my arrangement for the images on an A2 card base. I quickly realized I needed more room!! So I went with an A7 card base made from 80# Neenah. Then I die cut a black layer with the largest A7 Double Stitched Frames die. I adhered it to the card with Bee Creative glue. Then I used some patterned paper from the new Bee Bliss paper pad (I love the little bees on this paper!) and gingham piece from the Back to Basics paper pad. I added a narrow black card stock strip between the two pieces. This layer measures 5-7/8" x 4".

I adhered the images to the card with foam dots and Bee Creative glue. I tied a little gingham bow and adhered it to the hive with a glue dot. The sentiment is from the Vintage Hive set and die cut with the coordinating Honey Cut. I absolutely love having coordinating dies for sentiments!

I always appreciate that you've stopped by for an extra look at my cards!  I hope you have a wonderful day!
Wednesday, August 18, 2021

You Are Pawsome! | Honey Bee Stamps

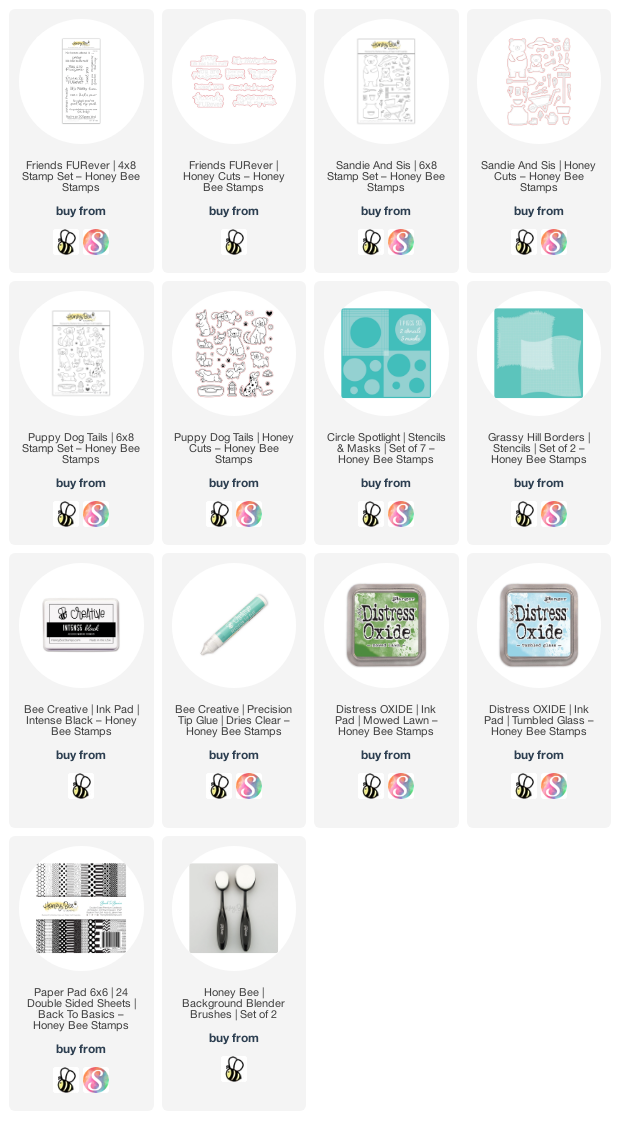
 Hello friends!  Today I'm sharing a cute puppy card using Honey Bee Stamps Puppy Dog Tails stamps and Honey Cuts!  I've loaded the adorable pups into a wheelbarrow that's in the Sandie and Sis set.

I began by stamping my images with Intense Black Ink (my favorite for Copic coloring!) and colored them all with my markers.  Here are the Copic colors I used for the main images:

  • Dog 1 (left to right): C7, C5, C3, C1, C0; for all dogs' ears/cheeks I used R20 and R30
  • Dog 2:  E55, E53, E51
  • Dog 3:  E59, E57, E55, E53, E51, E34
  • Dog 4:  C9, C7, C5, E18, E15, E13
  • Wheelbarrow:  B39, B37, B34, N9, N7, N5, N4, N2, N0

When I finished coloring everything, I die cut them using the coordinating Puppy Dog Tails and Sandie and Sis Honey Cuts.  Next I stamped the sentiments from Friends FURever stamp set in Intense Black ink and die cut them with the coordinating Honey Cuts.

Next I worked on my background for the images.  I placed the largest circle stencil from the Circle Spotlight Stencils & Masks set on an A2 white cardstock panel.  Then I positioned the hill stencil from the Grassy Hill Borders stencil set under the circle stencil.   (Check out the following photo to see the stencil positions.)  Then I used a couple Background Blender Brushes to ink on Tumbled Glass Distress Oxide for the sky and Mowed Lawn Distress Oxide for the hill.  I added some water spatters to the green hill, let it dry, and then removed the hill stencil.  I then added white spatters with some diluted white gauche.

I used a circle die from my stash that coordinates with the size of the stenciled background to cut it out.  I used one size smaller circle die to due cut a piece of a foam sheet that I added to the back of the circle.  I added it to a card base that I created with some black cardstock and a piece of patterned paper from the Back To Basics 6 x 6 paper pad.

Next I adhered my cute little images to the card front with Bee Creative glue.  I did need to trim off the bottom of the dog on the left for him to fit into the wheelbarrow.  I popped up the sentiments with some foam squares and added them to the card.

I used a black gel pen to trace over the dogs' eyes and noses to help them stand out a bit more.  A few touches here and there with a white gel pen finished up the card.

I had lots of fun creating my card with these adorable pups!  Now, if you are totally a cat person, check out the adorable Smitten Kittens set (link is below)!  A wheelbarrow full of kitties would be so cute too!  I hope you've enjoyed my card today.  Thank you so much for stopping by today!

Thursday, September 3, 2020

Thank You Berry Much! | Honey Bee Stamps

Happy Thursday my friends!  It's still so hot, and humid, here in Texas and I'm not yet in the mood for making a fall themed card!  So, I've used Honey Bee Stamps new Freshly Picked stamps and Honey Cuts  along with a favorite of mine that's been out a while, Bushel and A Peck!  

Other than coloring the basket, this card was super quick to put together!  I started with an A2 card base and added a piece of 4" x 5-¼" piece of gingham paper from the Back to Basics paper pad.  I topped that with 80# Neenah that I cut to 3-¾" x 5".  The Bee Creative Precision Tip glue is perfect for this!

I used the basket from the Bushel and A Peck set and stamped it in Copic safe ink.  I wanted a smaller basket, so I fussy the basket and also cut off the top portion.  I colored the bottom of the basket with these Copic colors: E59, E57, E55, E23, and E53.  I added foam tape to the back.  Next I die cut the grass in two shades of green with the Grass Border Honey Cuts.   I adhered one piece to the white layer with glue, and added foam tape along the bottom edge of the top grass piece.

  I used the outline stamp for the strawberry in the Freshly Picked set and stamped it in Versafine Onyx Black ink.  Next I used the solid strawberry stamps and stamped them out in Concord & 9th's Poppy and Parsley ink--this is a quick and easy way to get your stamped images colored!  I die cut them with the coordinating dies.  I arranged them in the basket, adding foam tape to all but one.  Once I had all the pieces ready, I added them to the card.

I stamped the sentiment from the Pearfect Sentiments set with Versamark onto black card stock.  I added white embossing powder and heat set it and die cut it with the coordinating Honey Cut.  I popped it up with some foam squares.  While I had the sentiment set out, I stamped another sentiment inside the card and used an extra strawberry and strip of gingham paper to finish it off.  For a bit of bling on the card front, I added white gel pen accents to the strawberries, Glossy Accents to the basket, and a few of the oh, so cute strawberries from the Strawberry Daiquiri sequin mix.

Thank you so much for stopping by!  I'm not quite done with summer yet, but stay tuned, because soon you will be seeing a lot of autumn cards using some awesome new products!

Supplies: