
Hello crafty friends! Today I'm sharing my card that features Honey Bee Stamps awesome Lovely Layers: Antique Sewing Table. I plan on using this for a birthday card to give to someone that is an amazing seamstress! Fun fact: I actually have a very old Singer sewing machine (that works!) that was gifted to me by my sweet mother-in-law.

I REALLY wanted to try to replicate the look of the Singer sewing machine I have with the machine die in the Lovely Layers: Antique Sewing Table. After trying a couple ideas that failed, I decided to try tapping gold ink onto the raised portion of the sewing machine die. I used Metallic Gold ink and took the corner of a paper towel to wipe away as much of the excess ink that I could.
I carefully placed the die cut side down onto black cardstock and ran it through my die cutting machine. I have to say, I am quite pleased with the way it came out! Next I die cut all of the other pieces of the Sewing Table from white and metallic cardstocks. I colored the white cardstock with a few Copic markers and then adhered the layers with glue.
I colored in the de-bossed areas of the sewing table with two fine line pens. If you have a pen with a very fine point, this is quite easy.
Next I die cut pink and green cardstocks with the Lovely Layers: Cherry Blossom dies. I used ink blending brushes to add a bit of ink to the pieces for dimension. I used glue to assemble the layers of the Cherry Blossom branch.

With my card elements complete, I created an A2 card with a pink layer of paper. This paper is one that is in the "FreeBee" paper pack that you will receive with a qualifying Honey Bee Stamps purchase of $100 or more.
I die cut a piece of vellum with the second largest Double Stitched Ovals die. Then I used glue to adhere the Antique Sewing Table and the Cherry Blossom branch to the vellum. On the back of the vellum, I added foam tape behind the the die cut pieces so it wouldn't be visible and adhered the piece to my card.
I stamped a sentiment from the Sew Glad stamp set in black ink and then cut it out with the coordinating die. To finish up, I added a few pearls from the Pastel Pearl Stickers.

I truly love how this turned out! Especially the sewing machine! Do you think you would try making one like this? I sure hope I've inspired you to give it a try. Thanks so much for stopping by today!
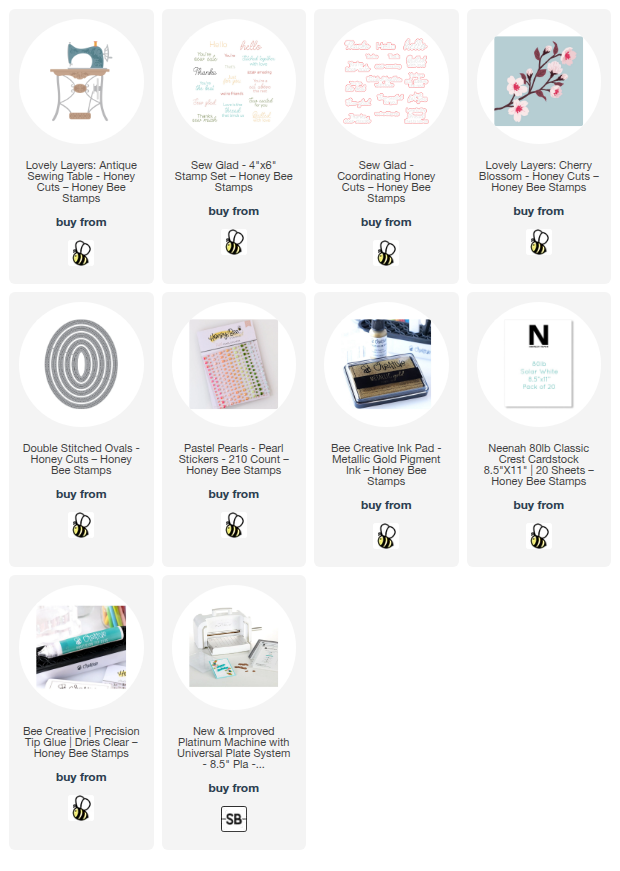
Thank you for using my affiliate links to shop (never any additional cost to you)!
Fabulous! I love that your replica is a very GOOD replica -- the gold was a brilliant idea, and the other details add so much to the antique look
ReplyDelete