Showing posts with label Pastel Pearl Stickers. Show all posts

Wednesday, May 13, 2026

Congrats Card with Watercoloring, Texture Paste, and Stencils

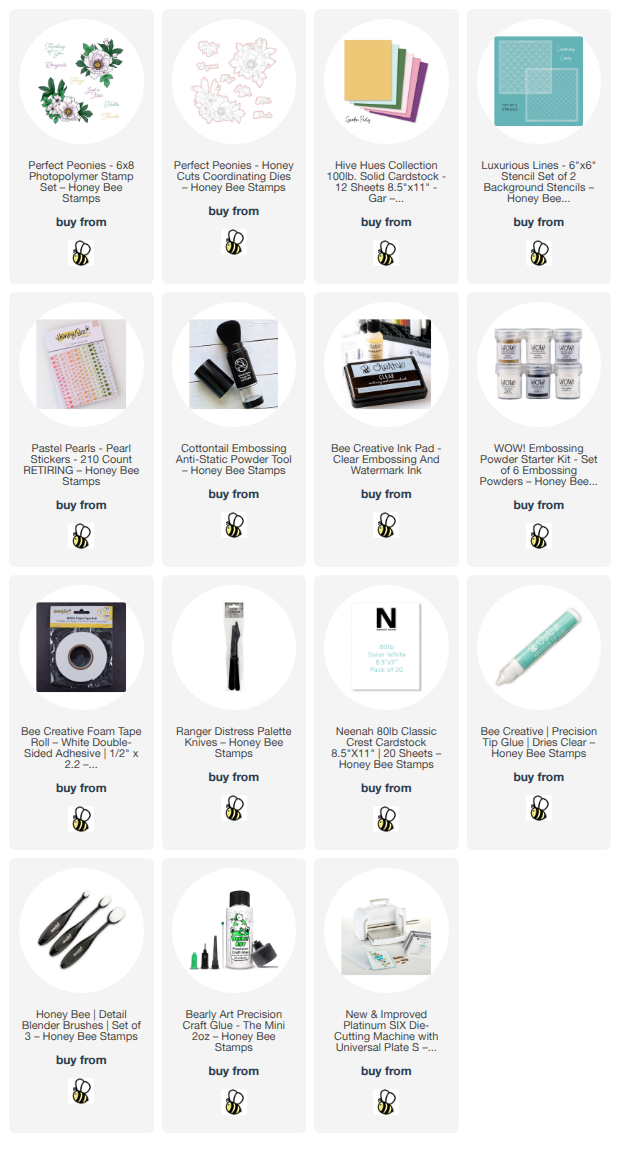
Hello crafty friends!  Today I'm sharing my heat embossed and watercolored card I made with the gorgeous Perfect Peonies stamp set and Honey Cuts.

First I used a piece of the pink cardstock from the Hive Hues Garden Party cardstock pack.  I trimmed it to 4-¼" x 5-½" and then placed the Geometric stencil from the Luxurious Lines stencil set over the panel.

I spread some transparent matte texture paste through the stencil, applying it just to two corners.  I set it aside to dry and immediately cleaned up the stencil and the pallet tool.

When the texture paste had dried, I added just a bit of coordinating ink with an ink blending brush.  Then I added splatters with a very diluted solution of the same paint I used on the flowers.

Next I stamped one of the gorgeous florals from the Perfect Peonies stamp set with clear embossing ink onto Bristol Smooth cardstock.  Note:  I treated the cardstock panel with an anti-static pouch before stamping.

Then I added silver embossing powder over the stamped image and used my heat tool to set the powder.

Now let me tell you, my watercoloring skills are not very strong.  Therefore, I tried to keep the watercoloring very simple by first applying my lightest shade of color first.  After that dried I went in with a darker concentration of that same color to add just a bit of dimension.

Once my watercoloring had dried I cut it out with the coordinating Perfect Peonies die.  I added foam tape to the back to pop it up on the card front and trimmed off any leaves that were over the edges of the card.

The sentiment is one of six included with the Perfect Peonies stamp set.  After I heat embossed it in silver on white cardstock, I cut it out with the coordinating die.

I added a few coordinating Pastel Pearl Stickers around the sentiment and floral for a touch of bling.

I hope I've inspired you to try your hand at this simple watercoloring style!  It was actually very enjoyable for me.  Thank you so much for stopping by today!  Be sure to check out my reel I will have later today on my Instagram!

Thank you so much for shopping with my affiliate links (never any additional cost to you)!
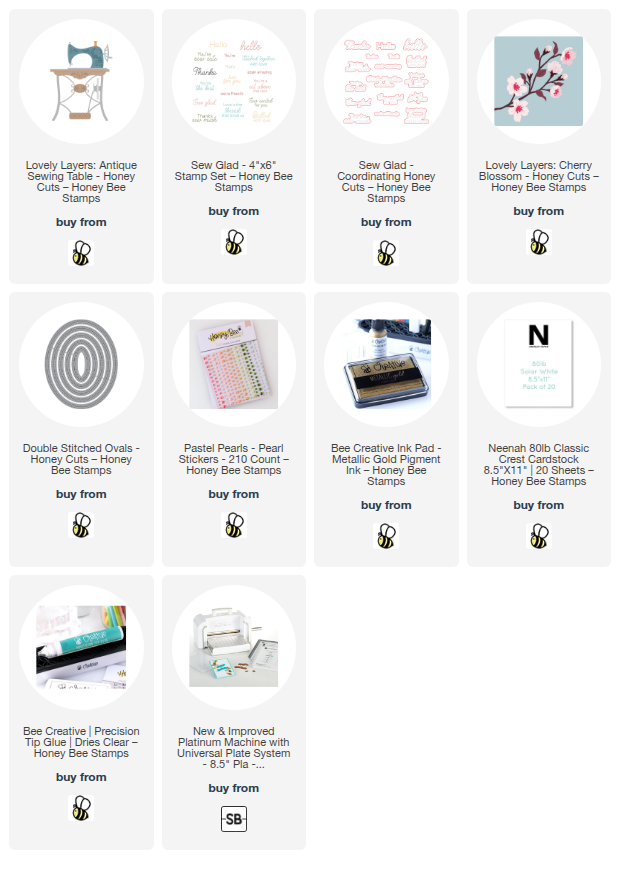
Wednesday, August 20, 2025

Antique Sewing Table Friend Card

Hello crafty friends!  Today I'm sharing my card that features Honey Bee Stamps awesome Lovely Layers: Antique Sewing Table.  I plan on using this for a birthday card to give to someone that is an amazing seamstress!  Fun fact:  I actually have a very old Singer sewing machine (that works!) that was gifted to me by my sweet mother-in-law.

I REALLY wanted to try to replicate the look of the Singer sewing machine I have with the machine die in the Lovely Layers: Antique Sewing Table.  After trying a couple ideas that failed, I decided to try tapping gold ink onto the raised portion of the sewing machine die.  I used Metallic Gold ink and took the corner of a paper towel to wipe away as much of the excess ink that I could.

I carefully placed the die cut side down onto black cardstock and ran it through my die cutting machine.  I have to say, I am quite pleased with the way it came out!  Next I die cut all of the other pieces of the Sewing Table from white and metallic cardstocks.  I colored the white cardstock with a few Copic markers and then adhered the layers with glue.

I colored in the de-bossed areas of the sewing table with two fine line pens.  If you have a pen with a very fine point, this is quite easy. 

Next I die cut pink and green cardstocks with the Lovely Layers: Cherry Blossom dies.  I used ink blending brushes to add a bit of ink to the pieces for dimension.  I used glue to assemble the layers of the Cherry Blossom branch.

With my card elements complete, I created an A2 card with a pink layer of paper.  This paper is one that is in the "FreeBee" paper pack that you will receive with a qualifying Honey Bee Stamps purchase of $100 or more.

I die cut a piece of vellum with the second largest Double Stitched Ovals die.  Then I used glue to adhere the Antique Sewing Table and the Cherry Blossom branch to the vellum.  On the back of the vellum, I added foam tape behind the the die cut pieces so it wouldn't be visible and adhered the piece to my card.

I stamped a sentiment from the Sew Glad stamp set in black ink and then cut it out with the coordinating die.  To finish up, I added a few pearls from the Pastel Pearl Stickers.

I truly love how this turned out!  Especially the sewing machine!  Do you think you would try making one like this?  I sure hope I've inspired you to give it a try.  Thanks so much for stopping by today!

Thank you for using my affiliate links to shop (never any additional cost to you)!