Showing posts with label Get Well Soon stamps and dies. Show all posts

Wednesday, February 22, 2023

Get Well Wishes Card with Springtime Strawberries

 Hello crafty friends! Today I'm sharing a card to send that, depending on what you put on the inside, could work for a get well, a birthday, or any "well wishes" occasion! I have a friend that I'm going to send it to as she will need a get well card. I've used the beautiful Lovely Layers: Strawberries as the main element with some pretty paper and layering dies in the background.

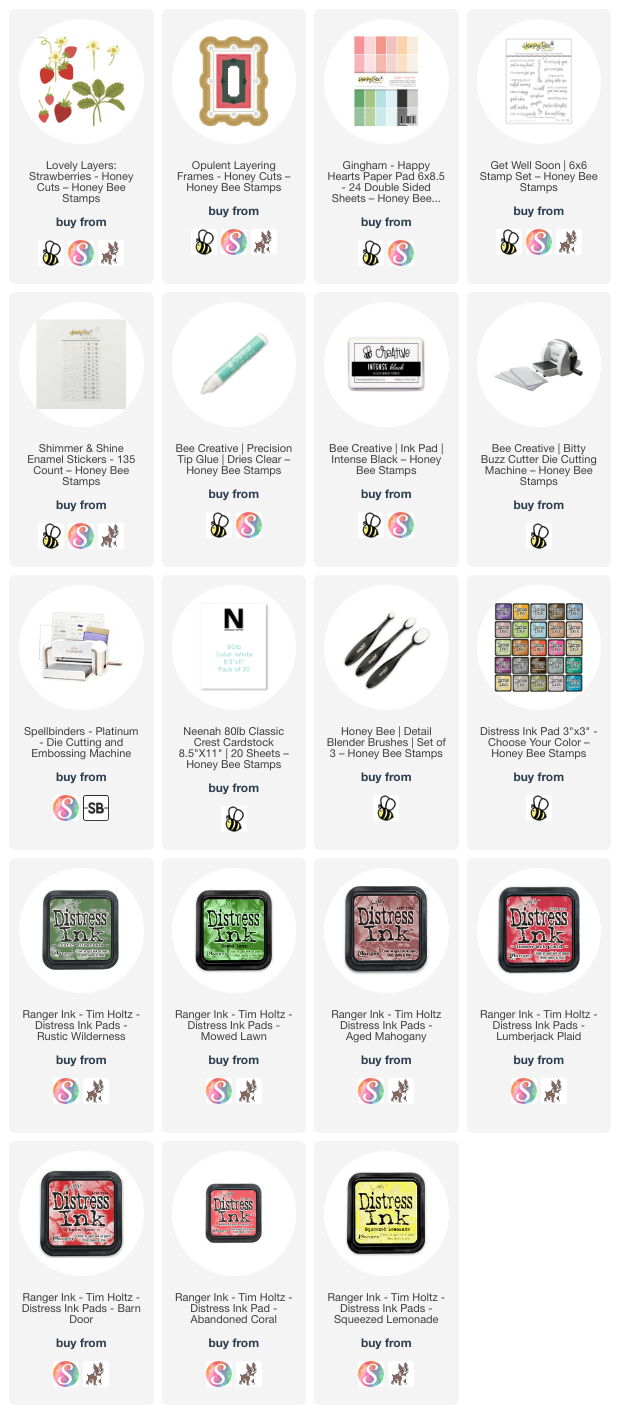
First I die cut two each of the strawberries and other pieces in the Lovely Layers: Strawberries set. To make it easy to ink blend the die cut pieces, I left them in the negative space and added removable tape to the back to hold them in. I used ink blending brushes to add these Distress Inks: Aged Mahogany, Lumberjack Plaid, Barn Door, Abandoned Coral, Mowed Lawn, Rustic Wilderness, and Squeezed Lemonade.

I adhered the strawberry layers together with Bee Creative glue and set them aside to work on my card base.

I cut a piece of gingham paper from the Gingham Happy Hearts paper pad to 4" x 5-¼" and adhered it to an A2 card base. Then I die cut a vellum layer and white cardstock layer with two dies in the Opulent Layering Frames Honey Cuts. I added adhesive to the center of the vellum piece and foam tape to the white cardstock layer to adhere them to the card. Then I cut a label with the smallest die in the Opulent Layering Frames. I stamped a sentiment from the Get Well Soon stamp set with Intense Black ink.

To adhere the elements to the card I added foam tape where the strawberry bunches hung off of the label. I used a few thin foam squares here and there behind the other strawberries and then adhered it all with a dot of glue in the center of each bunch. I trimmed off the overhanging pieces with some scissors. The sentiment is also popped up with thin foam squares.

For a bit of shine, I added some clear enamel stickers from the Shimmer and Shine Enamel Stickers set.

There's nothing like sweet strawberries to remind us that spring is just around the corner! Thank you so much for stopping by today. I hope you have a wonderful and craft day!

Thank you so much for choosing to use my affiliate links (never any additional cost to you).
Wednesday, June 22, 2022

Get Well Card Featuring Lovely Layers: Wildflowers

Today I'm sharing a sweet get well card where I've featured the Lovely Layers: Wildflowers and the bee from the Lovely Layers: Bugs. This was a quick, and easy, card to make, and a good type of card to have on hand!

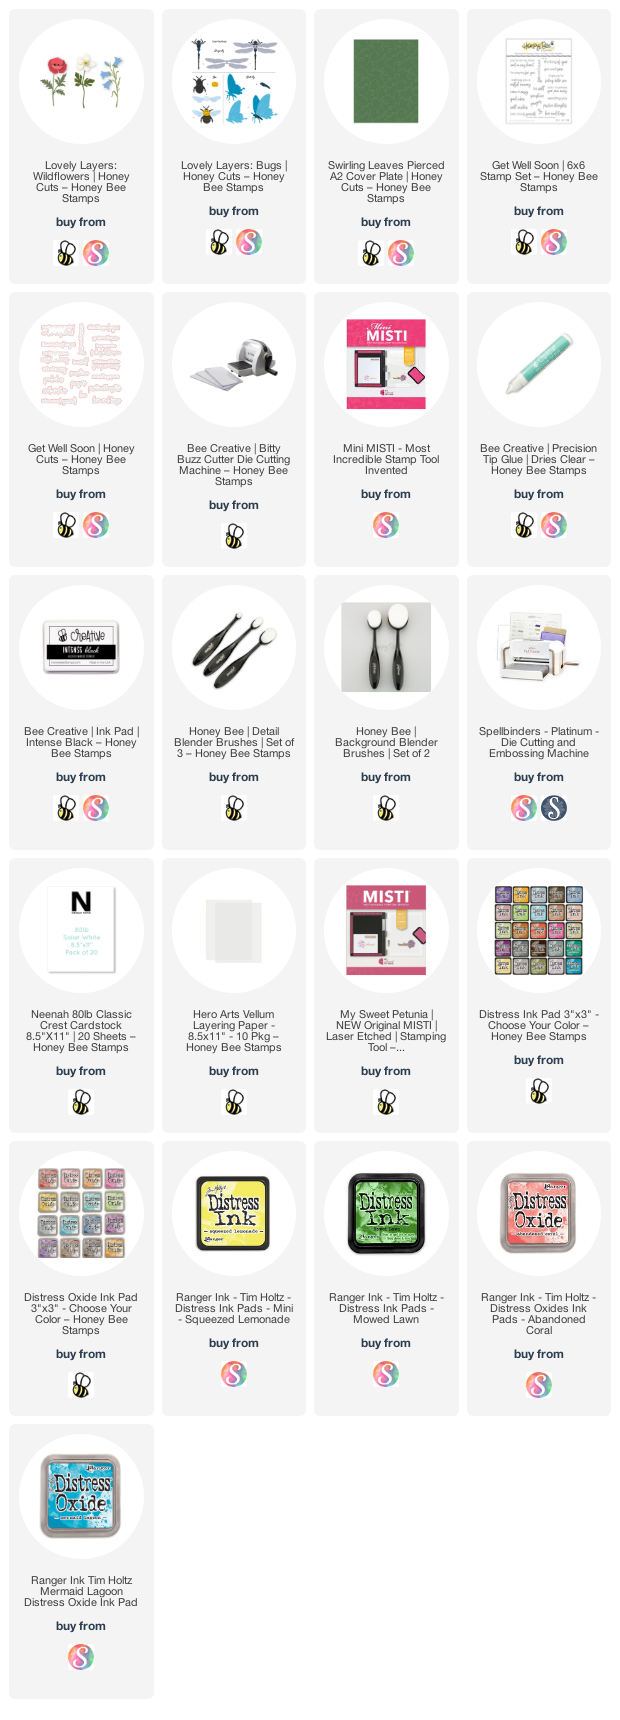
First I die cut the Swirling Leaves Pierced A2 Cover Plate from 80# Neenah. I trimmed it to 4" x 5-¼" and adhered it to an A2 card base with foam tape. I love the subtle detail this creates for a background!

Next I pulled out some colored cardstock scraps and die cut (using the new Bitty Buzz Cutter) the Lovely Layers: Wildflowers and the bee from Lovely Layers: Bugs.  The Bitty Buzz Cutter is the cute little die cutter I didn't realize I need! It's so convenient to have right by my main crafting space! 

I used some Detail Blender Brushes to add Distress Inks and Oxides Inks for shading on the flowers and greenery. I used Mowed Lawn and Squeezed Lemonade Distress Ink. The Distress Oxide colors are Abandoned Coral and Peacock Feathers. You may be wondering why I used Distress ink and Oxide ink--well, honestly, I didn't even notice that I did until I began writing this post! LOL!

I assembled the flowers by following the layering guide that you can download using the link in the product description. I used Bee Creative glue to adhere the pieces together. I also used the glue and some foam dots to adhere the pieces to my card.

I used my black Copic marker to color in the stripes of the bee. Then I used a black Micron 005 pen to add little fuzzy lines. I die cut the wings from vellum, then added sparkle with a clear glitter pen. I used a small foam dot to adhered the small bee body piece and then more foam dots to pop him up on the card.

I stamped the sentiment from the Get Well Soon stamp set in black ink. I pulled out the coordinating Honey Cut to die cut the sentiment and popped it up with foam strips.

Thanks so much for stopping by today!  Have a wonderful day!

Links to products I've used for my card:  

Wednesday, April 13, 2022

Sending You Love & Hugs Card Featuring the Lovely Layers: Easter Lily

Hello crafty friends!  Today I'm sharing a sweet card featuring Honey Bee Stamps Lovely Layers: Easter Lily dies.  This is one of their early sets in the Lovely Layers line, and also one of my favorites!

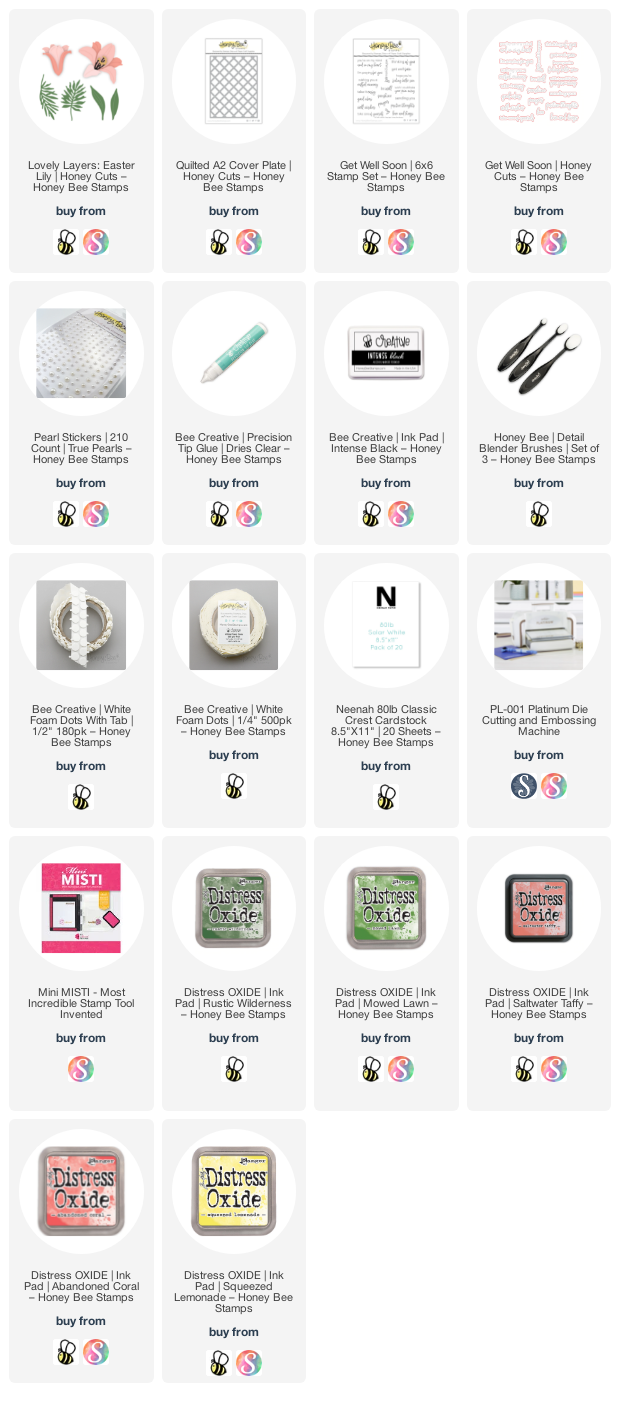
The card base is a top-folding A2 size with edges I inked up by dragging the Saltwater Taffy Distress Oxide pad along the edges.  This is a quick and easy way to have a perfectly coordinating layer!  Next I die cut some 80# Neenah Solar White cardstock using the Quilted A2 Cover Plate die and trimmed it down to 4" x 5-¼".  Then I adhered it to the card base with Bee Creative glue.

Next I die cut the Lovely Layers: Easter Lily dies from white cardstock.  I used the smallest of the Detail Blender brushes to add Abandoned Coral and Saltwater Taffy Distress Oxide to the flowers' petals.  Then I added some dots to the petals with a R14 Copic marker.

I used Rustic Wilderness and Mowed Lawn to color the leaves and stamen stems.  Squeezed Lemonade is the color I used for the stamen tips.  I used some small foam dots to adhere with center flower layers and Bee Creative glue for the other pieces.

Then I stamped the sentiments from the Get Well Soon set with Intense Black ink.  I used the coordinating dies to cut them out and added foam tape to adhere them to the card.

After I adhered the flowers and leave to the card with glue, I added white pearls from the True Pearl pearl stickers set to the intersecting lines of the die cut card panel.  I love the shine and the detail that these pearls add!

Thank you so much for stopping by today!  If you are interested, check out my Instagram where I will have a short "reel" posted of my card making process.  I will post it most likely sometime this morning.  Have a wonderful day--stay crafty!!

Thank you for using my links to check out the products I used today!