Showing posts with label Garden Lattice stencil. Show all posts

Wednesday, January 12, 2022

Lovely Layers: Roses Birthday Card | Honey Bee Stamps

 Hello Honey Bee friends! Since I'm so very low on birthday cards I've made one using the gorgeous Lovely Layers: Roses Honey Cuts. All of the Lovely Layers series are absolutely beautiful, and today I took a bit more time to Copic color my layers to get the look of even more dimension!

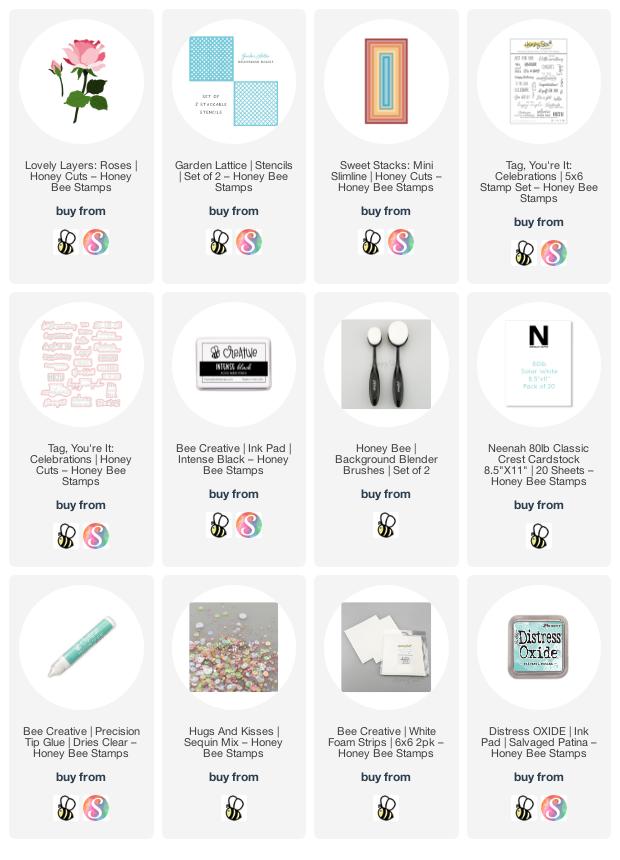
I began by die cutting all of the Lovely Layers: Roses dies from 80# Neenah. Then I used Copic markers to color each layer. I used R22, R32, R21, and R20 for the rose and rose bud layers and G28, G07, YG25, and YG03 for the stem and leaves. I used some thin foam strips in-between each layer for even more dimension. (This will most likely be a card that I hand deliver, or I could place it in a padded envelope for mailing.)

Next I created my card base and panel. I scored a 6-½" x 6-¼" piece of 80# Neenah a 3-¼" and folded it with my bone folder. Then I used the next to largest Sweet Stacks: Mini Slimline Honey Cut to cut another piece of 80# Neenah. I used a Detail Blender Brush to ink on Salvaged Patina Distress Oxide in a light-to-dark ombré pattern. Then I spritzed a bit of water onto it, let it set a minute and pressed a paper towel to the piece to soak up extra water. Next I placed the top layer Garden Lattice stencil over the panel and blended more Salvaged Patina through the stencils on the bottom left and upper right of the panel.

I mixed a bit of white Perfect Pearls with a few drops of water and used a paint brush to add spatters to it. I also added a few drops of the Perfect Pearls mixture to the rose and leaves. I used Bee Creative glue to adhere the rose, rose bud and leaves to the card. Then I added a few sequins from the Hugs and Kisses sequin mix to add more sparkle!

I stamped the sentiment from the Tag, You're It: Celebrations stamp set with Intense Black ink. I used the coordinating Honey Cut to cut it out and popped it up with a few foam squares.

Thank you so very much for stopping by! I hope you have a wonderful, creative day!

Thank you for choosing to shop with my affiliate links:
Wednesday, June 9, 2021

Four Easy Cards Featuring Bitty Buzzwords with Stenciled Backgrounds | Honey Bee Stamps

Happy Wednesday friends!  Today I'm sharing four cards I made (in one day!) using the awesome Honey Bee Stamps Bitty Buzzwords stamp set and coordinating dies.  I used four different stenciled backgrounds to go with each one!


 These cards really were very easy to create!  I do want to say that the two cards on the left side in the photo above were made with backgrounds I created a while back.  I love to sit down with my background stencils and play with all the inks, texture pastes and foils!

To keep this post from becoming super lengthy, I'll list the products used beneath each card (aside from the Bitty Buzzwords) and mention any special tips or notes, as needed.  Each of the main sentiments are popped up with foam tape.  I used the Sentiment Banners dies to die cut the secondary sentiments after I stamped them with the new Bee Creative Intense Black ink.  Also, I spray the back of all stencils with Pixie Spray!  So helpful for holding the stencils down.  All of the products will be listed, with links, at the end of my post!

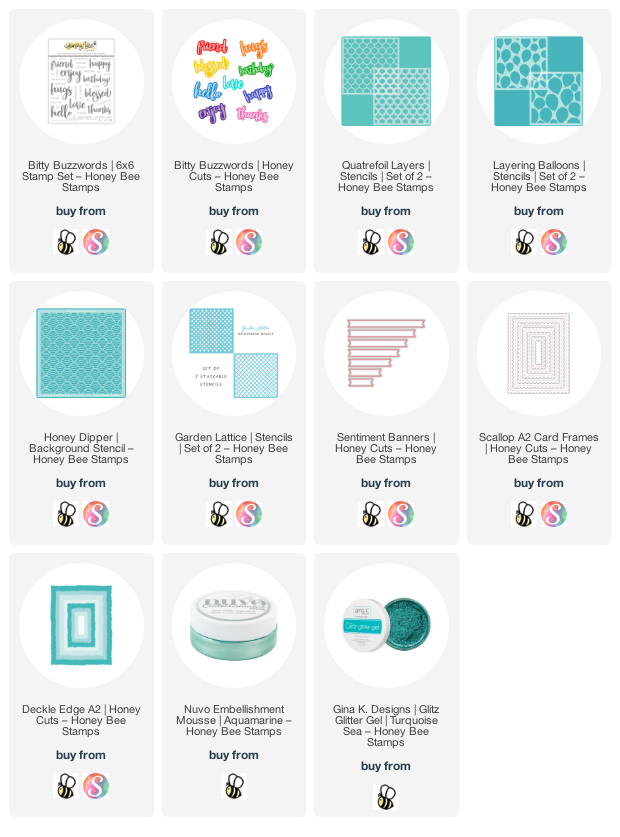
This features the gorgeous Garden Lattice stencils.  This is a set of two, however, I just used one layer.  I added some Aquamarine Nuvo Embellishment Mousse through the stencil.  When it was dry, I die cut it with an A2 Deckle Edge die.

I love the subtle shine of the Embellishment Mousse!

The next card uses the Honey Dipper Background stencil.  I used Background Blender brushes to blend these Distress Oxides: Faded Jeans, Broken China, and Mowed Lawn.  I left the stencil in place and spread some Ranger Transparent Matte Texture Paste through it.  When dry I die cut it with an A2 Scallop die.

The matte texture paste adds a lovely muted shine!

This background features the Layering Balloons stencil set.  First I placed the top layer onto some 80# Neenah Solar White and spread Deco Foil Transfer Gel through it.  When it was dry, I used some pink sparkly foil from my stash, placed it over the piece, and ran it through my Minc Mini foiling machine.  Then I used the other layer and added Picked Raspberry Distress Oxide with a Blender Brush.

I love the shimmer and shine of this festive card!

This next card is a background I made quite some time ago with the Garden Lattice stencil set.  First I inked up a white card stock panel with Peacock Feathers Distress Oxide.  Then I added the bottom Garden Lattice stencil, and added more Peacock Feathers for a tone-on-tone look.  Then I placed the top stencil on it and smoothed on some Turquoise Sea Glitz Glitter Gel.  The panel is die cut with an A2 Double Stitched Frames die.

I really hope you've enjoyed these cards and feel inspired to get your stencils out and have fun!  The Bitty Buzzwords are at the top of my most favorite sentiment sets!!  Thank you so much for stopping by!

Thursday, August 6, 2020

Ocean Scene Card & Lots of Stenciling Fun | Honey Bee Stamps

Hello friends!  I love using stencils and I had so much fun creating this card with mainly stencils, two stamps and some dies!  Most of these beautiful products are from Honey Bee Stamps awesome Hello Summer release!


I love how this background turned out!  I used the Garden Lattice stencil set to make it.  Here are the steps:
  • I positioned the base Garden Lattice stencil over this making sure the large squares of the stencil aligned with the inked squares.
  • I spread some white Gina K. Designs white Glitz Glitter Gel through the stencil and set the piece aside to dry.  (Be sure to clean your stencil and tool immediately!)  When it was dry, I used the largest Double Stitched Square die to cut it out. I adhered it to a 5-½" square card base.
     

Next I die cut the palm tree leaves, trunk and coconuts that are in the Beach House Add-on die set.  I used the Beach House stencil to add Oxide inks.  I used Mowed LawnTwisted CitronGround Espresso and Gathered Twigs.  

I stamped the sentiment from the Sea Breeze stamp set and die cut it with the coordinating die   I popped up the oval and the sentiment with some thin foam tape.  To finish, I adhered the palm tree to the oval.


I totally love how this turned out and wish you could see the sparkle of the glitter gel in real life!  Thanks so much for stopping by!


Supplies:
Honey Bee Stamps:

Other:

Distress Oxides: