Showing posts with label Glitz Glitter gel. Show all posts

Wednesday, November 23, 2022

Christmas Bells Are Ringing! - Coloring Die Cuts and A Layering Stencil

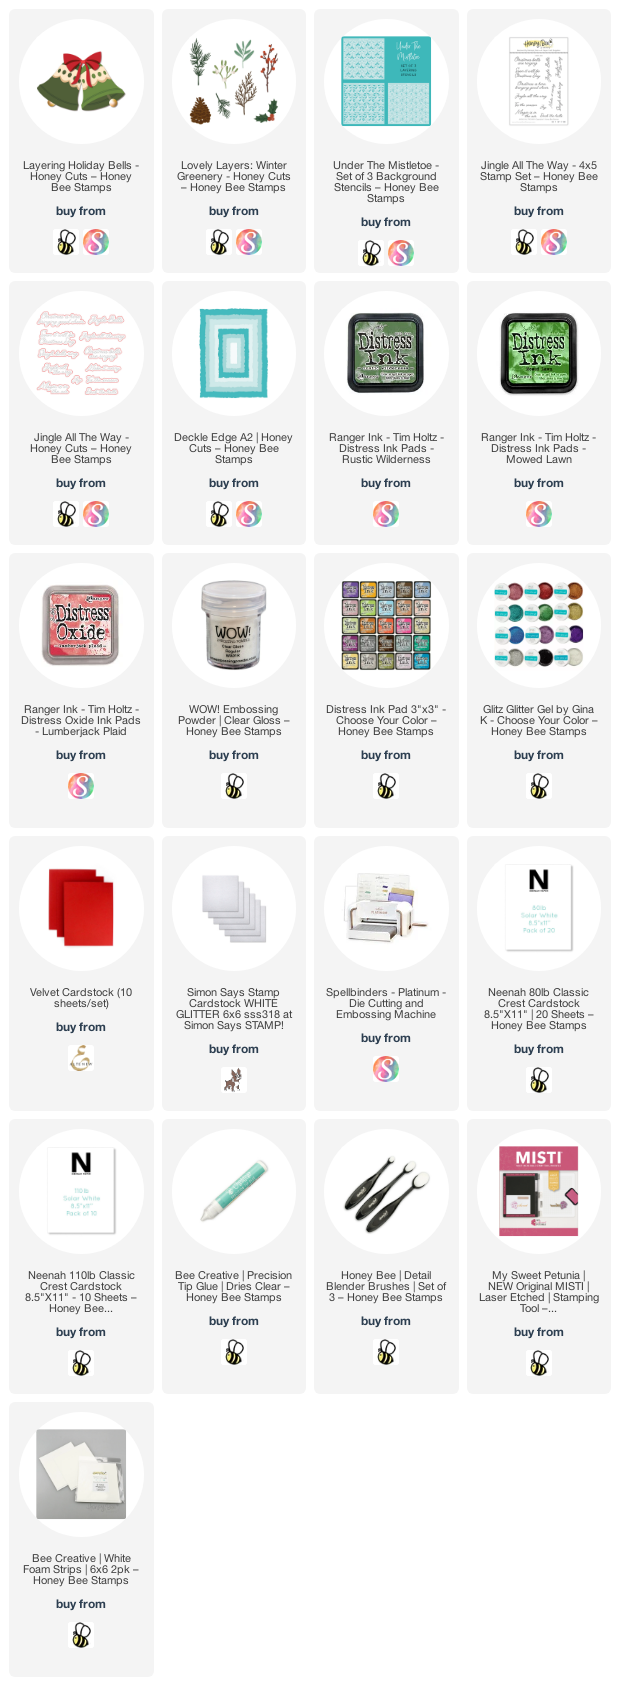
Hello friends! I think making Christmas cards is my most favorite thing to make! These gorgeous Layering Holiday Bells by Honey Bee Stamps were so fun to ink up and add to my stenciled background I made with the Under The Mistletoe stencil set!


First I die cut some 110# cardstock with the second largest Deckle Edge A2 die. Then I used some detail blender brushes to add Mowed Lawn and Rustic Wilderness Distress ink through the Under The Mistletoe layer 1 and layer 2 stencils. Then I used a pallet knife to spread red glitter gel through the "berries" stencil. I set it aside to dry. Be sure to clean your stencil and pallet knife immediately!

Next I die cut the bell pieces of the Layering Holiday Bells Honey Cuts from 80# Neenah. (Be sure to check out the downloadable layering guide in the product description.) The center piece of the bells, the ringer, and berries are die cut from some white glitter cardstock from my stash. I also die cut six of the mistletoe leaves and one of the berry clusters that are in the Lovely Layers: Winter Greenery Honey Cuts.

I used my blending brushes and the Distress Inks again to color the bells and leaves green with the same Distress Inks. I kept going over them until I had the shading the way I wanted.

I added foam tape to the back of the stenciled piece and adhered it to an A2 card base. Next I played around with the arrangement of the leaves and bells. When I had the pieces arranged I picked them up with a piece of Press N Seal and added dots of glue to the back of the leaves. I laid the Press N Seal back down to adhere the leaves to the card.

I used thin foam tape on the bells to pop them up a bit. I topped the bells with a red die cut bow (also in the Layering Holiday Bells set).

Next I stamped the sentiment from the Jingle All The Way stamp set with Lumberjack Plaid Distress Oxide ink. I added some clear embossing powder to it and then heat set it. I cut the sentiment out with the coordinating die. A thin foam strip pops it up onto the card!

I love the bright green color with the pops of red on my card and hope you do too! If you are in the States, I'm sending wishes to you for a very happy Thanksgiving! And to all, happy crafting!! Thank you for stopping by today!

Thank you for using my affiliate links to shop (never any additional cost to you).
Wednesday, December 29, 2021

Happy 2022 To You Shaker Card | Honey Bee Stamps

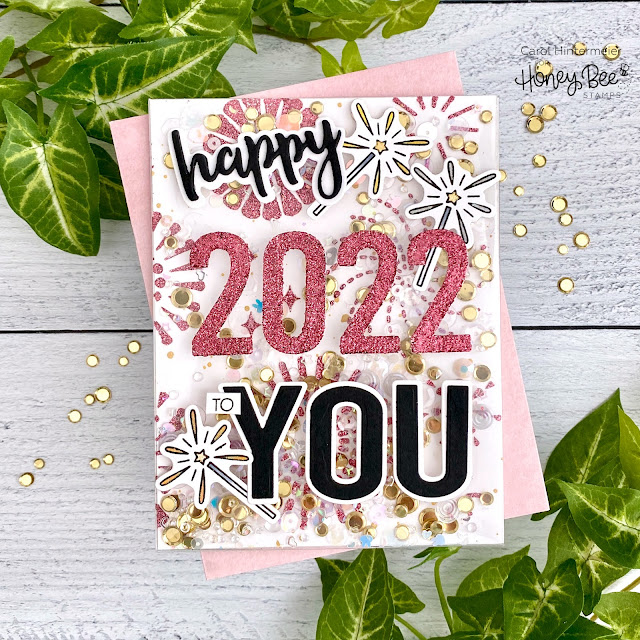
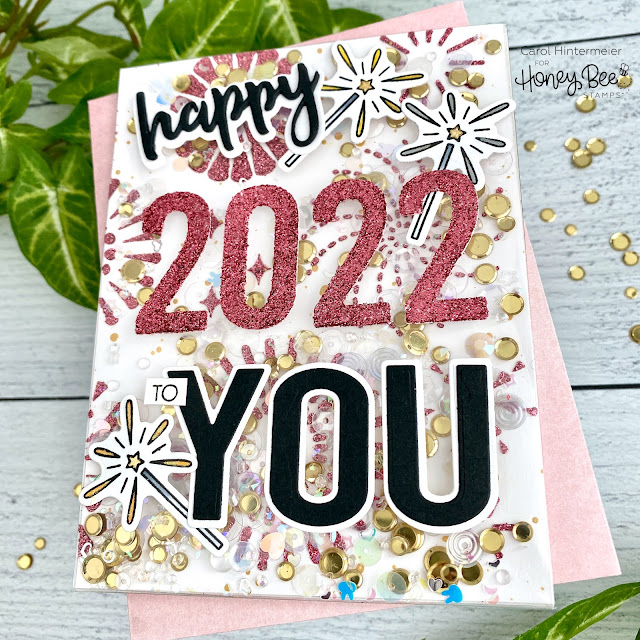
It's almost the new year, so I thought I'd make what is probably my last card for the year a fun and sparkly one!  I've created an edge-to-edge shaker card using several different Honey Bee Stamps products.  The background features the fun Layering Fireworks stencils with some Glitz Glitter gel!


First I created the background layer that will be inside the shaker.  I spread some Bubblegum Glitz Glitter Gel through one of the Layering Fireworks stencils and set it aside to dry.  Be sure to wash up the stencil and your tools immediately!

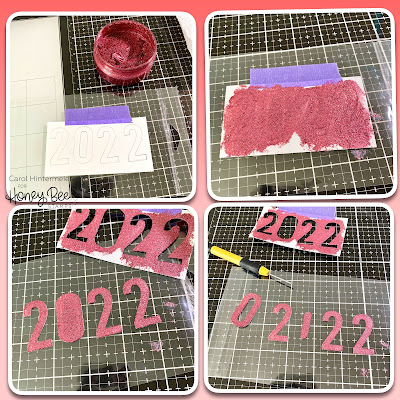
I wanted the numbers to have the same pink glitter gel, but didn't want a huge mess.  First I die cut the Bee Bold Numeric dies from 80# Neenah--be sure to save the negative portion.  I added some temporary adhesive to the back of the numbers and stuck them back into the negative piece on an acetate package I retrieved from my trash.  Then I taped the piece to the acetate with some purple tape.  Next I spread the glitter gel over it all and removed the negative piece when I had the gel smoothed out.  TAH-DAH!  Nice, neat and clean numbers!!  I used my craft pick to pick them up and move them to my silicone mat for drying.  Check out these photos for a visual!  (You can click the photo to enlarge it.)

Next I die cut "happy" from the Bitty Buzzwords dies and "you" from the You Die set from white card stock for the shadows and black card stock for the top layers.  I adhered the layers together with Bee Creative glue.

I stamped the sparkler from the New Year Cheers set with Intense Black ink.  I colored the wand with a few gray Copics and the sparklers with silver and gold metallic pens.   I used the coordinating dies to cut them out. The tiny "to" sentiment is from the You Buzzword stamp set and I just taped off the "you" that's a part of the stamp, inked it up, removed the tape and stamped with Intense Black ink.

Now it's time to assemble the shaker!  It is so very easy with the Shaker Creator Shaker Pockets!  Before I added my stenciled panel to the shaker, I spattered on some gold metallic paint and dried it with my heat tool.  I did find that my background panel fit the shaker pocket better if I trimmed a sliver off of the top and one side.  I placed it face down in the pocket and removed all but the top adhesive liners and folded the tabs over to adhere.  Then I added some of Honey Bee's Charming Sequin Mix and Gold Lights Confetti Mix to the pocket and then adhered the top tab.  I added some very strong double-sided adhesive to the back of the shaker and added it to an A2 card base.

I used Bee Creative glue to adhere the sentiments and sparklers to the front of the pocket.  I used my t-ruler to get them all straight.  I love all of the sparkles!!!

I sure hope you've enjoyed my easy shaker card today!  I'm wishing you all the best with lots of crafty and happy times in 2022!  Thank you for stopping by!

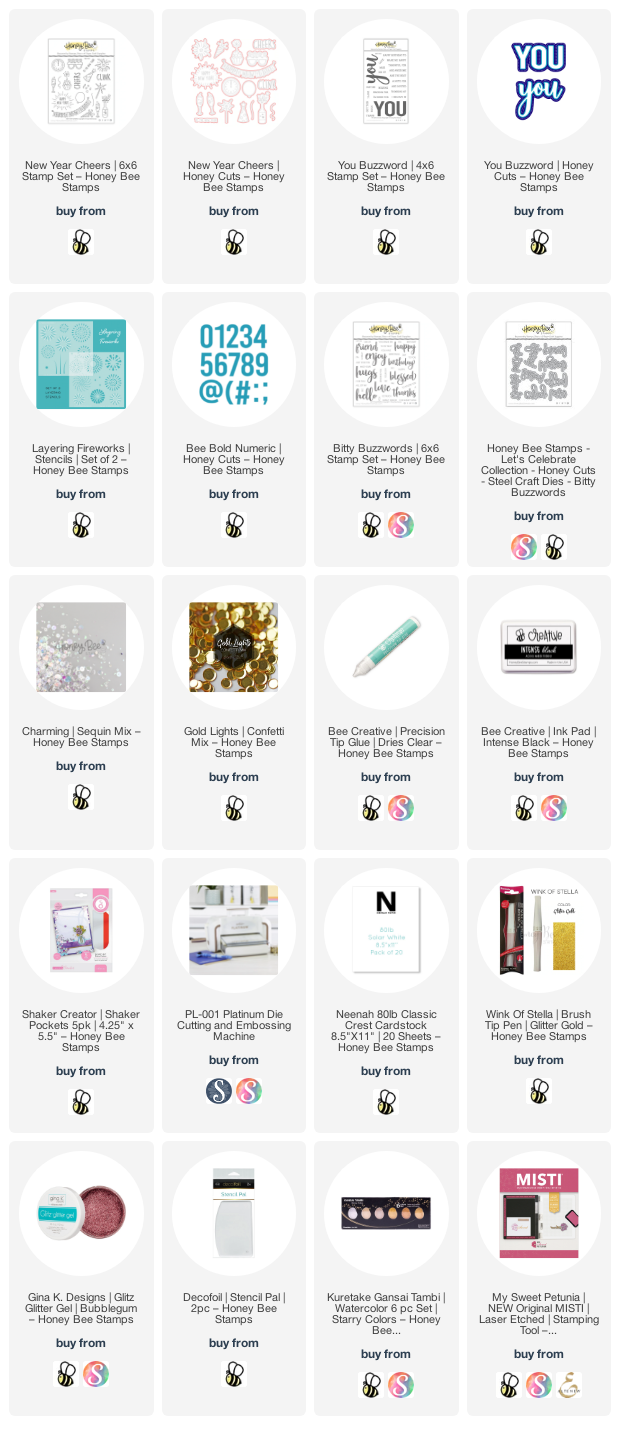
Thank you so much, should you use my affiliate links!

Tuesday, December 28, 2021

Winter Card with Snowy Background Stenciling | Rubbernecker Stamps

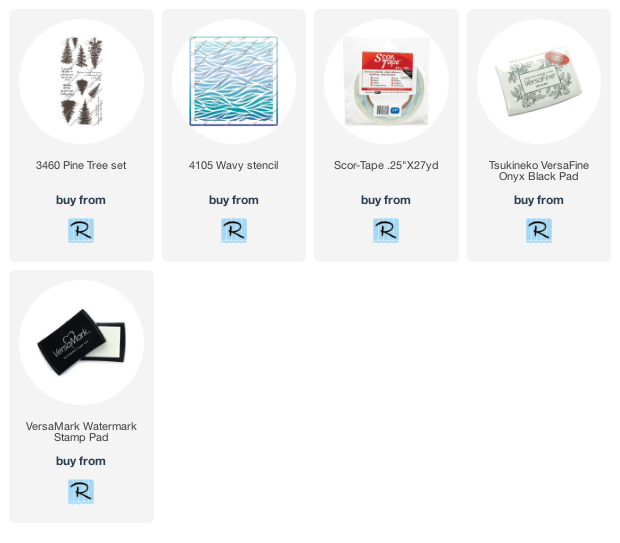
 Hello my friends!  I hope that you have had a wonderful Christmas season so far!  Today I'm sharing a winter card featuring Rubbernecker Stamps Pine Tree Set and the Wavy Stencil.  I think this card could be used for several different occasions such as a thank you, thinking of you, get well--it all depends on what you put on the inside of the card!

First I cut a piece of light blue card stock to 4" x 5-¼".  Then I sprayed the back of the Wavy Stencil with Pixie Spray.  This spray makes using detailed stencils like this one so much easier!  I spread some white Glitz Glitter Gel through the stencil with a pallet knife.  I removed the stencil and immediately washed off the gel.  When the gel was dry, I added the panel to an A2 top-folding card base.  I love to find out-of-the-box ways to use supplies--in my mind these "waves" equaled a blustery, windy, winter day!

Next I stamped and embossed the Pine Trees with Versamark ink and some glitter embossing powder from my stash.  The green glitter embossing powder is from a company no longer in business.  For the white tree I used Shabby White Embossing Enamel by Stampendous.  Be sure to heat set this from behind so the heat tool won't blow it off of the card stock.  I fussy cut the trees out and added foam tape to the back of three trees.

Next I stamped the sentiment from the Pine Trees Set with Versafine Onyx Black ink and fussy cut it out.  I added foam squares to the back.

Then I hand cut two sets of hills from 4" wide card stock.  I adhered them together and added them to the card.  To finish up, I arranged and adhered the sentiment and trees on the card.

Thank you all so much for stopping by today!  I hope you enjoy the remainder of the holidays!  Stay crafty!

Wednesday, February 10, 2021

My Best Adventures Are With You | Honey Bee Stamps

 Hello friends!!  For my card today I'm using Honey Bee Stamps' adorable Enjoy The Ride stamp set and coordinating dies.  Before I begin talking about how I made this sweet card, let me tell you a little story!


You see the bunny holding onto her love bunny on their scooter here.  Well, let me tell you that there's a true story about a trip my husband and I were on that this image brings back a, now funny, memory!  To keep it short, we were on a beautiful island in the Caribbean and "needed" to rent a scooter to get to the top.  (We were supposed to hike up, but the hubs had a slight injury and decided he couldn't do it!)  I was very skeptical about this, but I climbed on behind him and held on for dear life!!!!  LOL!!  I totally had my eyes closed for much of the scootering up that mini mountain!!  For the trip back down, I was less nervous and could enjoy that beautiful view!  Haha!

Now, onto my card!  To begin I used the Whimsical Hearts Stencil and a Background Blender Brush to ink up white card stock with the new Kitsch Flamingo Distress Ink.  I love the clear brightness of this color!  I removed the stencil and inked up the edges with the pink ink.  Then I placed my stencil back onto the card and spread some White Glitz Glitter Gel through it.  I cleaned up my stencil and set the piece aside to dry.

I stamped the bunny pair from the Enjoy The Ride stamp set with Copic safe ink onto 80# Neenah Solar White card stock.  I colored the image with the Copic markers I've listed below.  Next I stamped the sentiment in black ink and die cut it and the image with their coordinating dies.  I also stamped a few hearts with Kitsch Pink and die cut those as well.

I die cut some vellum with the middle sized Double Stitched Oval die.  I adhered the sentiment, hearts and image to the oval with Bee Creative glue.  When the glue was dry, I added foam tape to the back of the oval, but only adding it behind the image and sentiment.  This way the adhesive won't show through the vellum.

For even more sparkle, I added clear Wink of Stella to the wheels, light and hearts and topped those off with some Glossy Accents.


I hope you enjoyed my little story and maybe got a chuckle from the visual I described!  Haha!  Thank you so much for stopping by today!  Stay crafty, and warm!


Copic markers:
Bunnies: W5, W3, W1, W0, W00, E44, E42, E40, R20, R22
Scooter: BG18, BG13, BG11, C5, C3, C1, T9, T7, Y00, Y11, R29

Thursday, August 6, 2020

Ocean Scene Card & Lots of Stenciling Fun | Honey Bee Stamps

Hello friends!  I love using stencils and I had so much fun creating this card with mainly stencils, two stamps and some dies!  Most of these beautiful products are from Honey Bee Stamps awesome Hello Summer release!


I love how this background turned out!  I used the Garden Lattice stencil set to make it.  Here are the steps:
  • I positioned the base Garden Lattice stencil over this making sure the large squares of the stencil aligned with the inked squares.
  • I spread some white Gina K. Designs white Glitz Glitter Gel through the stencil and set the piece aside to dry.  (Be sure to clean your stencil and tool immediately!)  When it was dry, I used the largest Double Stitched Square die to cut it out. I adhered it to a 5-½" square card base.
     

Next I die cut the palm tree leaves, trunk and coconuts that are in the Beach House Add-on die set.  I used the Beach House stencil to add Oxide inks.  I used Mowed Lawn, Twisted Citron, Ground Espresso and Gathered Twigs.  

I stamped the sentiment from the Sea Breeze stamp set and die cut it with the coordinating die   I popped up the oval and the sentiment with some thin foam tape.  To finish, I adhered the palm tree to the oval.


I totally love how this turned out and wish you could see the sparkle of the glitter gel in real life!  Thanks so much for stopping by!


Supplies:
Honey Bee Stamps:

Other:

Distress Oxides: