Showing posts with label You Buzzword. Show all posts

Wednesday, February 2, 2022

Three Quick Cards with One Stamp & Die Set! | Honey Bee Stamps

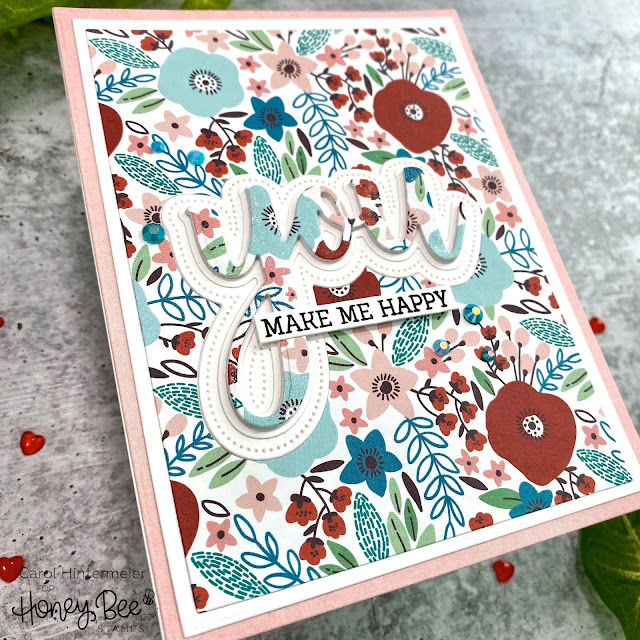
Hello friends!  Today I'm sharing three quick and easy cards I made with Honey Bee Stamps You Buzzword stamp set and coordinating dies.  You just need some patterned paper (I highly recommend the Hugs and Kisses paper pad) and some basic supplies to make these!  In my mind, these are perfect for Valentine's day--just not the super sappy kind!

All of these cards were created in pretty much the same way. I used the Hugs and Kisses paper pad for the patterned paper. I thought about making these into true "eclipse" style cards, but I love that pierced shadow layer of the You Buzzword so much that I didn't want to leave it off. Haha!

All of my cards are on top-folding A2 card bases. I did use the Sweet Stacks: Rectangles Honey Cuts for my layers, but you can just as easily measure and cut them with your paper trimmer. Before I adhered the patterned paper layer, I die cut the You Buzzword top layer from it. The shadow die cut layers totally cover it and no one will know!

The pink paper here is also in the Hugs and Kisses paper pad.  I repeated the same mat layers of colors and patterned paper for the "you". I die cut the black shadow layer of the You Buzzword three times for extra dimension. Bee Creative glue truly is my go-to glue and I used it to adhere all of the layers. This card has a few Sweethearts Clay Hearts on it for a bit of embellishment! The sub sentiment from the You stamp set is stamped with Bee Creative Clear embossing ink onto black card stock. I sprinkled on some white embossing powder and heat set it. Next I added some of these awesome, new foam dots to pop it up on the card.

This next card also has pink paper from the Hugs and Kisses paper pad for a mat layer. I kept the "you" shadow layers all white this time. Also, I die cut extra "you" die cuts from white card stock to add more dimension. This time I stamped the sentiment with Intense Black ink onto some white card stock. I trimmed it with my paper trimmer and popped it up with foam dots (I used these foam dots for each sub sentiment on each card.) The You stamp set is filled with 20 wonderful sentiments to go with the "you" sentiment making this a set you will use a lot!

I added bling to this card by swiping a clear glitter pen over the top layer of "you" and adhering some gems from the Hugs and Kisses gem sticker pack.
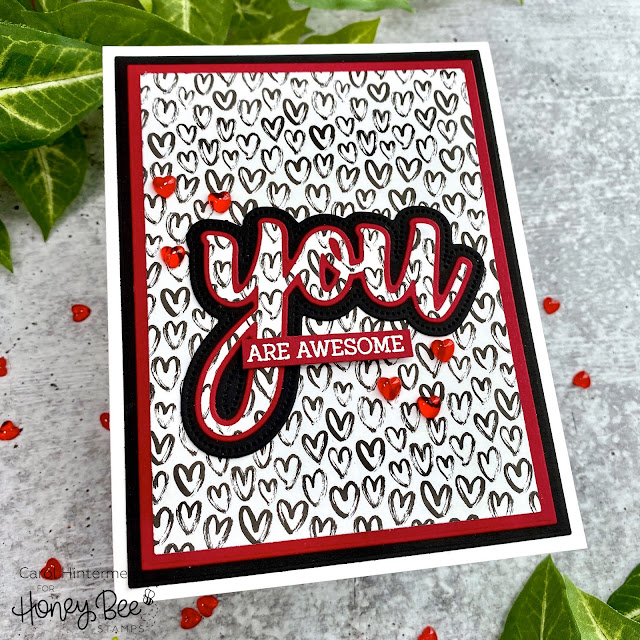
For my third card, I went all bold! I think this card would be fine to give to that awesome guy!

For this card I used black and red card stock from my stash for the layers. I heat embossed the sub sentiment on a piece of the same red card stock and popped it up with foam dots. I adhered a few Red Hots acrylic hearts for just a touch of bling.
I love how these cards turned out and now I need to order another Hugs and Kisses paper pad! There are so many occasions that you can use this You stamp set and coordinating Honey Cuts! Thank you so much for stopping by! I hope your day is a wonderful, and crafty, one!

Wednesday, December 29, 2021

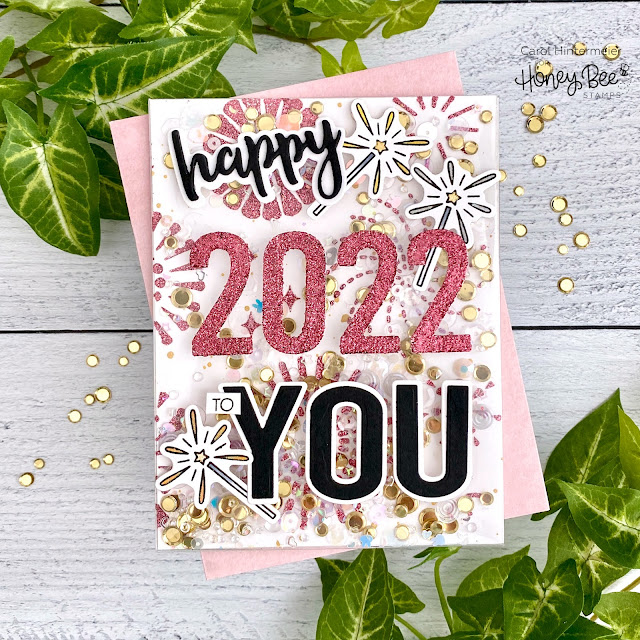
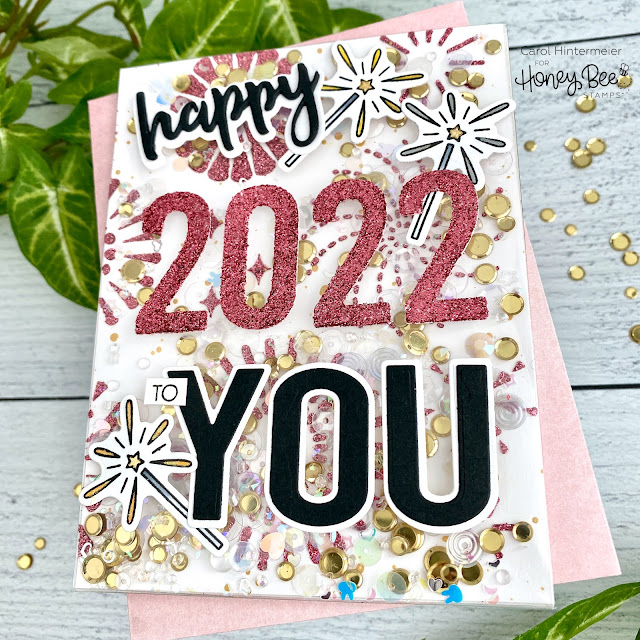
Happy 2022 To You Shaker Card | Honey Bee Stamps

It's almost the new year, so I thought I'd make what is probably my last card for the year a fun and sparkly one!  I've created an edge-to-edge shaker card using several different Honey Bee Stamps products.  The background features the fun Layering Fireworks stencils with some Glitz Glitter gel!


First I created the background layer that will be inside the shaker.  I spread some Bubblegum Glitz Glitter Gel through one of the Layering Fireworks stencils and set it aside to dry.  Be sure to wash up the stencil and your tools immediately!

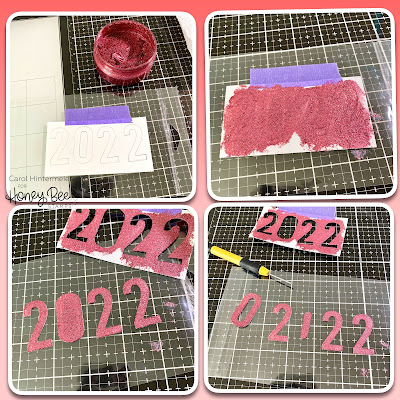
I wanted the numbers to have the same pink glitter gel, but didn't want a huge mess.  First I die cut the Bee Bold Numeric dies from 80# Neenah--be sure to save the negative portion.  I added some temporary adhesive to the back of the numbers and stuck them back into the negative piece on an acetate package I retrieved from my trash.  Then I taped the piece to the acetate with some purple tape.  Next I spread the glitter gel over it all and removed the negative piece when I had the gel smoothed out.  TAH-DAH!  Nice, neat and clean numbers!!  I used my craft pick to pick them up and move them to my silicone mat for drying.  Check out these photos for a visual!  (You can click the photo to enlarge it.)

Next I die cut "happy" from the Bitty Buzzwords dies and "you" from the You Die set from white card stock for the shadows and black card stock for the top layers.  I adhered the layers together with Bee Creative glue.

I stamped the sparkler from the New Year Cheers set with Intense Black ink.  I colored the wand with a few gray Copics and the sparklers with silver and gold metallic pens.   I used the coordinating dies to cut them out. The tiny "to" sentiment is from the You Buzzword stamp set and I just taped off the "you" that's a part of the stamp, inked it up, removed the tape and stamped with Intense Black ink.

Now it's time to assemble the shaker!  It is so very easy with the Shaker Creator Shaker Pockets!  Before I added my stenciled panel to the shaker, I spattered on some gold metallic paint and dried it with my heat tool.  I did find that my background panel fit the shaker pocket better if I trimmed a sliver off of the top and one side.  I placed it face down in the pocket and removed all but the top adhesive liners and folded the tabs over to adhere.  Then I added some of Honey Bee's Charming Sequin Mix and Gold Lights Confetti Mix to the pocket and then adhered the top tab.  I added some very strong double-sided adhesive to the back of the shaker and added it to an A2 card base.

I used Bee Creative glue to adhere the sentiments and sparklers to the front of the pocket.  I used my t-ruler to get them all straight.  I love all of the sparkles!!!

I sure hope you've enjoyed my easy shaker card today!  I'm wishing you all the best with lots of crafty and happy times in 2022!  Thank you for stopping by!

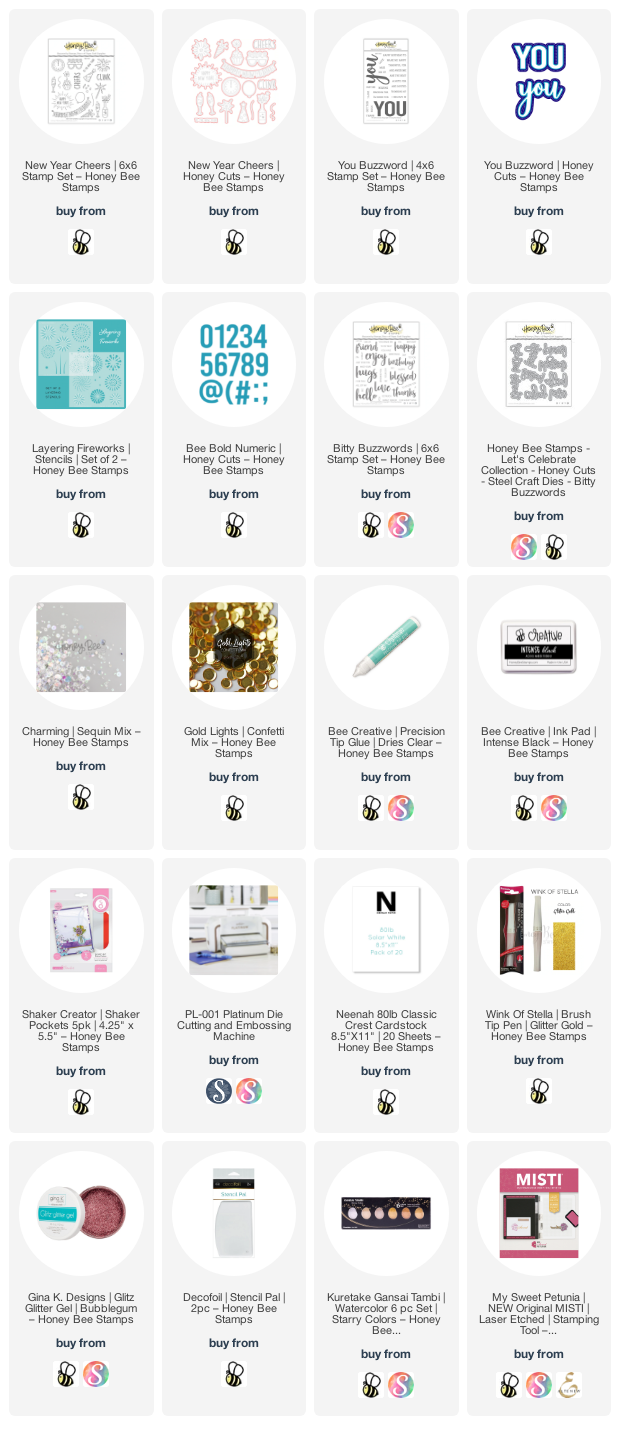
Thank you so much, should you use my affiliate links!