Showing posts with label Sentiment Banners. Show all posts

Wednesday, June 9, 2021

Four Easy Cards Featuring Bitty Buzzwords with Stenciled Backgrounds | Honey Bee Stamps

Happy Wednesday friends!  Today I'm sharing four cards I made (in one day!) using the awesome Honey Bee Stamps Bitty Buzzwords stamp set and coordinating dies.  I used four different stenciled backgrounds to go with each one!


 These cards really were very easy to create!  I do want to say that the two cards on the left side in the photo above were made with backgrounds I created a while back.  I love to sit down with my background stencils and play with all the inks, texture pastes and foils!

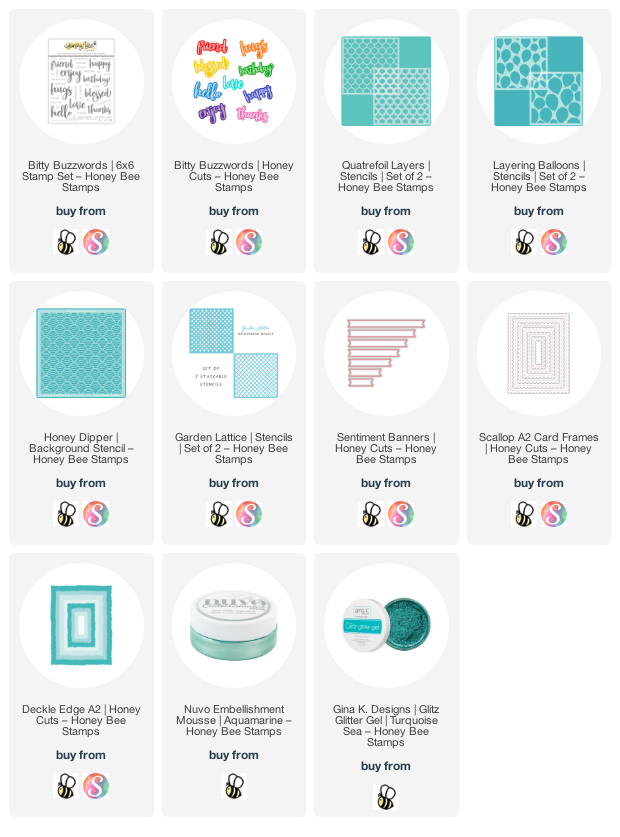
To keep this post from becoming super lengthy, I'll list the products used beneath each card (aside from the Bitty Buzzwords) and mention any special tips or notes, as needed.  Each of the main sentiments are popped up with foam tape.  I used the Sentiment Banners dies to die cut the secondary sentiments after I stamped them with the new Bee Creative Intense Black ink.  Also, I spray the back of all stencils with Pixie Spray!  So helpful for holding the stencils down.  All of the products will be listed, with links, at the end of my post!

This features the gorgeous Garden Lattice stencils.  This is a set of two, however, I just used one layer.  I added some Aquamarine Nuvo Embellishment Mousse through the stencil.  When it was dry, I die cut it with an A2 Deckle Edge die.

I love the subtle shine of the Embellishment Mousse!

The next card uses the Honey Dipper Background stencil.  I used Background Blender brushes to blend these Distress Oxides: Faded Jeans, Broken China, and Mowed Lawn.  I left the stencil in place and spread some Ranger Transparent Matte Texture Paste through it.  When dry I die cut it with an A2 Scallop die.

The matte texture paste adds a lovely muted shine!

This background features the Layering Balloons stencil set.  First I placed the top layer onto some 80# Neenah Solar White and spread Deco Foil Transfer Gel through it.  When it was dry, I used some pink sparkly foil from my stash, placed it over the piece, and ran it through my Minc Mini foiling machine.  Then I used the other layer and added Picked Raspberry Distress Oxide with a Blender Brush.

I love the shimmer and shine of this festive card!

This next card is a background I made quite some time ago with the Garden Lattice stencil set.  First I inked up a white card stock panel with Peacock Feathers Distress Oxide.  Then I added the bottom Garden Lattice stencil, and added more Peacock Feathers for a tone-on-tone look.  Then I placed the top stencil on it and smoothed on some Turquoise Sea Glitz Glitter Gel.  The panel is die cut with an A2 Double Stitched Frames die.

I really hope you've enjoyed these cards and feel inspired to get your stencils out and have fun!  The Bitty Buzzwords are at the top of my most favorite sentiment sets!!  Thank you so much for stopping by!
Friday, September 25, 2020

Keeping Christmas Blog Hop - September 2020

 Welcome back to the monthly Keeping Christmas blog hop!  Have you started your holiday cards?  Just a reminder that it's only three months until Christmas!


I was so happy to finally get to use this ADORABLE set called Holly Bird from Waffle Flowers!  I love birds, and bird stamps, and snapped this one up as soon as it was released!  What is cuter than a sweet bird holding a warm cup of coffee or hot chocolate?!!


I began by stamping the bird with InkOn3 Fadeout No-line Coloring detail ink.  I'm trying to practice no line coloring as often as I can.  If you haven't seen this stamp, it stamps the the hexagon and the bird all together.  The coordinating die cuts out just the bird.

I colored just the bird with my Copics, then die cut it.  I used my B39 Copic to color the white border that die cuts usually leave.  I stamped another image with InkOn3 Blackout Detail Ink (which is Copic safe and stamps nice and dark images).  I used some blue Copics to color just the background.  It was super easy as I used my paper trimmer to cut the hexagon shape and popped up the colored bird image over it.


For the card base, I started with a top folding A2 card.  I added a coordinating blue layer cut to 4" x 5-¼".  I used one of my most favorite EVER embossing folders--Sizzix 3-D Winter Snowflakes for the next layer.  I adhered the bird to the card.

Next I added Glossy Accents to the coffee/hot chocolate and berries.  Then I used a .08 white Jelly Roll pen to add snowflake dots and a clear sparkle pen to add shimmer to the hat and more dots to the background.  I wish it was easier to capture all the shimmer in a photo!

I colored a scrap of white card stock with the same dark blue Copic (B39).  When it was dry, I stamped the sentiment with Versamark, added white embossing powder and heat set it.  I used a Sentiment Banners die to do partial die cutting to the length I wanted and popped it up with small foam squares.


Thank you so much for stopping by today!  Be sure to check out these talented designers in the list below for what I know will be some wonderful inspiration!


Kelly Lunceford (Creator)

Claire Broadwater

Lori Tecler

Nance Salkeld

Nina Forsyth

Marybeth Lopez

Nancy Penir

Carol Hintermeier <--that's me :)

Wednesday, September 9, 2020

One More Trip to The Beach! | Honey Bee Stamps

 Hello friends!  I needed one more trip to the beach (I wish!)  Since I've no trip planned for now, I've created a peaceful beach scene card to take me there!  The Honey Bee Stamps awesome Beach Scene A7 Cover Plate die makes this very easy.

I'm short on time today, so I hope you don't mind a list of the general steps.  (If you have any questions, use the contact form in the left column.)

  • Create a 5" x 7" card base from white card stock.
  • Die cut the Beach Scene A7 Cover Plate die from white card stock.  Adhere the thin frame onto the card base.
  • Using a blending brush, ink the wave pieces in Mermaid Lagoon, Salty Ocean and Blueprint Sketch Distress Oxides.
  • Ink the sand pieces with Brushed Corduroy and Antique Linen Oxides.
  • Ink up the Sandy Shores Background stamp with Ground Espresso and stamp onto the sand pieces.
  • Using a cloud stencil from the Mountain Z-fold stencil set, ink the die cut clouds with Weathered Wood Oxide.
  • Ink the sky portion with Tumbled Glass Oxide.
  • Adhere all the pieces into the frame on the card base.

  • Stamp the plants from the Luau stamp set in green inks.  I used Altenew Forest Glades and Evergreen.
  • Die cut the plants with the coordinating Honey Cuts.
  • Using scrap pieces of white card stock, blend some Nuvo Embellishment Mousse onto them.  I used Mother of Pearl, Aquamarine, and Coral Calypso.  Let dry.
  • Stamp the shells from the Hello Summer set onto the mousse pieces with Versamark clear ink.  Sprinkle on white embossing powder and heat set.
  • Stamp the beach chair from the Hello Summer stamp set with Ink On 3's Fadeout detail ink.  Color with Copic markers and then die cut with the coordinating Honey Cuts.
  • Die cut the top layer of Summer Honey Cuts three times and adhere the layers.  Die cut the middle layer from Mermaid Lagoon inked card stock.  Finally, die cut the bottom layer from vellum.  Adhere it to the card front.
  • Stamp the other sentiment from the Summer set on the leftover blue inked piece with Versamark, add white embossing powder and heat set.  Then I die cut it with a Sentiment Banners Honey Cuts.  I added foam tape and adhered it.

As always, I so appreciate your stopping by for a look!  I hope the rest of your week is good with lots of crafty time!