Showing posts with label Hello Summer. Show all posts

Wednesday, July 28, 2021

The Market Cart is on the Beach | Honey Bee Stamps

 Hello crafty friends!  Today I have a fun card using Honey Bee Stamps Market Cart Builder Honey Cuts! I've moved the market cart from the flower market to the beach to sell some sea shells!  Anyone thinking of the old tongue twister "she sells seashells by the seashore..."?  Good!  Now it'll be stuck in your brain like it has been mine--LOL!

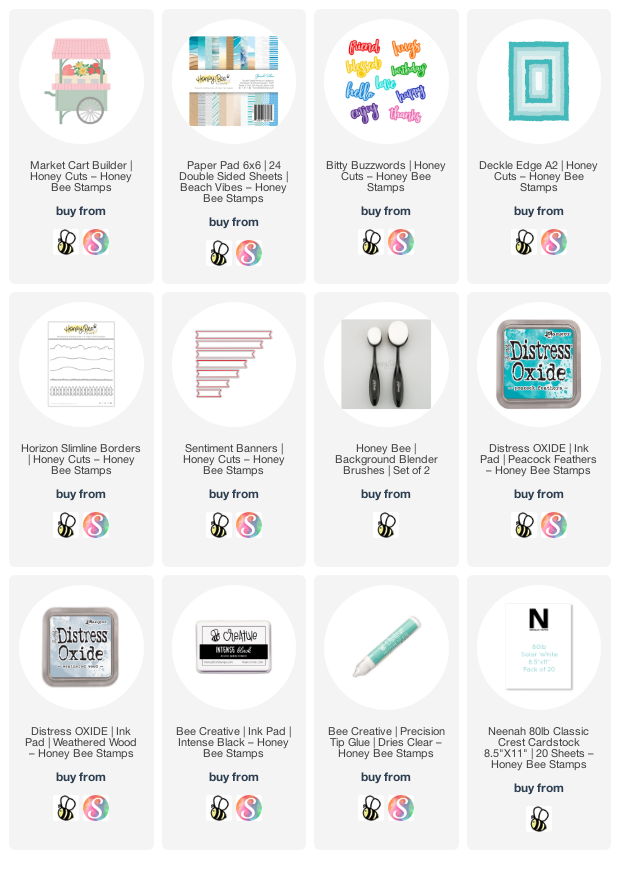
For the card's background I chose a pretty pattern paper from the Beach Vibes 6x6 paper pad and die cut it with the largest Deckle Edge A2 Honey Cut.  I had a scrap of paper left (it looks like sand) and I die cut it at the bottom of the Deckle Edge die.  Then I used a hill die from the Horizon Slimline Borders die set to cut the top.  I glued the layers together with Bee Creative glue and then glue them to a top-folding A2 card base.

Next I used more of the beautiful Beach Vibes paper to die cut the Market Cart.  I just placed the die at the top edge of the paper so that I would not have the awning it normally cuts.  Then I used a background blender brush to add a bit of Peacock Feathers Distress Oxide ink around the edges.

Then I die cut the wheel and tire from some Distress Woodgrain card stock and added Peacock Feathers and Weathered Wood Distress Oxide inks to them with a blending brush.  I adhered them together with glue and added them to the cart.

I die cut the bottom awning from the Market Cart die set from white card stock.  Next I chose some images from the awesome Hello Summer stamp set and inked them up with Bee Creative Intense Black ink (the umbrella, grass, and shells.)  Then I colored them all with my Copic markers.  I die cut the Hello Summer images with the coordinating Honey Cuts.

To finish up the cart, I adhered all the pieces together with Bee Creative glue, added foam tape to the back and adhered it to the card.  I also popped up the grass pieces with foam tape for more dimension.

Then I used the same BG Copic markers that I used on the umbrella and colored a scrap of white card stock in an ombré pattern.  I used the hello from Bitty Buzzwords Honey Cuts and die cut the top layer of the sentiment.  For some extra dimension I die cut the top layer twice more and the shadow layer once from white card stock.  I adhered all of the layers together with Bee Creative glue.  I stamped the rest of the sentiment in some coordinating teal ink, die cut it with a Sentiment Banners Honey Cut and added foam tape to the back of both sentiments.

Of course, I had to add a bit of sparkle!  I used a clear glitter pen to add that pretty sparkle and shine to the "hello" and also all of the seashells.  I sure wish photos would capture how pretty it is!

I love this Market Cart set so much!  I can see it filled with pumpkins in the fall--what ideas do you have? Thanks, as always, so very much for stopping by!  Stay crafty!!


If you choose to use my affiliate links (at no extra cost to you), I thank you so much!
Wednesday, September 9, 2020

One More Trip to The Beach! | Honey Bee Stamps

 Hello friends!  I needed one more trip to the beach (I wish!)  Since I've no trip planned for now, I've created a peaceful beach scene card to take me there!  The Honey Bee Stamps awesome Beach Scene A7 Cover Plate die makes this very easy.

I'm short on time today, so I hope you don't mind a list of the general steps.  (If you have any questions, use the contact form in the left column.)

  • Create a 5" x 7" card base from white card stock.
  • Die cut the Beach Scene A7 Cover Plate die from white card stock.  Adhere the thin frame onto the card base.
  • Using a blending brush, ink the wave pieces in Mermaid Lagoon, Salty Ocean and Blueprint Sketch Distress Oxides.
  • Ink the sand pieces with Brushed Corduroy and Antique Linen Oxides.
  • Ink up the Sandy Shores Background stamp with Ground Espresso and stamp onto the sand pieces.
  • Using a cloud stencil from the Mountain Z-fold stencil set, ink the die cut clouds with Weathered Wood Oxide.
  • Ink the sky portion with Tumbled Glass Oxide.
  • Adhere all the pieces into the frame on the card base.

  • Stamp the plants from the Luau stamp set in green inks.  I used Altenew Forest Glades and Evergreen.
  • Die cut the plants with the coordinating Honey Cuts.
  • Using scrap pieces of white card stock, blend some Nuvo Embellishment Mousse onto them.  I used Mother of Pearl, Aquamarine, and Coral Calypso.  Let dry.
  • Stamp the shells from the Hello Summer set onto the mousse pieces with Versamark clear ink.  Sprinkle on white embossing powder and heat set.
  • Stamp the beach chair from the Hello Summer stamp set with Ink On 3's Fadeout detail ink.  Color with Copic markers and then die cut with the coordinating Honey Cuts.
  • Die cut the top layer of Summer Honey Cuts three times and adhere the layers.  Die cut the middle layer from Mermaid Lagoon inked card stock.  Finally, die cut the bottom layer from vellum.  Adhere it to the card front.
  • Stamp the other sentiment from the Summer set on the leftover blue inked piece with Versamark, add white embossing powder and heat set.  Then I die cut it with a Sentiment Banners Honey Cuts.  I added foam tape and adhered it.

As always, I so appreciate your stopping by for a look!  I hope the rest of your week is good with lots of crafty time!

Thursday, August 20, 2020

Camping Fun on the Beach | Honey Bee Stamps

Happy Thursday friends!  Today I have a fun beach scene card featuring the Beach Scene A7 Cover Plate die and the Camp Trailer Card die.  I don't know about you, but I'm ready to go somewhere!  The beach is truly one of my favorite places to be, so I'll just dream about it for now!

I used the Hot Tropics 6x6 paper pad and chose the paper with the sun rays on it.  Position the top portion of the Beach Scene A7 Cover Plate die so the rays are in the middle and run through your die cutting machine.  Then I die cut the entire Beach Scene A7 die from some white card stock.

I added some Weathered Wood Distress Oxide to the cloud sections with a Detail Blender Brush and the negative cloud piece from the Mountain Z-Fold stencil set.

For the waves I ink blended Salty Ocean, Mermaid Lagoon, and Broken China Distress Oxides.  The Background Blender Brushes make this very easy!  Next I blended Antique Linen Oxide onto the sand pieces.  Then I inked up the Sandy Shores Background stamp with Brushed Corduroy and Walnut Stain Oxides and stamped it onto the sand.  I adhered all of the pieces onto a top-folding A7 card base.

I used the Camp Trailer Card die to cut out the trailer and other pieces.  I added embossed lines using my scoring board every ¼" on the main part and then I die cut the door from it.  Then I added Twisted Citron and Mowed Lawn Oxide to the embossed piece. The other the bottom panel is patterned paper from the Hot Tropics pad. I Copic colored the door frame, awning and strip of white card stock with coordinating colors. I used silver mirror card stock for the hitch and bottom trim. I adhered all the pieces with the awesome NEW Bee Creative Precision Tip Glue and trimmed it to fit the card.

Next I stamped the Hello Summer images in Copic safe ink and colored them with my markers. I die cut them with the coordinating Honey Cuts. I adhered some with glue and used foam squares on the umbrella, chairs and one grass.

To finish up, I stamped the sentiment from Flippin' Fabulous in black ink and die cut it with the coordinating Honey Cut. I popped it up with foam squares. I added a few gem stickers from the Hot Tropics Gem Stickers. I used a white Gelly Roll pen to add highlights here and there.

This card was so fun to make! I can see making several different scenes with this awesome Beach Scene Cover Plate die! Thanks so much for stopping by today!

Monday, July 6, 2020

Honey Bee Stamps "Hello Summer" Blog Hop - Day 1


Hello and welcome to Day 1 of Honey Bee Stamps Hello Summer blog hop!  I'm so happy to be here to share my creations with this amazing release!  There will be a $25 gift card given away from both days' commenters so be sure to leave a comment at each stop for more chances to win!  There is lots of inspiration from the awesome and talented designers in this hop so keep reading until the end where you'll find the entire hop list!


I was so excited when we found out that this new release would include some slimline dies!  These are such a fun way to create a different style card!


I really like how this Slimline Salutations: Eyelet Border Honey Cut cuts the center panel separate from the scalloped eyelet frame.  I used a couple of Blender Brushes to ink up the sky background with Distress Oxides in Squeezed Lemonade, Mustard Seed, Tumbled Glass and Peacock Feathers.

I die cut the Making Waves Border Honey Cuts from some colored card stock and the sand from patterned paper from the Beach Vibes 6x6 paper pack.  These dies are 8-¾" long so you can use them lengthwise on your card.  I added some texture paste to the waves and sprinkled with some glitter before it dried.


The Flip Flop Builder Honey Cuts is just the most fun to play with!  This patterned paper is also from the Beach Vibes paper pad.  I added some greenery and a plumeria flower from the Paradise Blooms set.  The sentiment from the Flippin' Fabulous set is stamped in coordinating ink.


I find it interesting how much smaller the flip flops look on this card versus the one you'll see next!  It's all about the perspective I guess!

----------------------------------------------

In case you missed them, here are the cards I've shared on my Instagram for each sneak peek day.  I have the links to shop the Hello Summer products I used below each photo.


Thank you so much for hopping along!  Be sure to leave a comment for your chance to win and then head over to the amazingly talented Channin Pelletier!

Hop list:

Honey Bee Stamps <--click here to start at the beginning
Carol Hintermeier <--that's me!