Showing posts with label Market Cart. Show all posts

Wednesday, December 13, 2023

A Snowy Christmas Market Cart Scene Card

Hello crafty friends! Today I'm sharing my snowy scene card featuring Honey Bee Stamps beautiful Christmas Market Cart Add On.  Except for the sentiment, this 5" x 7" card is totally die cut with no coloring!  Read on for the details!

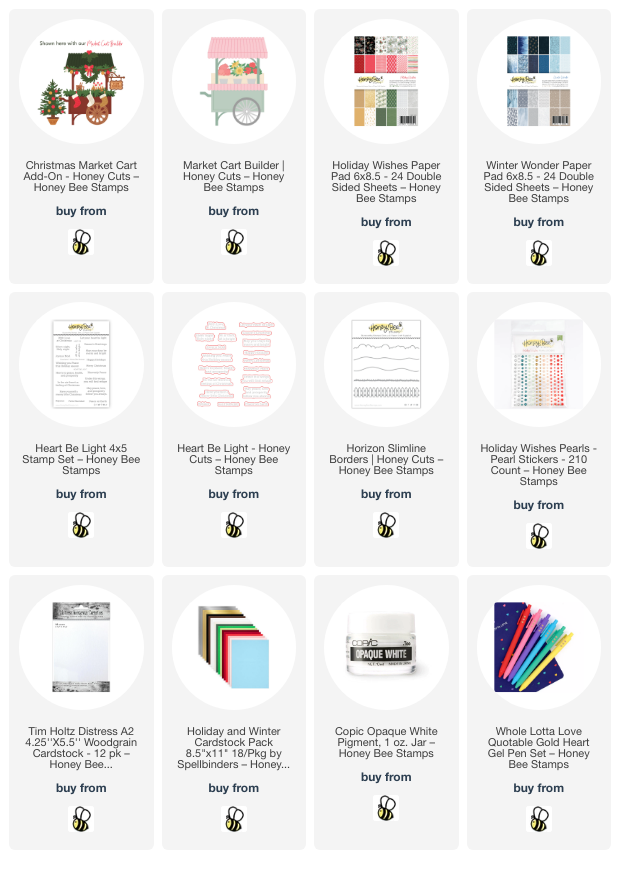
The card base is an A7 card with a layer of the pretty patterned paper from the Winter Wonder paper pad. I die cut two hills with the dies in the Horizon Slimline Borders set. After I trimmed them to fit the width of the card, I used glue to adhere them to the bottom of the scene. I made sure to not add glue to the top edge of the hills so I could tuck in some of my other die cuts.

Next I die cut the Market Cart from white woodgrain cardstock. I used a piece of paper from the Holiday Wishes paper pad to cut the awning die. I die cut some red cardstock with the awning edge die and the wheel die.

Then I chose the elements from the Christmas Market Cart Add On I wanted for my scene. I used white, red, green, brown, and silver metallic cardstock for these pieces. (This Holiday and Winter Cardstock Collection has all the colors I needed.) I die cut two light strings from green cardstock and one from brown, along with additional greenery pieces. Since this was my first time to use this set, I referred to the layering guide that you will find in the product description.

The bulbs for the strings of lights are white cardstock. To easily get a solid covering of glue to adhere the iridescent chunky glitter, I squirted a dollop of glue onto my craft mat. Then I added just a bit of water to thin it out and painted the glue onto each light before adding the glitter. This is super easy!! Just don't forget to rinse out your paintbrush! Haha!

Before I assembled anything more, I added white splatters to all of the green pieces and the market cart too. This created a more cohesive look with the snowy patterned paper.  I used a white gel pen to add details to the red mug. The snowflake and stripes on the white mug were added with a red pen and a pencil.

Next I adhered all of the elements to the card. Most pieces are adhered with glue, with one tree, the wreath and holly leaf/berry piece popped up with foam dots.

To finish, I cut the strings of lights to fit onto the pine trees and glue them to two of the trees. Then I added one large red pearl from the Holiday Wishes Pearl Stickers to the center of the wheel. Next I added lots of drops of red crystal drops. I stamped a sentiment from the Heart Be Light set in black ink, then cut it out with the coordinating die. It's popped up on the card with foam strips.

I really enjoyed making this festive and snowy Christmas card! I hope you have enjoyed it too! Have a wonderful and crafty day!

Thank you so much for shopping with my affiliate links (never any additional cost to you)!
Wednesday, July 28, 2021

The Market Cart is on the Beach | Honey Bee Stamps

 Hello crafty friends!  Today I have a fun card using Honey Bee Stamps Market Cart Builder Honey Cuts! I've moved the market cart from the flower market to the beach to sell some sea shells!  Anyone thinking of the old tongue twister "she sells seashells by the seashore..."?  Good!  Now it'll be stuck in your brain like it has been mine--LOL!

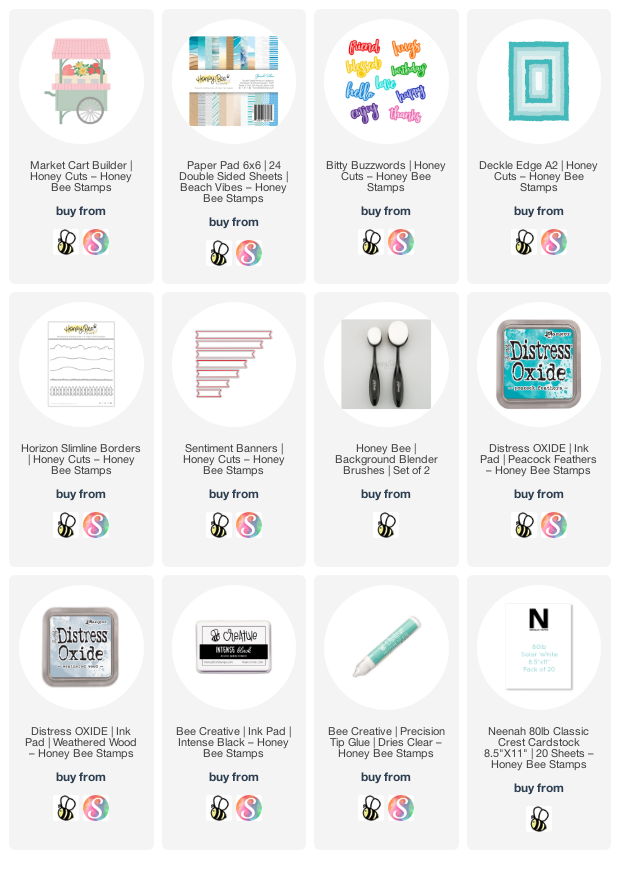
For the card's background I chose a pretty pattern paper from the Beach Vibes 6x6 paper pad and die cut it with the largest Deckle Edge A2 Honey Cut.  I had a scrap of paper left (it looks like sand) and I die cut it at the bottom of the Deckle Edge die.  Then I used a hill die from the Horizon Slimline Borders die set to cut the top.  I glued the layers together with Bee Creative glue and then glue them to a top-folding A2 card base.

Next I used more of the beautiful Beach Vibes paper to die cut the Market Cart.  I just placed the die at the top edge of the paper so that I would not have the awning it normally cuts.  Then I used a background blender brush to add a bit of Peacock Feathers Distress Oxide ink around the edges.

Then I die cut the wheel and tire from some Distress Woodgrain card stock and added Peacock Feathers and Weathered Wood Distress Oxide inks to them with a blending brush.  I adhered them together with glue and added them to the cart.

I die cut the bottom awning from the Market Cart die set from white card stock.  Next I chose some images from the awesome Hello Summer stamp set and inked them up with Bee Creative Intense Black ink (the umbrella, grass, and shells.)  Then I colored them all with my Copic markers.  I die cut the Hello Summer images with the coordinating Honey Cuts.

To finish up the cart, I adhered all the pieces together with Bee Creative glue, added foam tape to the back and adhered it to the card.  I also popped up the grass pieces with foam tape for more dimension.

Then I used the same BG Copic markers that I used on the umbrella and colored a scrap of white card stock in an ombré pattern.  I used the hello from Bitty Buzzwords Honey Cuts and die cut the top layer of the sentiment.  For some extra dimension I die cut the top layer twice more and the shadow layer once from white card stock.  I adhered all of the layers together with Bee Creative glue.  I stamped the rest of the sentiment in some coordinating teal ink, die cut it with a Sentiment Banners Honey Cut and added foam tape to the back of both sentiments.

Of course, I had to add a bit of sparkle!  I used a clear glitter pen to add that pretty sparkle and shine to the "hello" and also all of the seashells.  I sure wish photos would capture how pretty it is!

I love this Market Cart set so much!  I can see it filled with pumpkins in the fall--what ideas do you have? Thanks, as always, so very much for stopping by!  Stay crafty!!


If you choose to use my affiliate links (at no extra cost to you), I thank you so much!

Wednesday, June 30, 2021

Picked Just For You! | Honey Bee Stamps

 Hello my crafty friends!  This week, over at Honey Bee Stamps, we are all about the red, white and blue! For my card today, I've used the adorable Market Cart Honey Cuts and colored it up to fit the theme!  I had lots of fun creating this card--read on for the details!

Here are the steps I took to create the Market Cart (all other products I used are linked at the end of this post):

  • Die cut the Market Cart pieces from 80# Neenah Solar White card stock.
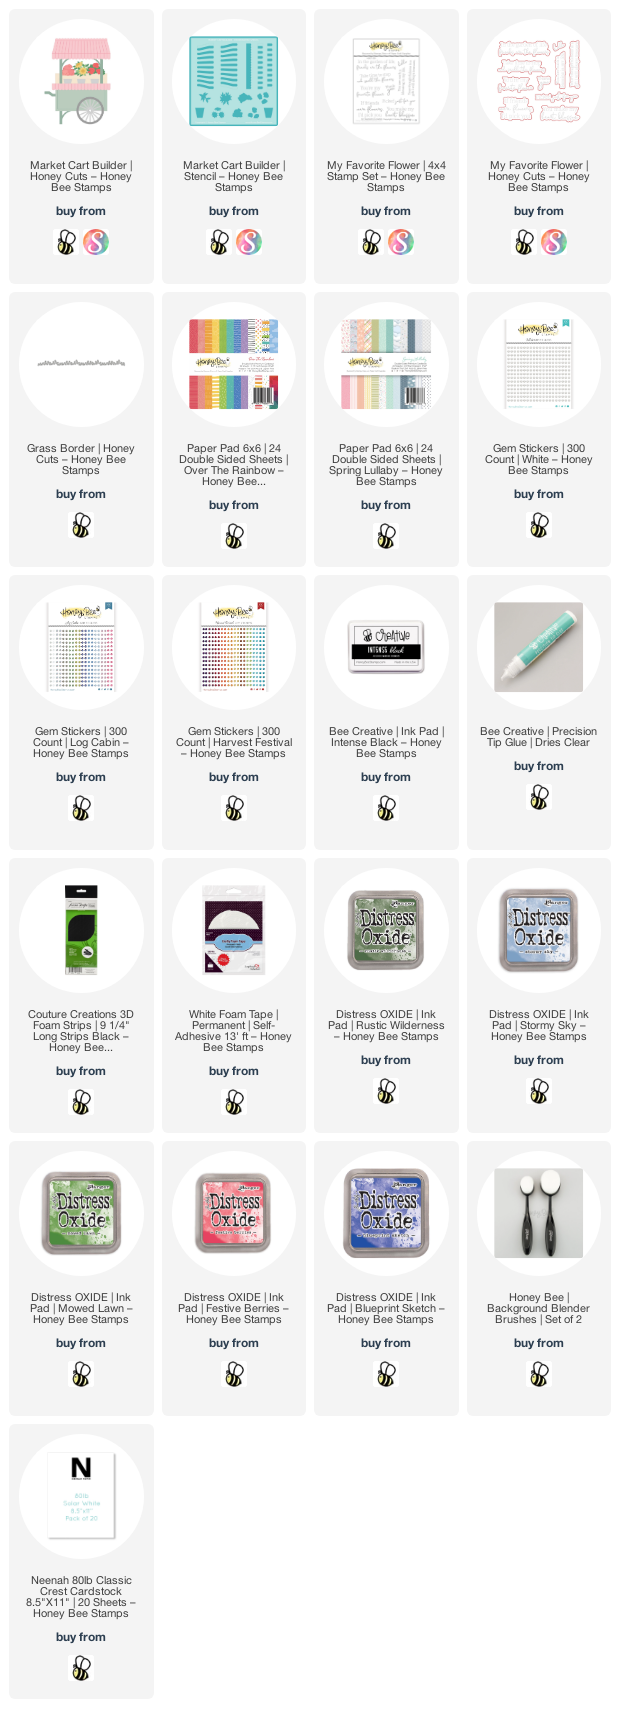
  • Use the Market Cart stencil to color the awnings and flower pots' greenery.  I used Background Blender brushes and these Distress Oxides:  Festive Berries, Blueprint Sketch, Mowed Lawn and Rustic Wilderness.
  • Then I colored the remaining parts with various Copic markers.

  • Next I used Bee Creative glue to assemble the Market Cart.  Tip:  On the top awning, just add glue along the top edge--then you can fold along the score lines created when it was die cut for extra dimension!
  • I added some gem stickers to the awnings.  I'm low on red and blue gems, so I was happy to find them in the Harvest Festival Gem stickers (red) and the Log Cabin Gem stickers (blue).  The white are from...the White Gem sticker set!  Haha!
  • I added foam tape to the back of the cart and set it aside to create my card base.

  • For the card base, I used some patterned paper from the Spring Lullaby paper pad.  Trim it to 4" x 5-¼".
  • Very lightly, ink the edges of the cloud patterned paper with Stormy Sky Distress Oxide ink.  Adhere it to an A2 top-folding card base.
  • I used a small scrap piece of green patterned paper I had from the Over The Rainbow paper pad and die cut it with the Grass Border Honey Cut.
  • Trim the grass die cut to 4" and adhere it at the bottom.  Next, adhere the Market Cart to the card.
  • Stamp the sentiment from the My Favorite Flower stamp set in Bee Creative Intense Black Ink and die cut it with the coordinating Honey Cut.  Add pieces of thin foam strips to the back and adhere it to the cart.

I love how this turned out for our red, white and blue themed week!  I know for sure I'll be decorating the cart for all the seasons and lots of holidays!  Thank you so much for stopping by!  If you are in the U.S., I hope you have a safe, and fun filled 4th of July!

Click the images for more details on the products I used: