Showing posts with label Keepsake Sentiments: Fall. Show all posts

Wednesday, September 23, 2026

Counting My Blessings...And You're One Of Them

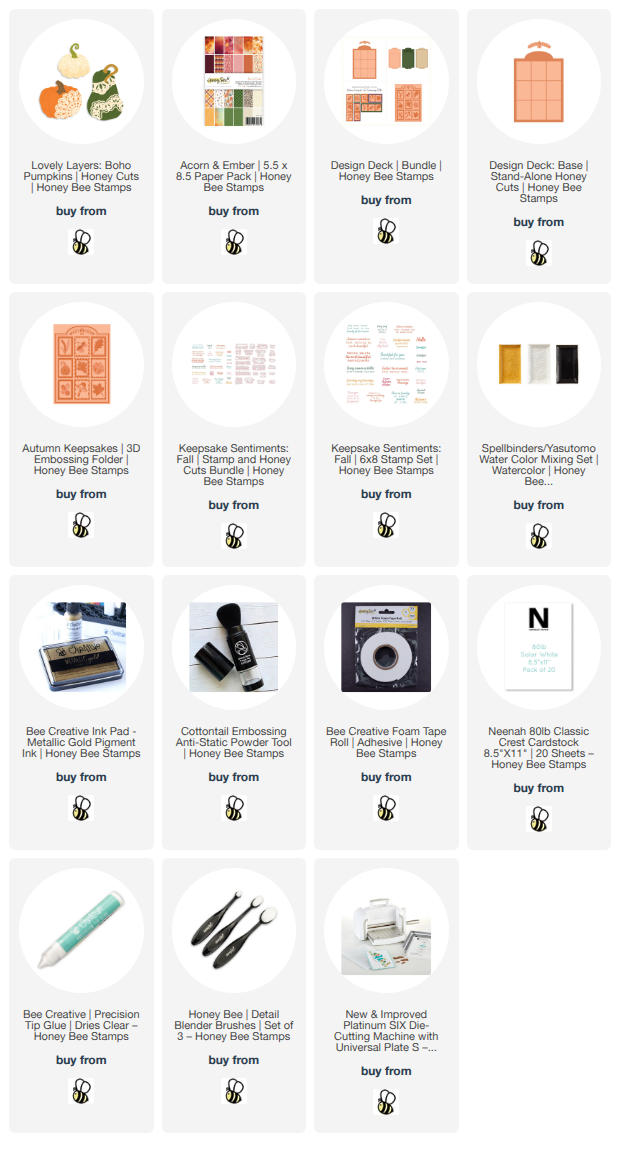
Hello, crafty friends!  Today I'm sharing this acorn-shaped card I made with Honey Bee Stamps awesome Acorn Card Base Honey Cuts!  Shaped cards are always so fun for your recipient and I don't think I've ever seen one like this!  Bonus: it easily fits into an A2 sized envelope!

First I created the Acorn Card Base by cutting some brown cardstock with the dies in the set.  I used ink blending brushes to add more color using Ground Espresso and Vintage Photo Distress Inks.

There is a separate die in the Acorn Card Base set that you can use to cut a folded white card panel into a shaped card base.  Just be sure to place the upper cutting edge of the die just above the fold of the card base.  Then I used Bee Creative Glue to adhere the layers together and to the card base.

Next I used some of the elements in the Display Box: Fall Add-On Honey Cuts to create the card detail images.  I also used the sunflower and a leaf die that's in the In Stitches: Pumpkin die set.  I cut these all from various colored cardstocks including orange, green, white, and a golden yellow.  I used ink blending brushes and more Distress Inks to give the leaves and other elements more color.  I used these Distress Inks:  Fossilized Amber, Rusty Hinge, Aged Mahogany, Fired Brick, Mowed Lawn, and Rustic Wilderness.

I used a black pen to color in the ladybug's dots and the lines on the butterfly.  Then I used glue to adhere the layers together, where needed.  I used glue and foam adhesive to adhere the elements to the Acorn Card Base card.

Next I stamped two sentiments from the Keepsake Sentiments: Fall stamp set with clear embossing ink onto more brown cardstock.  I added brass embossing powder to the sentiments and set it with my heat tool.  Then I cut them out with the coordinating Keepsake Sentiments: Fall dies.  (These are also available in a stamp and die set bundle.)

I glued one of the sentiments on the inside of the card.  I tucked in an extra leaf I had under the sentiment.  I like the touch of color this adds!

I used foam strips to adhere the other sentiment to the front of the card.

There are so many ways you could embellish this adorable Acorn Card Base!  I sure hope you've been inspired to try making your own acorn-shaped card--they are so fun!

Thank you for stopping by today!  Be sure to follow me on my Instagram to see my reel I'll be posting soon showing you more details of how I made my card.  Have a fabulous and crafty day!

I so appreciate that you use my affiliate links to shop! (There's never any additional cost to you.)  It helps me with the expenses of posting my creative content, thank you.
Wednesday, September 2, 2026

Thank You Card With Boho Pumpkins -- Honey Bee Stamps

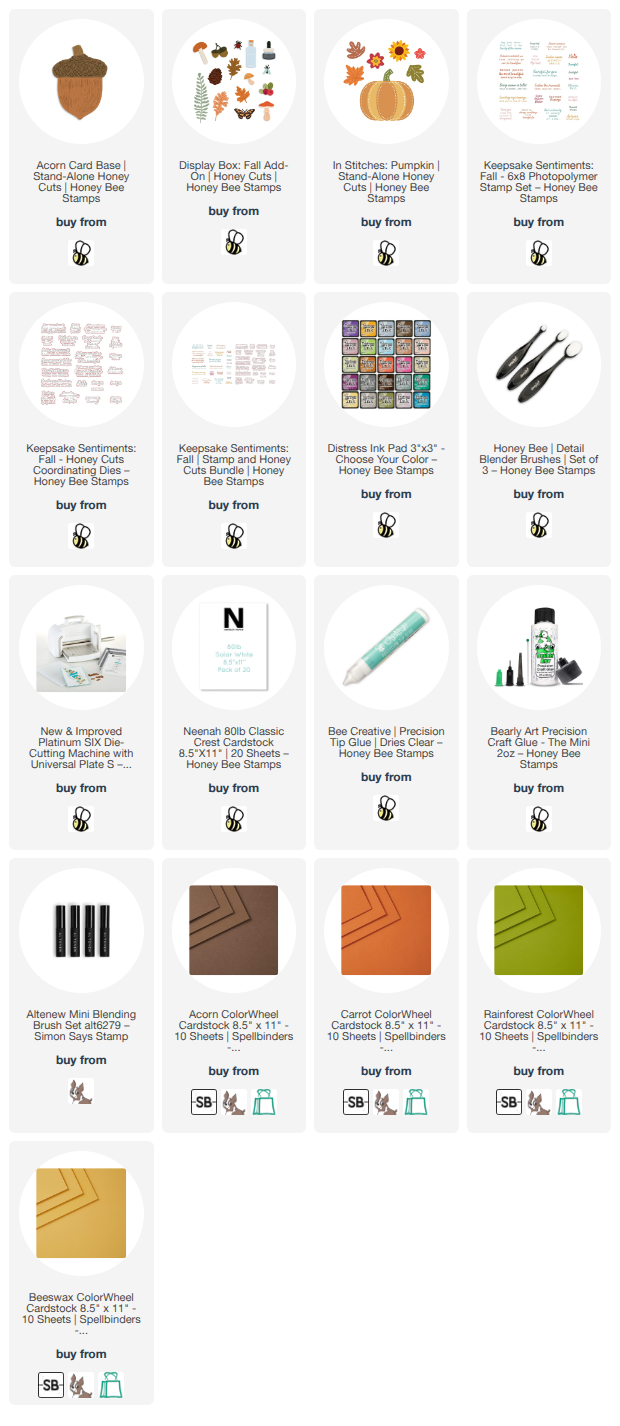
Hello, crafty friends!!  I'm super excited to share my first project with products from Honey Bee Stamps new Acorn & Ember release!  I'm in love with everything in this release and had a hard time choosing what to create with first!  I ended up choosing the beautiful Lovely Layers: Boho Pumpkins Honey Cuts for this card.

  • Please check this out!  I'm featuring this card for Honey Bee's Instagram Hop today, which begins at 9 am CDT.  I strongly encourage you to come on over to my Instagram to get started as there will be prizes!  Honey Bee is giving away one $25 gift card to two winners!  Just leave "hearts" and comments on each stop in the hop for more chances to win!

Now on to the fun details of my card!

I started out by creating a side-folding A7 card base from white cardstock.  I chose this beautiful leafy green paper from the new Acorn & Ember paper pad for the first layer and glued it to the card base.

Next I used the largest die in the Design Deck: Base die set to cut a piece of brown cardstock.  It's so cool that there's an embossing folder to coordinate with this die cut!  I just lined up the brown cardstock die cut in the Autumn Keepsakes 3D embossing folder and ran it through my die cutting machine.  I inked up the edges using blending brushes and Tea Dye and Vintage Photo Distress Inks.

Then I added gold splatters with a paint brush and gold metallic paint from Gansai Tambi Starry Colors watercolors!  (P.S.:  This set is my MOST favorite gold tones!). Then I swiped a gold metallic ink pad along the edges and glued it to my card base.

Next I chose three more papers from the Acorn & Ember paper pad and cut out the pumpkins with the dies in the Lovely Layers: Boho Pumpkins dies.  I die cut the lace from watercolor cardstock, the leaves from green cardstock, and the stems from brown cardstock.

I smooshed Antique Linen and Tea Dye Distress inks onto my silicone mat.  Then I spritzed the ink with just. bit of water.  Next I dipped each die cut layer into the ink, drying between colors and layers of ink with my heat tool.

I inked up the edges of each pumpkin using a blending brush and Tea Dye and Vintage Photo Distress inks along with some orange inks from my stash.  I used Rustic Wilderness for the leaves.  Before I glued the Boho Pumpkin layers together I inked the edges with gold metallic ink.

The sentiment is from the Keepsake Sentiments: Fall stamp set.  Before I stamped it, I die cut watercolor cardstock with the die in the Design Deck: Base dies.  Then I ink smooshed it as described above.  When the piece was dry, I patted an anti-static tool on the paper then stamped the sentiment with clear embossing ink.

I sprinkled copper embossing powder over the stamped sentiment, then heat set it with my heat tool.  I used a blending brush to ink the edges with Vintage Photo Distress ink then swiped the gold metallic ink pad along the edges.  (Of course, there is a coordinating Keepsake Sentiments: Fall die set, but I didn't need it this time.)

I adhered the Boho Pumpkins and the sentiment to the card using glue and some foam tape.

This was such a fun card to make.  I love these Acorn & Ember papers and the Boho Pumpkins too!  Be sure to check out the entire release on Honey Bee's website.

Thank you so much for stopping by.  I hope you have a wonderful and crafty day!

I so appreciate that you use my affiliate links to shop! (Never any additional cost to you.)  It helps me with the expenses of posting my creative content, thank you!