Showing posts with label Lovely Layers: Autumn Bouquet. Show all posts

Wednesday, September 17, 2025

A Day To Remember -- A Fun Stenciled and Die Cut Autumn Card

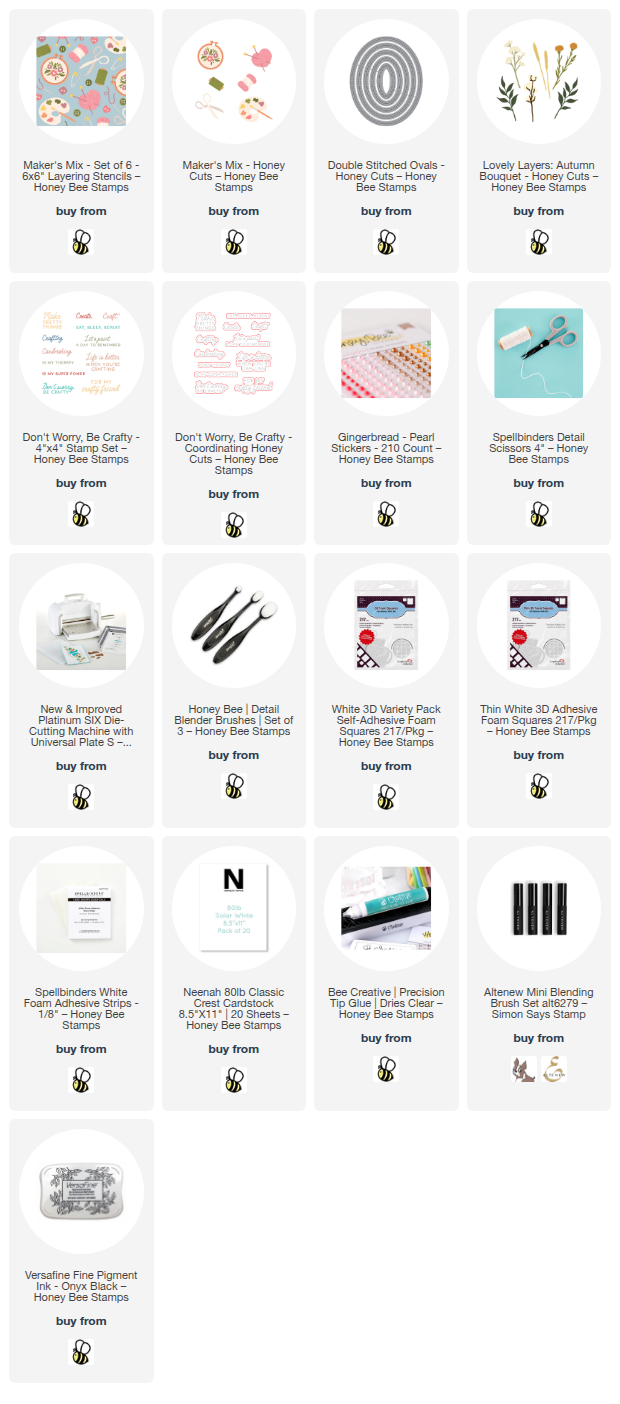
Hello, crafty friends!  I'm still loving to create autumn themed cards and I've made one today with Honey Bee Stamps Maker's Mix stencil set and coordinating dies!  I've added in a favorite older set called Lovely Layers: Autumn Bouquet for the floral details.

I began with an A2 sized piece of colored cardstock for my stenciling with the Maker's Mix stencil set.  I used mini blending brushes to add coordinating autumn colored inks through each of the six stencils.  Then I trimmed the piece to 4" x 5-¼".  I have all of the cardstock and inks in the list below.

Next I die cut colored cardstock with the middle sized Double Stitched Oval die.  I added foam tape to the back and adhered it to the stenciled panel.  Then I used my scissors to trim off the oval overhanging the panel.  I used glue to adhered this to an A2 sized piece of cardstock in the same color and then glued it to an A2 card base.

Next I die cut several different colored cardstocks with the dies in the Lovely Layers: Autumn Bouquet Honey Cuts.  Then I used glue to adhere the layers together.  I played around with various arrangements of the florals and then used a piece of Press N Seal to pick them all up.  I LOVE doing this to retain the arrangement I made!  I used foam squares and glue to begin adhering the bottom most die cuts.  I continued until all of the florals were adhered to the oval.

I die cut white cardstock with the pallet die from the Maker's Mix .  Then I used the Maker's Mix stencils to add color to the pallet with inks in colors that coordinate with the Autumn Bouquet die cuts.  I added thin foam tape to the back to adhere it at the bottom of the floral arrangement.

The sentiment is from the Don't Worry, Be Crafty stamp set and is stamped in black ink.  I cut it out with the coordinating Honey Cut.  To adhere it the sentiment, I added a double layer of foam strips on the right back and glue to the left to bring the sentiment to the same height as the paint palette.

I added a bit of bling with pearls from the Gingerbread Pearl Stickers set.

Would you have thought to create an autumn card with the Maker's Mix stencils?  If not, I hope you've been inspired to try this out!  Thanks so much for stopping by!  I hope your day is wonderful and filled with fun crafty times!

Thank you so much for using my affiliate links to shop (never any additional cost to you)!
Wednesday, September 6, 2023

Autumn Birthday Card With Fall Foliage

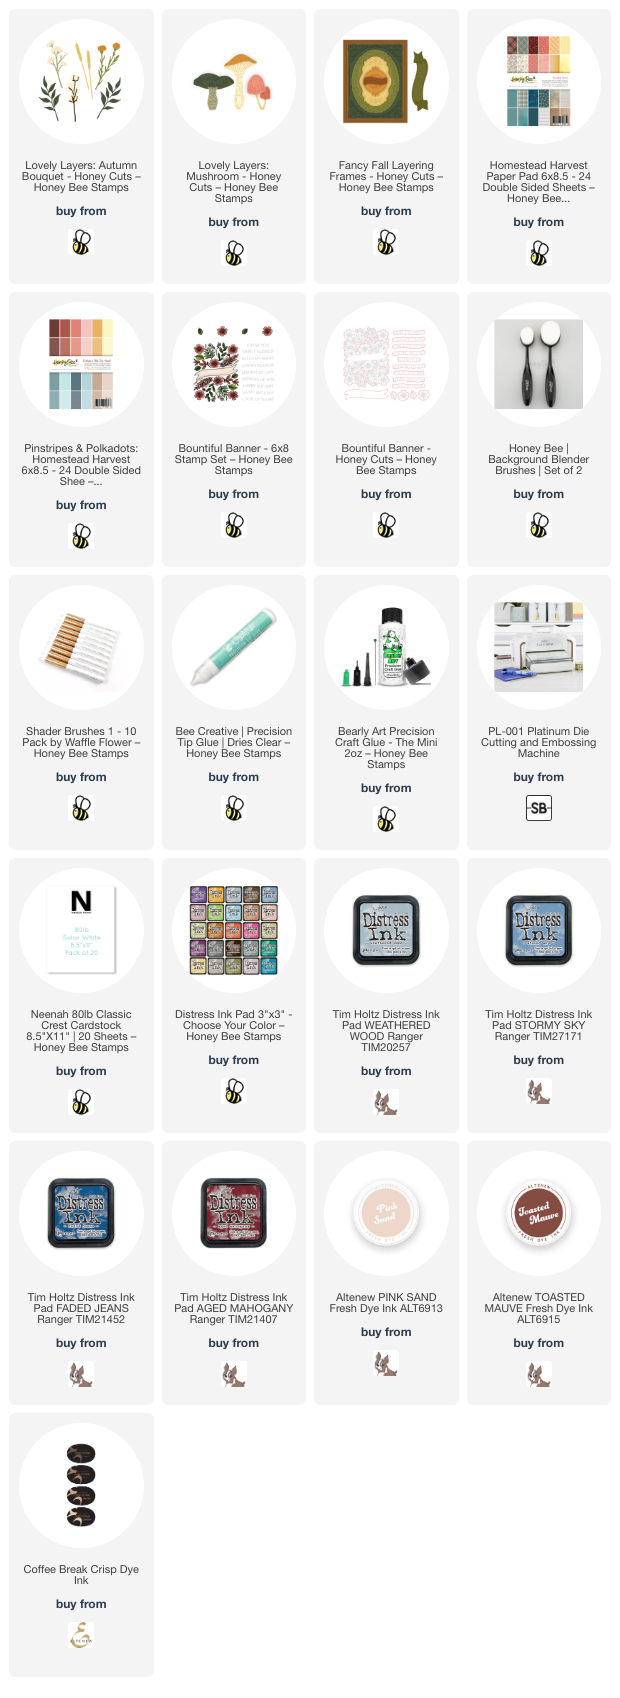
Hello crafty friends! Today I'm sharing a birthday card I made with the new Lovely Layers: Mushroom and Lovely Layers: Autumn Bouquet. My color palette was inspired by the gorgeous patterned paper in the Homestead Harvest paper pad. I will always say it--Honey Bee has THE most gorgeous papers of any company!

I created an A2 card base and added a layer of the gorgeous patterned paper from the Homestead Harvest paper pad that I die cut from the largest Fancy Fall Layering Frames Honey Cuts. Next I die cut the blue polka-dot paper found in the Pinstripes and Polka Dots: Harvest paper pad with the oval Fancy Fall Layering Frames die.

I added foam tape to the back of the oval to adhere it to the card base. Then I die cut the Lovely Layers: Mushroom from 80# Neenah. (Note: I die cut the two smaller mushrooms two times.) I chose the leafy branch die and the cotton boll layers from the Lovely Layers: Autumn Bouquet to die cut from 80# Neenah.

Then I set about going through my various ink pads to get just the right color combinations to color the die cuts and to coordinate with the patterned paper.

I used small ink blending brushes to blend the ink onto the die cuts. The leaves are colored with Weathered Wood, Stormy Sky and Faded Jeans Distress Inks. The other Distress Ink I used was Aged Mahogany along with another brand of a reddish-brown ink. The cotton bolls are shaded with a few light brown inks in my stash.

I played around with the arrangement of the elements, and when I was satisfied, I picked them all up with a piece of Press N Seal. So handy! Then I added dots of Bee Creative glue to the back of the pieces to adhere them to the oval layer on the card.

I die cut a piece of Neenah Desert Storm cardstock with the banner die in the Fancy Fall Layering Frames die set. The shading I added is Gathered Twigs Distress Ink. I popped it up with foam dots placed at each end of the banner.

I stamped the sentiment from the Bountiful Banner stamp set with brown ink. I die cut it with the coordinating die and used glue to adhere it to the banner.

Have you used your patterned paper colors as inspiration for your cards?  Let me know!  Thank you so very much for stopping by--you are appreciated!!

Thank you so much for using my affiliate links to shop (never any additional cost to you)!

Sunday, August 27, 2023

Give Thanks Card With The New Heartfelt Harvest Release!

Happy shiny new week, crafty friends!  Today I'm sharing my first card using new products from Honey Bee Stamps gorgeous new release called Heartfelt Harvest!  We will be sharing "inspiration" ideas for this release today through Tuesday.  Then on Wednesday, we are having an Instagram hop with prizes!

As you may imagine, I've been super busy, and still have lots to prepare for, so this will be a brief blog post.  If you have any questions, please use the "contact me" form in the left column.

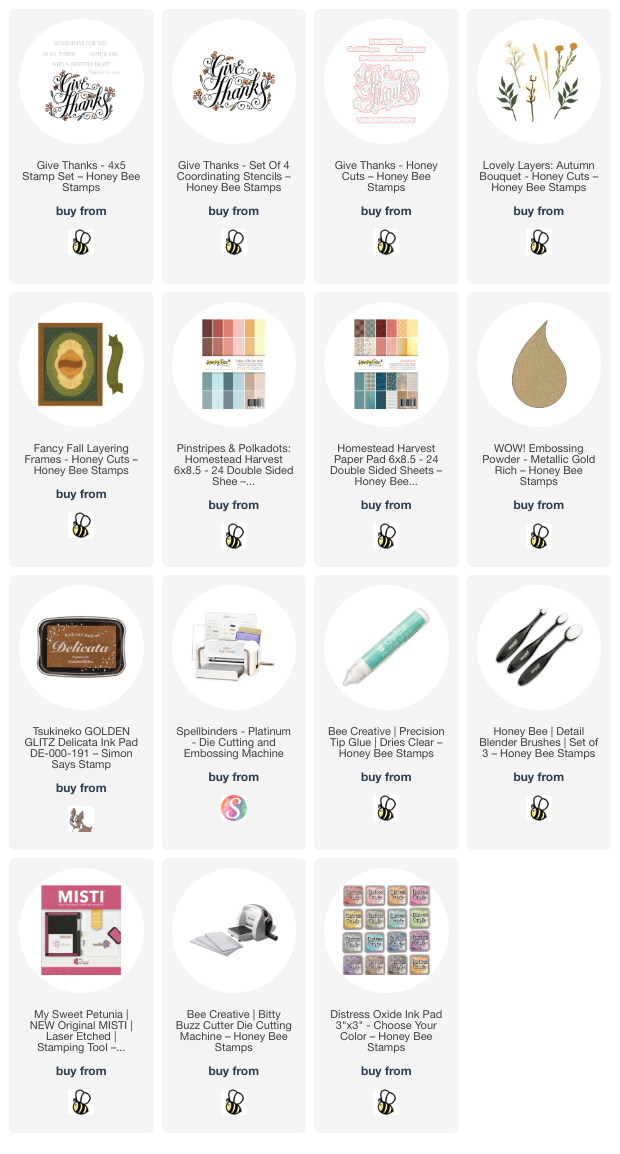
This card features the absolutely gorgeous Give Thanks stamp, stencils, and coordinating die.

I love the font of this sentiment!  I let is shine by heat embossing it in gold.  A few pretty accents from the new Lovely Layers: Autumn Bouquet adds that bit of special!  These were die cut from metallic gold paper and patterned paper from the Pinstripes and Polka Dots: Harvest paper pad.

The gorgeous layers with paper from the Heartfelt Harvest paper pad (let me just say, Honey Bee has the most gorgeous papers!) are die cut with the Fancy Fall Layering Frames dies.  I added a bit more shine by swiping a metallic gold ink pad around the edges of the layers.  This really helps the detail of the dies stand out. 

Thank you so very much for stopping by.  Be sure to check out the entire Heartfelt Harvest release HERE.  Have a beautiful Sunday!

Thank you so much for using my affiliate links to shop (never any additional cost to you)!