Showing posts with label Fall Is In The Air paper pad. Show all posts

Wednesday, September 10, 2025

Crafty Cart and Craft Room Decorated Autumn Card

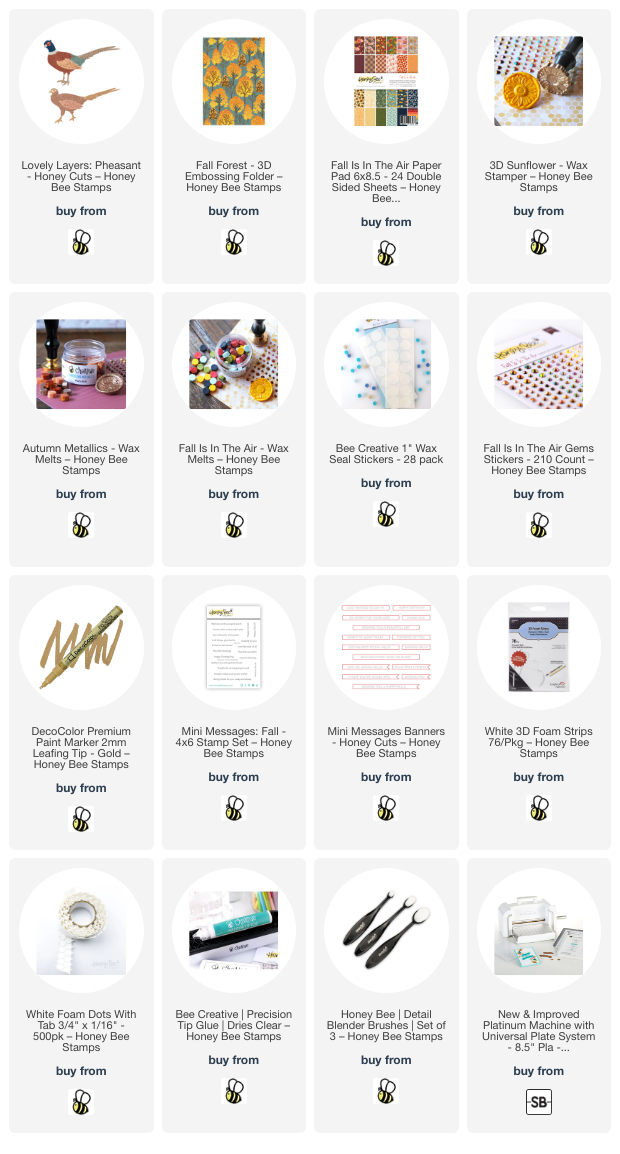
Hello, friends!   I really do love the colors of autumn and I've decorated Honey Bee Stamps Lovely Layers: Craft Cart in that style!  I've also used a few older favorites to add the autumn touches!

The A2 card base is layered with patterned paper from the Fall Is In The Air paper pad.  Then I scored a 4-¼" x 2-½" piece of white cardstock ¼" across the width and glued it to the card.  A white scored strip of cardstock tops off the paneled piece.  I added a wood patterned strip to the bottom of the card.  This is from the Grain And Grunge paper pad.

Then I die cut the Lovely Layers: Craft Cart from gray and green cardstocks and used glue to adhere the layers together.

The supplies in the cart are from the Lovely Layers: Arts & Crafts Supplies set.  I chose the ones with a knitting/crochet theme and die cut them from colored cardstock and white cardstock.  I colored the white pieces with Copic markers and also added shading to the colored cardstock pieces.  After I glued the layers together, I adhered them all to the Craft Cart.

The autumn elements are from the so cute Itty Bitty Leaves Honey Cuts and the Itty Bitty Pumpkins Honey cuts.  I die cut nine leaves from three different colors of cardstock.  TIP:  Place your twine onto a sticky mat, taping the ends down if needed.  I planned the spacing of the leaves and then added glue to the backs to adhere them to the twine.  I left the leaf banner on the sticky mat until the glue had dried.

I used more glue on the back of the leaves to adhere the banner to the card.  I added one of the Itty Bitty Pumpkins to a shelf of the Craft Cart.  Glue and foam tape adheres the other three pumpkins to the card.

I stamped a sentiment from the Heartfelt Hello stamp set in black ink and cut it out with the coordinating Honey Cut.  More foam tape adheres the sentiment to the card.

I love this fall version with the Lovely Layers: Craft Cart and hope you do too!  Thanks for stopping by and having an awesome day!

Thanks so much for using my affiliate links to shop (never any additional cost to you)!
Wednesday, September 11, 2024

Giving Thanks For You -- New Lovely Layers: Pheasants

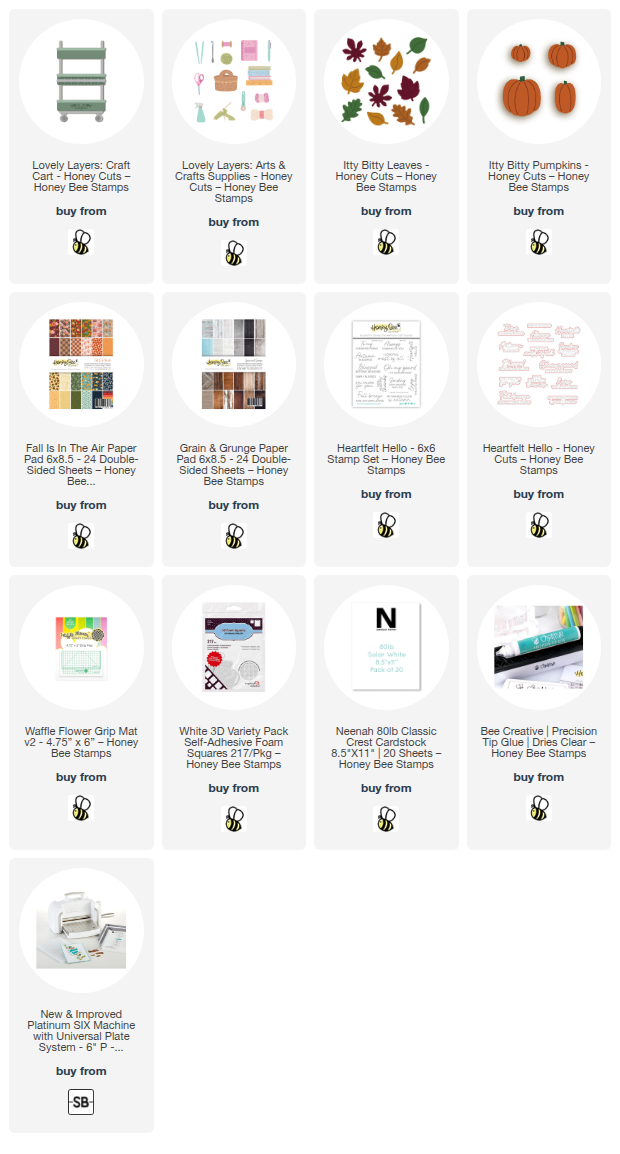
Hello friends! I made a card to share with you that features the new Lovely Layers: Pheasants along with the Fall Forest 3D embossing folder and patterned paper too!

To be honest, I really didn't know what a pheasant bird looked like! Haha! But I did discover that they are not in my state and that the male has beautiful markings! I die cut my Lovely Layers: Pheasants from white cardstock, except for the male's dark teal head and red eye markings. I used Detail Blending Brushes and a few reddish brown inks from my stash to color the layers.

I consulted the Layering Guide to assist in the assembly since this was my first time using these dies. I used glue to adhere the layers and set them aside to create the card base and layers.

I embossed white cardstock with the Fall Forest 3D embossing folder leaving about 1" hanging outside the embossing folder. Then I trimmed the sides and top so that the panel measures 5" x 3-¾". 

I chose a few patterned papers from the Fall Is In The Air paper pad and trimmed a piece 5" x 1" and adhered it to the bottom of the white embossed panel. Then I added a brown and orange strip with glue and trimmed the edges even with the panel. These are adhered to 5-¼" x 4" brown patterned paper and then to an A2 card base.

Did you notice that the Wax Stampers in the Falloween release are 3D?!!! I used the new 3D Sunflower Wax Stamper and some brown toned wax from the Autumn wax melts to create the wax seal for my card. There is also a new Fall Is In The Air wax melts that you can check out. I added some thin cord from my stash below the wax seal. Oh, the wax seal is adhered with a Wax Seal Sticker and some glue just to be sure it stays put!

I stamped a sentiment from the new Mini Messages: Fall Sentiments in brown ink. I used a Mini Messages Banners die to cut it out and then trimmed the ends just a bit more with my scissors. I adhered it with a thin foam strip.

I used a gold pen to color part of the flower's center on the wax seal and added a few Fall Is In The Air gem stickers for a little something extra!

I really love how this card turned out, and I learned about pheasants too!  I really appreciate you stopping by and hope your day is awesome!

I know you have many shopping choices and I appreciate you using my affiliate links (never any additional cost to you)!