Showing posts with label Lovely Layers: Arts & Craft Supplies. Show all posts

Wednesday, September 10, 2025

Crafty Cart and Craft Room Decorated Autumn Card

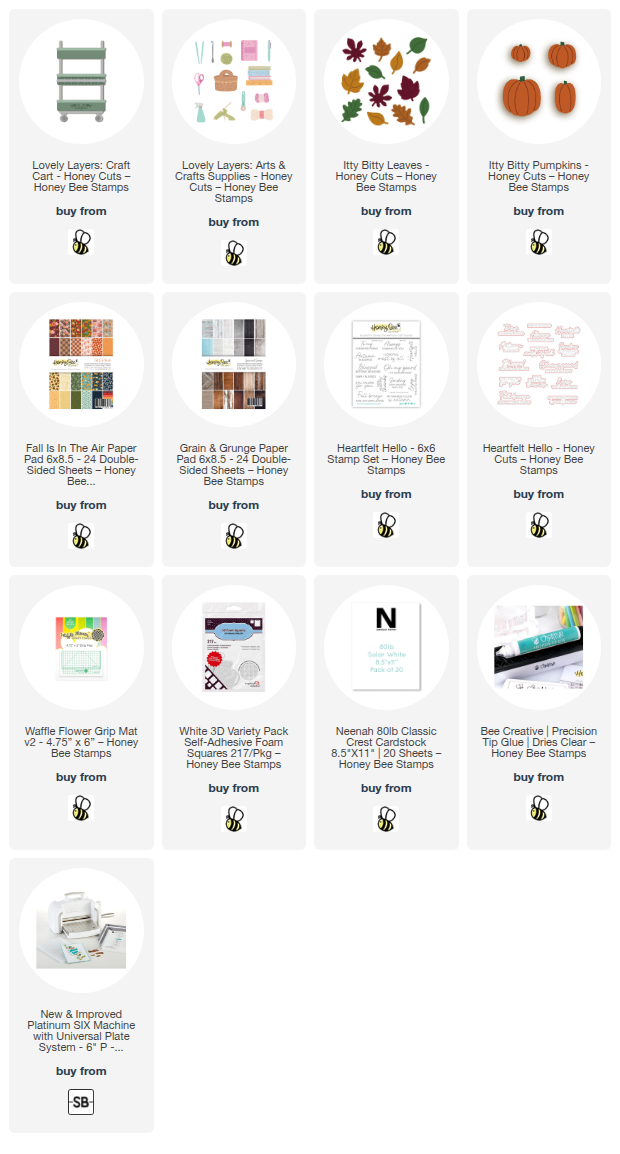
Hello, friends!   I really do love the colors of autumn and I've decorated Honey Bee Stamps Lovely Layers: Craft Cart in that style!  I've also used a few older favorites to add the autumn touches!

The A2 card base is layered with patterned paper from the Fall Is In The Air paper pad.  Then I scored a 4-¼" x 2-½" piece of white cardstock ¼" across the width and glued it to the card.  A white scored strip of cardstock tops off the paneled piece.  I added a wood patterned strip to the bottom of the card.  This is from the Grain And Grunge paper pad.

Then I die cut the Lovely Layers: Craft Cart from gray and green cardstocks and used glue to adhere the layers together.

The supplies in the cart are from the Lovely Layers: Arts & Crafts Supplies set.  I chose the ones with a knitting/crochet theme and die cut them from colored cardstock and white cardstock.  I colored the white pieces with Copic markers and also added shading to the colored cardstock pieces.  After I glued the layers together, I adhered them all to the Craft Cart.

The autumn elements are from the so cute Itty Bitty Leaves Honey Cuts and the Itty Bitty Pumpkins Honey cuts.  I die cut nine leaves from three different colors of cardstock.  TIP:  Place your twine onto a sticky mat, taping the ends down if needed.  I planned the spacing of the leaves and then added glue to the backs to adhere them to the twine.  I left the leaf banner on the sticky mat until the glue had dried.

I used more glue on the back of the leaves to adhere the banner to the card.  I added one of the Itty Bitty Pumpkins to a shelf of the Craft Cart.  Glue and foam tape adheres the other three pumpkins to the card.

I stamped a sentiment from the Heartfelt Hello stamp set in black ink and cut it out with the coordinating Honey Cut.  More foam tape adheres the sentiment to the card.

I love this fall version with the Lovely Layers: Craft Cart and hope you do too!  Thanks for stopping by and having an awesome day!

Thanks so much for using my affiliate links to shop (never any additional cost to you)!
Wednesday, August 13, 2025

Let's Make A Die Cut Card For Our Crafty Friends

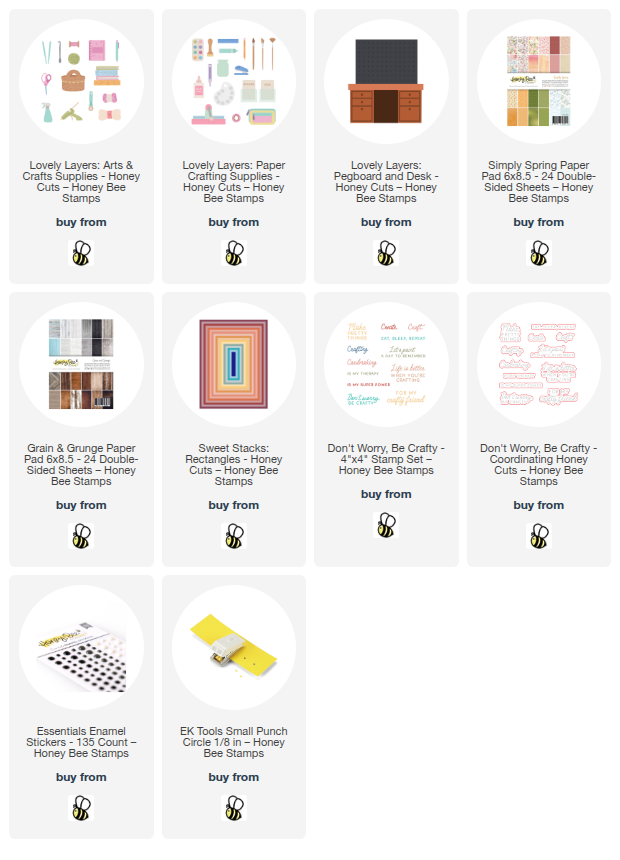
Hello crafty friends!  Today I have a fun card to share with you!  It's filled with lots of the crafty goodies that we all love!  I've used Honey Bee Stamps new Lovely Layers: Paper Crafting Supplies along with the previously released Lovely Layers: Pegboard and Desk Honey Cuts.

First I created my card base and background.  I die cut some pretty patterned paper from the Simply Spring paper padwith the largest Sweet Stacks: Rectangles die and glued it to the A2 card base.  Next I added a small strip of paper from the Grain and Grunge paper pad to the bottom of the card front.

For the white paneled portion of the wall, I scored a piece of 4-¼" x 2-½" piece of white cardstock at ½" intervals using my score board.  I also added three score lines 1/8" apart and trimmed the piece to 4-¼" x 3/8".  I glued these to the card.

Next I die cut the desired pieces of the Lovely Layers: Paper Crafting Supplies from white, teal, yellow, pink, and mat silver cardstocks.  Using the awesome Layering Guide, I used glue to adhere the layers together.

Then I die cut the Lovely Layers: Pegboard and Desk from white and teal cardstocks.  I colored the pegboard with Copic marker colors E42, E41, and E40.  I added black enamel stickers from the Essentials Enamel Stickers.  I adhered both the pegboard and desk to the card with foam tape.

The knitting basket and yarn is from the Lovely Layers: Arts & Crafts Supplies dies and die cut with white and colored cardstocks.  I colored the basket with Copic markers and added it to my card with foam tape.

Next I used glue and foam adhesive to add all of the fun elements to the pegboard and desk.  So it didn't appear as if the items on the pegboard are just floating, I used a 1/8" hole punch and punched a few silver circles to use to "hold" the die cutter and paint palette.  I added a little shelf for the bins of stamps and dies.

The sentiment is from the Don't Worry, Be Crafty stamp set.  After I stamped it in black pigment ink, I cut it out with the coordinating die.

How fun is this?!!  I love how I will be able to use it for various occasions to send to a crafty friend.  There are lots of other adorable crafty items in these sets, so be sure to check them all out here!

Thank you for stopping by and have a wonderful and crafty day!

Thank you for using my affiliate links to shop (never any additional cost to you)!