Showing posts with label Don't Worry Be Crafty. Show all posts

Wednesday, September 17, 2025

A Day To Remember -- A Fun Stenciled and Die Cut Autumn Card

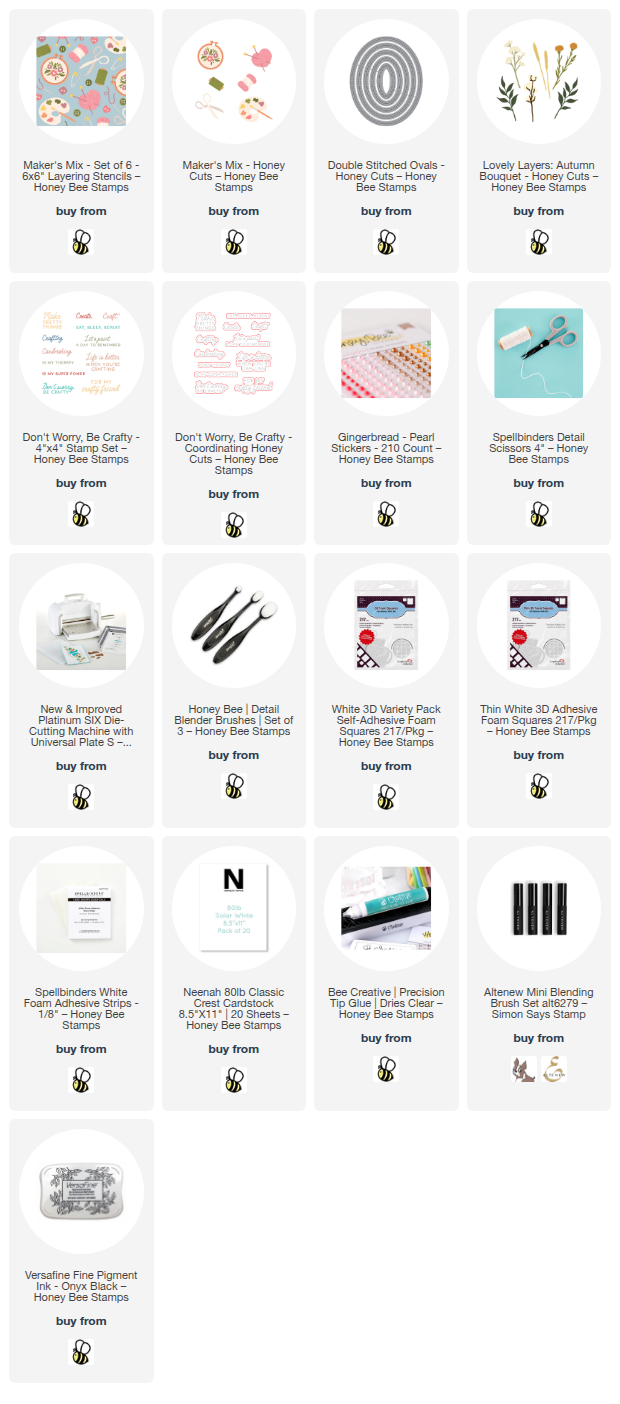
Hello, crafty friends!  I'm still loving to create autumn themed cards and I've made one today with Honey Bee Stamps Maker's Mix stencil set and coordinating dies!  I've added in a favorite older set called Lovely Layers: Autumn Bouquet for the floral details.

I began with an A2 sized piece of colored cardstock for my stenciling with the Maker's Mix stencil set.  I used mini blending brushes to add coordinating autumn colored inks through each of the six stencils.  Then I trimmed the piece to 4" x 5-¼".  I have all of the cardstock and inks in the list below.

Next I die cut colored cardstock with the middle sized Double Stitched Oval die.  I added foam tape to the back and adhered it to the stenciled panel.  Then I used my scissors to trim off the oval overhanging the panel.  I used glue to adhered this to an A2 sized piece of cardstock in the same color and then glued it to an A2 card base.

Next I die cut several different colored cardstocks with the dies in the Lovely Layers: Autumn Bouquet Honey Cuts.  Then I used glue to adhere the layers together.  I played around with various arrangements of the florals and then used a piece of Press N Seal to pick them all up.  I LOVE doing this to retain the arrangement I made!  I used foam squares and glue to begin adhering the bottom most die cuts.  I continued until all of the florals were adhered to the oval.

I die cut white cardstock with the pallet die from the Maker's Mix .  Then I used the Maker's Mix stencils to add color to the pallet with inks in colors that coordinate with the Autumn Bouquet die cuts.  I added thin foam tape to the back to adhere it at the bottom of the floral arrangement.

The sentiment is from the Don't Worry, Be Crafty stamp set and is stamped in black ink.  I cut it out with the coordinating Honey Cut.  To adhere it the sentiment, I added a double layer of foam strips on the right back and glue to the left to bring the sentiment to the same height as the paint palette.

I added a bit of bling with pearls from the Gingerbread Pearl Stickers set.

Would you have thought to create an autumn card with the Maker's Mix stencils?  If not, I hope you've been inspired to try this out!  Thanks so much for stopping by!  I hope your day is wonderful and filled with fun crafty times!

Thank you so much for using my affiliate links to shop (never any additional cost to you)!
Wednesday, August 13, 2025

Let's Make A Die Cut Card For Our Crafty Friends

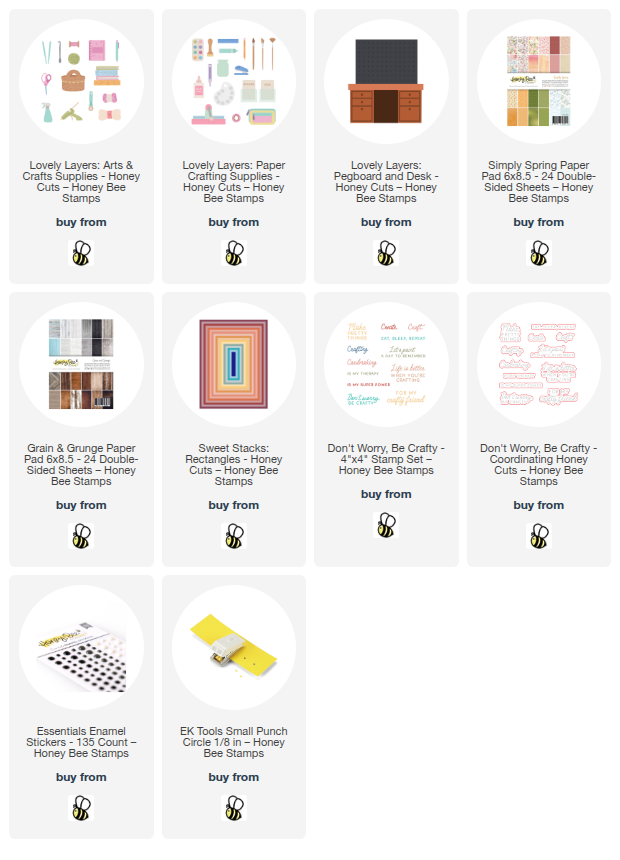
Hello crafty friends!  Today I have a fun card to share with you!  It's filled with lots of the crafty goodies that we all love!  I've used Honey Bee Stamps new Lovely Layers: Paper Crafting Supplies along with the previously released Lovely Layers: Pegboard and Desk Honey Cuts.

First I created my card base and background.  I die cut some pretty patterned paper from the Simply Spring paper padwith the largest Sweet Stacks: Rectangles die and glued it to the A2 card base.  Next I added a small strip of paper from the Grain and Grunge paper pad to the bottom of the card front.

For the white paneled portion of the wall, I scored a piece of 4-¼" x 2-½" piece of white cardstock at ½" intervals using my score board.  I also added three score lines 1/8" apart and trimmed the piece to 4-¼" x 3/8".  I glued these to the card.

Next I die cut the desired pieces of the Lovely Layers: Paper Crafting Supplies from white, teal, yellow, pink, and mat silver cardstocks.  Using the awesome Layering Guide, I used glue to adhere the layers together.

Then I die cut the Lovely Layers: Pegboard and Desk from white and teal cardstocks.  I colored the pegboard with Copic marker colors E42, E41, and E40.  I added black enamel stickers from the Essentials Enamel Stickers.  I adhered both the pegboard and desk to the card with foam tape.

The knitting basket and yarn is from the Lovely Layers: Arts & Crafts Supplies dies and die cut with white and colored cardstocks.  I colored the basket with Copic markers and added it to my card with foam tape.

Next I used glue and foam adhesive to add all of the fun elements to the pegboard and desk.  So it didn't appear as if the items on the pegboard are just floating, I used a 1/8" hole punch and punched a few silver circles to use to "hold" the die cutter and paint palette.  I added a little shelf for the bins of stamps and dies.

The sentiment is from the Don't Worry, Be Crafty stamp set.  After I stamped it in black pigment ink, I cut it out with the coordinating die.

How fun is this?!!  I love how I will be able to use it for various occasions to send to a crafty friend.  There are lots of other adorable crafty items in these sets, so be sure to check them all out here!

Thank you for stopping by and have a wonderful and crafty day!

Thank you for using my affiliate links to shop (never any additional cost to you)!

Wednesday, August 6, 2025

Let's Make A Paint Palette Mini Card for A Gift (or it could be a card too!)

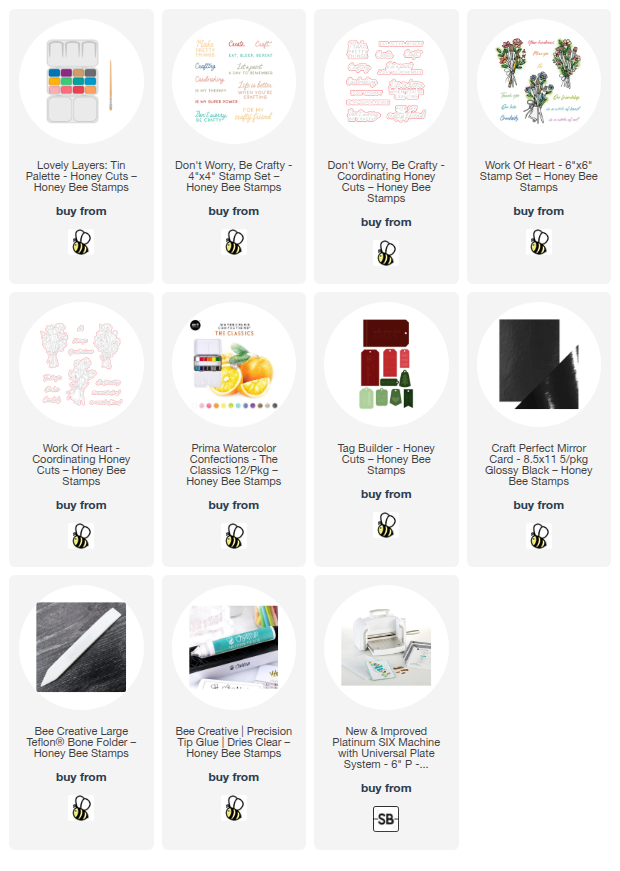
Hello crafty friends!  Today I have something a bit more than just a card!  I've used the awesome Lovely Layers: Tin Palette to make a mini card to go with a paint set gift!  Check out how I made it below!

The first thing I did was use my Classics Prima Watercolor set to paint a swatch of each color onto watercolor cardstock.  Then I die cut each color with the paint tray dies in the Lovely Layers: Tin Palette Honey Cuts.

Next I die cut the tin palette first from white cardstock and another time from glossy black cardstock.  Before I glued the two layers together, I needed to cut the black piece into three pieces.  If you've ever layered two pieces of cardstock together and then tried to fold them, you know that it's difficult to get a good fold.  The top layer needs more room for those folds.  Just use your paper trimmer to cut each section of the palette to make three pieces.

Glue each black piece to the back of the white cardstock tin palette.  I put a large stamp block over the palette to keep it flat while the glue dried.

Next glue each paint color in place as well as the three pieces for the wells of the Tin Palette.  I stamped a sentiment from the Don't Worry, Be Crafty stamp set in black pigment ink.  After I cut it out with the coordinating die, I used a thin foam piece to adhere it to the palette.

While I had the Don't Worry, Be Crafty stamp set out, I stamped another sentiment with black ink.  This time I cut it out with a tag die from the Tag Builder Honey Cuts.

To decorate the outside of the Lovely Layers: Tin Palette I stamped an image from the Work of Heart stamp set with Intense Black ink onto 80# white cardstock.  Then I colored it with some Copic markers and die cut it with the coordinating die.  I used thin foam tape to attach it to the outside of the palette.

I used my bone folder to carefully reinforce the folds of the tin palette.  My tin palette would not stay totally closed so I used a removable glue dot to hold it closed.  Just place the glue dot under the top flap.  Problem solved!

What I love is that you could make this into an adorable card at this point!  Just adhere the finish Tin Palette to a card front and add the tag sentiment to the card.

Next I tied a piece of white and black polk-a-dot ribbon around the Prima Watercolor set.  I attached the sentiment tag with black and white twine.  Then I slid the colored Work Of Heart image under the ribbon.

You may notice from the photo above that the watercolor set has been used!  Haha!  I don't have a new set and had to use my own for the prop.  I would definitely purchase a new set to gift!

What do you think?  Would you like to receive a gift presented like this?  I'm sure I would!  Thanks so much for stopping by today!  I hope you have a great one!

Sidenote:  Just thought I'd share with you, my blog friends, why I've been quite here and on social media.  On the last Saturday of July, I went for a bike ride in the morning in our neighborhood.  Long story short, a pit bull dog escaped from its leash and chased me and attacked me.  I am so thankful to God that it wasn't worse than it ended up being.  I was taken to the ER and had to have 18 stitches in my lower left leg.  Aside from the physical part of this, the emotional part has hit me hard.  If you pray, please pray that I will overcome the terror I felt.  Thank you, friends.  


Thank you for using my affiliate links to shop (never any additional cost to you)!