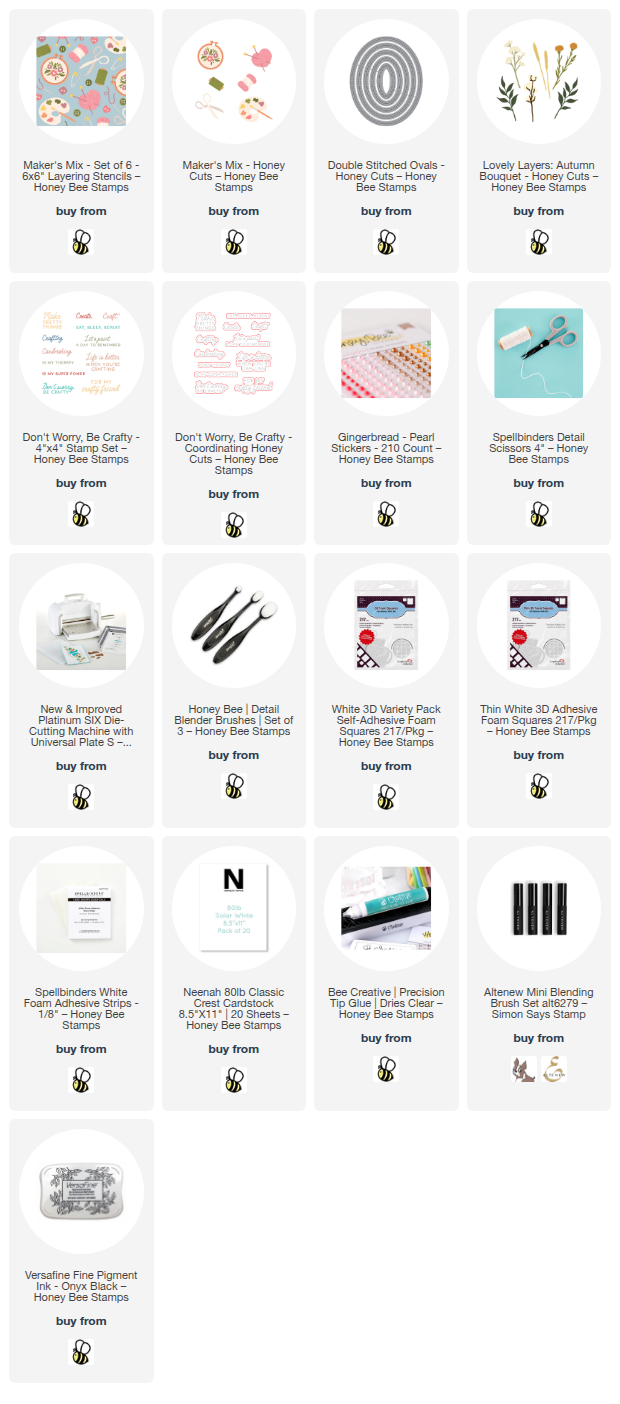
Hello, crafty friends! I'm still loving to create autumn themed cards and I've made one today with Honey Bee Stamps Maker's Mix stencil set and coordinating dies! I've added in a favorite older set called Lovely Layers: Autumn Bouquet for the floral details.

I began with an A2 sized piece of colored cardstock for my stenciling with the Maker's Mix stencil set. I used mini blending brushes to add coordinating autumn colored inks through each of the six stencils. Then I trimmed the piece to 4" x 5-¼". I have all of the cardstock and inks in the list below.
Next I die cut colored cardstock with the middle sized Double Stitched Oval die. I added foam tape to the back and adhered it to the stenciled panel. Then I used my scissors to trim off the oval overhanging the panel. I used glue to adhered this to an A2 sized piece of cardstock in the same color and then glued it to an A2 card base.

Next I die cut several different colored cardstocks with the dies in the Lovely Layers: Autumn Bouquet Honey Cuts. Then I used glue to adhere the layers together. I played around with various arrangements of the florals and then used a piece of Press N Seal to pick them all up. I LOVE doing this to retain the arrangement I made! I used foam squares and glue to begin adhering the bottom most die cuts. I continued until all of the florals were adhered to the oval.
I die cut white cardstock with the pallet die from the Maker's Mix . Then I used the Maker's Mix stencils to add color to the pallet with inks in colors that coordinate with the Autumn Bouquet die cuts. I added thin foam tape to the back to adhere it at the bottom of the floral arrangement.
The sentiment is from the Don't Worry, Be Crafty stamp set and is stamped in black ink. I cut it out with the coordinating Honey Cut. To adhere it the sentiment, I added a double layer of foam strips on the right back and glue to the left to bring the sentiment to the same height as the paint palette.
I added a bit of bling with pearls from the Gingerbread Pearl Stickers set.

Would you have thought to create an autumn card with the Maker's Mix stencils? If not, I hope you've been inspired to try this out! Thanks so much for stopping by! I hope your day is wonderful and filled with fun crafty times!
Thank you so much for using my affiliate links to shop (never any additional cost to you)!