Showing posts with label gift tags. Show all posts

Wednesday, December 10, 2025

Holiday Tags (That Can Be Ornaments Too!)

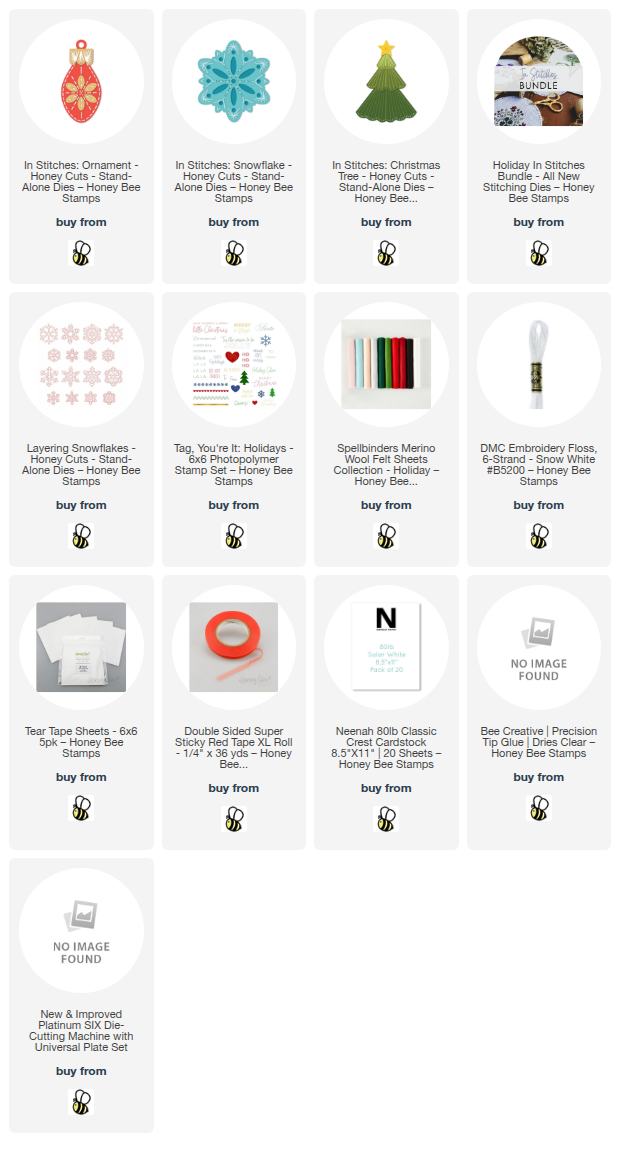
Hello crafty friends!  Just in time for present wrapping, this week for Honey Bee Stamps, we are sharing hand made tags!  My tags are made using three of the In Stitches die sets sets can also be used as ornaments by your recipients!!  I love a two-for-one!

I created the tags/ornaments from three of the holiday In Stitches sets.  I used In Stitches: Christmas TreeIn Stitches: Snowflake, and In Stitches: Ornaments.  One tag is made with more stitching, another with less stitching, and one tag with no stitching!

Starting with the In Stitches: Christmas Tree, I die cut the three top layers from green felt.  To reinforce the felt, I put a Tear Tape Sheet onto white cardstock and die cut those three top layers again.  I removed the top backing layer of the adhesive and carefully lined up the felt layers to adhere them to the white cardstock.

One more piece to die cut is the Christmas Tree bottom layer.  I die cut that from white cardstock.  I stamped sentiments onto the tree layer using green ink and some stamps from the Tag, You're It: Holidays stamp set.  (TIP: For all three ornaments, stamp the sentiment before assembling the layers.)

Next I did a simple stitching on the Christmas Tree with some gold thread.  I put pieces of Double-Sided Super Sticky Red Tape to the back of the three layers to adhere them to the bottom layer.

Here is a photo of all three tags with sentiments (all from the Tag, You're It: Holidays stamp set).

Next up is the In Stitches: Ornament.  I die cut all of the layers as I did above for the Christmas Tree.  Before I adhered any layers together I used white embroidery floss to add stitching in the center of the ornament.  When that is done, the stitching can be finished around the edges.

I saved a bit of stitching time by doing a simple running stitch around the outside edges of the ornament.  When finished, I adhered all of the layers together.

The final tag/ornament was made using the In Stitches: Snowflake.  I die cut the bottom layer three times.  Once from glitter cardstock, another from white felt. and then white cardstock with a Tear Tape Sheet.

To assemble the layers (top to bottom) I removed the backing sheet from the double-sided adhesive layer and adhered the felt die cut.

Next I glued the glitter cardstock layer to the back of the felt/cardstock layer.  Finally, the stamped layer was glued to the back of the piece.

I die cut one more snowflake from the Layering: Snowflake Honey Cuts from glitter cardstock to use when I added the embellishments.

If you have been crafting for a long time (like me!) then you will have a lovely collection of ribbons and embellishments that you have saved over the years.  Now is the time to pull some of those out!

I used various ribbons, sequins, and jingle bells to add fun touches to each tag/ornament!

Quick tip(s):  1. I noticed that a couple of the edges on the Christmas Tree's layers were not sticking down.  I just added glue to the edge and clamped each one down with my reverse tweezers.  2. This Die Release Tool will be your very best friend when it comes to removing any remaining holes from the stitching areas of Honey Bee's In Stitches dies!

Here is one more look, for you, of all three tags/ornaments!  Do you think you would like to receive a gift with a handmade tag that can be kept to use as an ornament?  I hope you would!

Thank you so much for stopping by today!  I hope you are enjoying the spirit of this season, and getting in some fun crafty time too!!

Thank you very much for using my affiliate links to shop (never any additional cost to you)!
Sunday, December 22, 2024

Quick and Easy Holiday Gifts Tags

Three days until Christmas!  Hello, crafty friends!  If you need some quick and easy coordinating gift tags, I have just the plan for you.  As we are all short on time, I will direct you to the blog at Brass & Bliss for all of the details.

I love how these turned out, and seriously, I made these 6 tags in about an hour or so!

I'm just going to share a list of the products I've used, as I still have LOTS of wrapping to do today!  Can you relate?  LOL!

These products are all available over at the Brass & Bliss website:

 Holiday Tags Die

 Holly and Berry Stencils

Crimson ink (Color Fuse Set #4)

36010 Winter Wreath stamp set

Moss ink, Basil ink (Color Fuse #10)

I really hope you will join me over on the blog at Brass & Bliss for all of the process photos with lots more details!

I always so appreciate you stopping by!

Monday, December 9, 2024

Three Quick and Easy Holiday Gift Tags

 Hello crafty friends!  Today I'm over on Brass & Bliss' blog to share all of the details of these three beautiful gift tags.

What made these so easy to make is I just used two colors of cardstock, used the same tag die for them all and the same Kittle Says Christmas stamp set for all of the sentiments.  First I die cut kraft cardstock three times with the largest Holiday Gift Tag die.  Then I add white paint splatters to all three.

This tag features the Greenery Wreath w/Flowers die and a sentiment from the Kittie Says Christmas stamp set.  It's finish with red gems and a gingham ribbon.

I die cut a few different snowflakes from the Large Snowflake die set for this tag and added silver gems for some sparkle.

This final tag features the beautiful Large Stacked Poinsettia dies.  I used a round tipped stylus to add shape to the petals before gluing the layers together.  It's finished off with gold gems and twine from my stash.

If you would like to see more details of how I made these, be sure to head over to the Brass & Bliss blog!  Thank you for stopping by!

Saturday, December 30, 2023

Three Fun Gift Tags To Make!

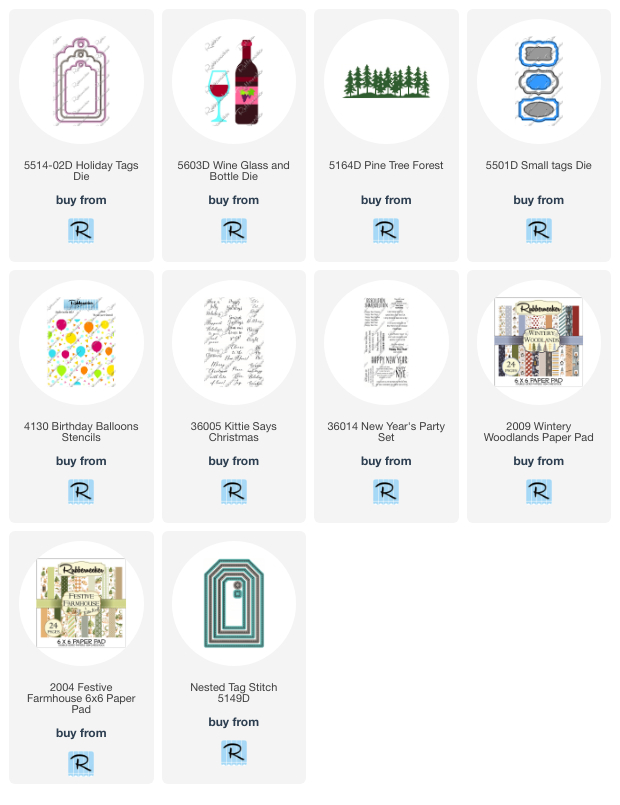
Happy New Year's Eve Eve crafty friends!  Today I'm sharing a few gift tags I made with Rubbernecker's Holiday Tags Dies.  Two are Christmas gift tags that I'll save for next year (yay!) and another is a gift tag that is perfect for that New Year's Eve favorite bubbly beverage!

I think y'all will understand how super busy things have been, so I'm keeping this post short and sweet!  Please go over to my post on Rubbernecker's Blog for all of the fun details to make these tags.

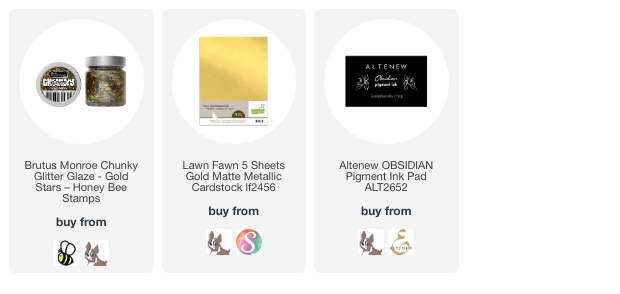
I made this NYE tag from black cardstock that I first added chunky glitter glaze through the Birthday Balloons stencil.  After it dried I cut out the tags with the largest Holiday Tags die.  The white tag behind is to write my message to the recipient.

I finished up the tag details with the Wine Glass and Bottle dies, Small Tags dies, and the New Year's Party stamp set.

I used ribbons from my stash to tie it to the bottle.  I love how this turned out!

These next two gift tags are made from patterned papers (linked below), the Pine Tree Forest die, and the Kittie Says Sentiment stamps.

To finish up, I'd like to thank each and every one of you that have stopped by my blog this year.  It really does mean a lot to me, and especially when you leave me a comment!  I wish all the very best for you, and yours, as 2023 closes.

May 2024 be all that you hope for!  Stay crafty, and I'll "see" you next year!

Thank you for shopping with my affiliate links (never any additional cost to you)!