Showing posts with label In Stitches: Snowflake. Show all posts

Wednesday, December 10, 2025

Holiday Tags (That Can Be Ornaments Too!)

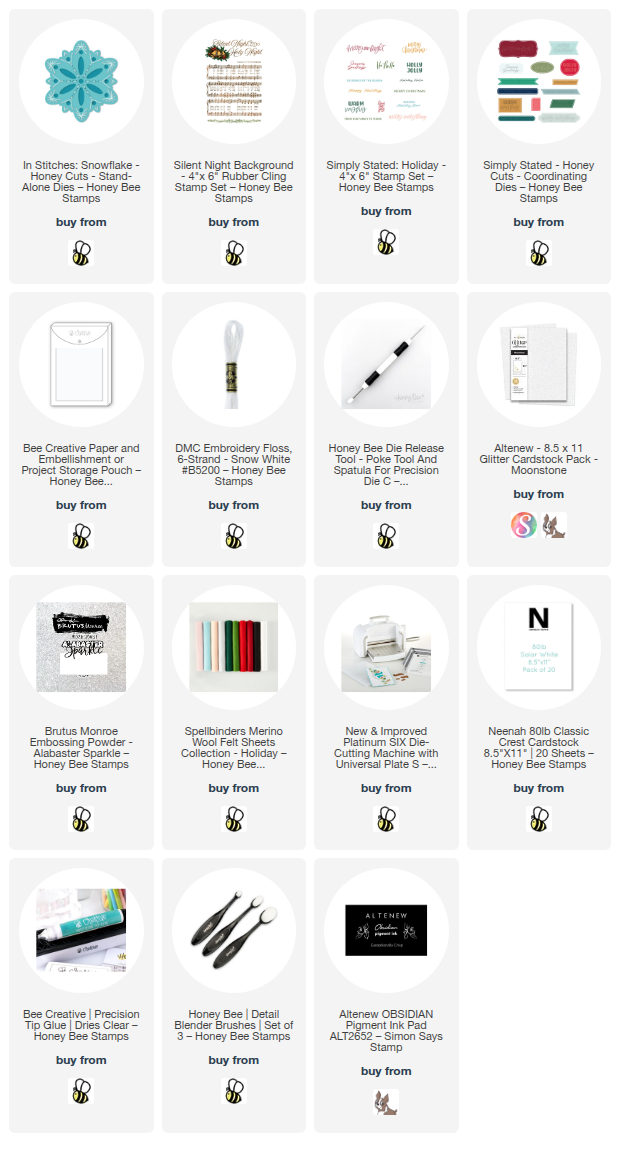
Hello crafty friends!  Just in time for present wrapping, this week for Honey Bee Stamps, we are sharing hand made tags!  My tags are made using three of the In Stitches die sets sets can also be used as ornaments by your recipients!!  I love a two-for-one!

I created the tags/ornaments from three of the holiday In Stitches sets.  I used In Stitches: Christmas TreeIn Stitches: Snowflake, and In Stitches: Ornaments.  One tag is made with more stitching, another with less stitching, and one tag with no stitching!

Starting with the In Stitches: Christmas Tree, I die cut the three top layers from green felt.  To reinforce the felt, I put a Tear Tape Sheet onto white cardstock and die cut those three top layers again.  I removed the top backing layer of the adhesive and carefully lined up the felt layers to adhere them to the white cardstock.

One more piece to die cut is the Christmas Tree bottom layer.  I die cut that from white cardstock.  I stamped sentiments onto the tree layer using green ink and some stamps from the Tag, You're It: Holidays stamp set.  (TIP: For all three ornaments, stamp the sentiment before assembling the layers.)

Next I did a simple stitching on the Christmas Tree with some gold thread.  I put pieces of Double-Sided Super Sticky Red Tape to the back of the three layers to adhere them to the bottom layer.

Here is a photo of all three tags with sentiments (all from the Tag, You're It: Holidays stamp set).

Next up is the In Stitches: Ornament.  I die cut all of the layers as I did above for the Christmas Tree.  Before I adhered any layers together I used white embroidery floss to add stitching in the center of the ornament.  When that is done, the stitching can be finished around the edges.

I saved a bit of stitching time by doing a simple running stitch around the outside edges of the ornament.  When finished, I adhered all of the layers together.

The final tag/ornament was made using the In Stitches: Snowflake.  I die cut the bottom layer three times.  Once from glitter cardstock, another from white felt. and then white cardstock with a Tear Tape Sheet.

To assemble the layers (top to bottom) I removed the backing sheet from the double-sided adhesive layer and adhered the felt die cut.

Next I glued the glitter cardstock layer to the back of the felt/cardstock layer.  Finally, the stamped layer was glued to the back of the piece.

I die cut one more snowflake from the Layering: Snowflake Honey Cuts from glitter cardstock to use when I added the embellishments.

If you have been crafting for a long time (like me!) then you will have a lovely collection of ribbons and embellishments that you have saved over the years.  Now is the time to pull some of those out!

I used various ribbons, sequins, and jingle bells to add fun touches to each tag/ornament!

Quick tip(s):  1. I noticed that a couple of the edges on the Christmas Tree's layers were not sticking down.  I just added glue to the edge and clamped each one down with my reverse tweezers.  2. This Die Release Tool will be your very best friend when it comes to removing any remaining holes from the stitching areas of Honey Bee's In Stitches dies!

Here is one more look, for you, of all three tags/ornaments!  Do you think you would like to receive a gift with a handmade tag that can be kept to use as an ornament?  I hope you would!

Thank you so much for stopping by today!  I hope you are enjoying the spirit of this season, and getting in some fun crafty time too!!

Thank you very much for using my affiliate links to shop (never any additional cost to you)!
Wednesday, November 12, 2025

Merry Everything Mixed Media Card With Stitching

Happy Wednesday, crafty friends!  Today I'm sharing my card featuring Honey Bee Stamps gorgeous In Stitches: Snowflake Honey Cuts with the equally beautiful Silent Night stamp!  I created a sparkly stitched and embellished snowflake to add to my mixed media holiday card.  Check out the details below!

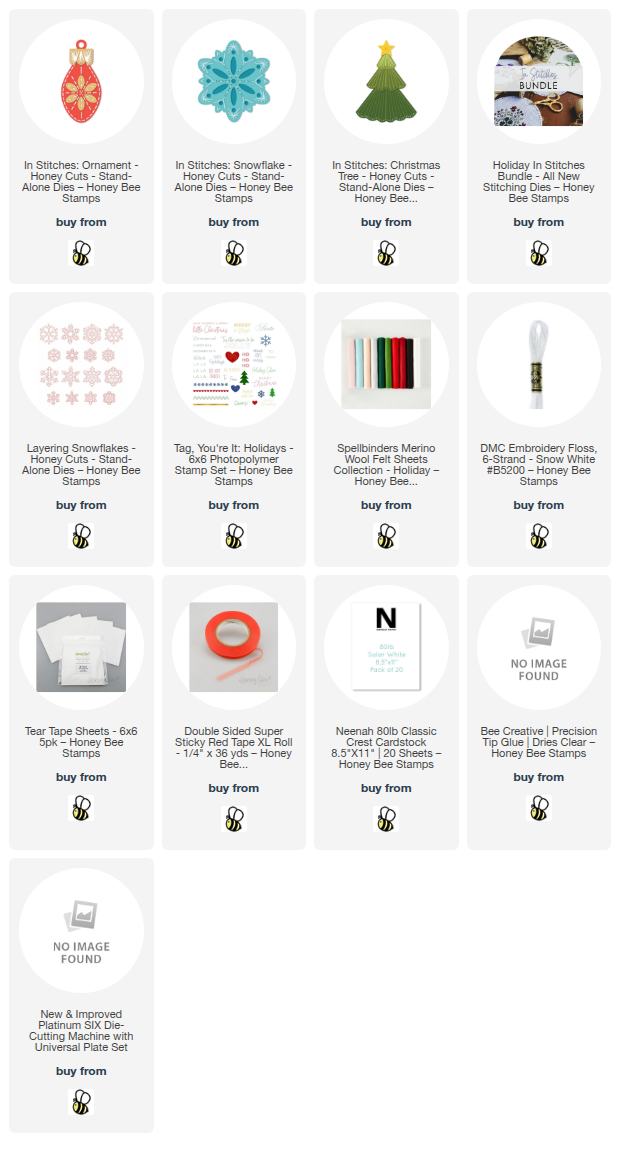
My supplies for the In Stitches: Snowflake are as follows:

The In Stitches: Snowflake set has two dies--one for the top layer and another for the bottom layer.  Both layers can be die cut from felt, however, I die cut the bottom layer from white glitter cardstock.

After separating my embroidery floss into three strands, I stitched through the die cut holes in the center of the Snowflake as there are no holes for these in the back layer.  If you use felt for both layers, you don't need to do this step.

Then I stitched both layers together.  I used regular white thread to sew on the seed beads.  As I mentioned above, there are no holes for the middle portion.  I could use a sharp pointed needle to poke through the glitter cardstock, but I just used my cannot-craft-without die pick tool to add those holes.

I like to add little dabs of glue to the thread knots on the back of the piece.  Probably not necessary, but it gives me peace of mind that it won't come undone!  Haha!

The A2 card base is layered with a piece of patterned paper that is in the "Free Bee" paper pack that will automatically be added to a qualifying order.

I stamped the gorgeous Silent Night stamp set with clear embossing ink onto a light brown cardstock.  I added a white sparkle embossing powder and used my heat tool to set it.

Next I tore all of the edges of the panel.  Then I used an ink blending brush to ink the edges with Gathered Twigs Distress Ink.  I glued the panel to my card base.

EDITED:  There was something I just didn't like about the look.  Several hours after publishing this post, I had a thought.  I DID NOT like the brown edges!!!!  So I used a blending brush and white pigment ink to go over the edges and I like it much better.

HERE IS MY ORIGINAL PHOTO.  Which do you like best?

I like the new version so much better!  Do you ever do anything like this?  LOL!

Next I decided I wanted just a touch of something with the Snowflake so I die cut a few branches that are in the Lovely Layers: Sleigh Bell die set.  I glued those to the card, and then glued on the snowflake.

I am a HUGE fan of sentiment stamps that are ONE piece and stamp several sentiments all at once!  That is what the Simply Stated: Holiday stamp set is!  I stamped it in black pigment ink and cut it out with the coordinating Simply Stated die.

After I chose one of the awesome sentiments, I used foam squares to adhere it to my card.

After I stamped the Simply Stated: Holiday stamp, I noticed four tiny little hearts that also were stamped.  Guess what those are for?  The Simply Stated die has four little heart holes that help you line up the die!  Isn't that genius?!!

There are so many fun techniques on my card today!  I hope you like it and are inspired to try one of the awesome In Stitches die sets on a project.  TIP:  I use this Storage Pocket to store all of my In Stitches sets together!

Thanks so much for stopping by.  I hope your day is fabulous!

Thank you for using my affiliate links to shop (never any additional cost to you)!