Showing posts with label Small Tags dies. Show all posts

Tuesday, August 22, 2023

Pink Poinsettia Christmas Card

Today I'm sharing my Christmas card featuring Rubbernecker Stamps' gorgeous Poinsettia #2 die set.  I went with pink, silver and all of the splatters and sparkles today!

I created the poinsettias by die cutting watercolor paper with the Poinsettia #2 die (this is a one-piece die) three times.  I used scraps to die cut three more of the largest poinsettia layer.

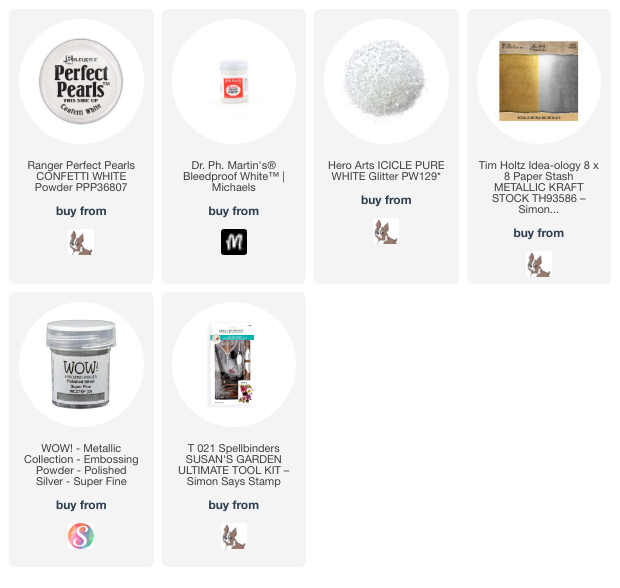
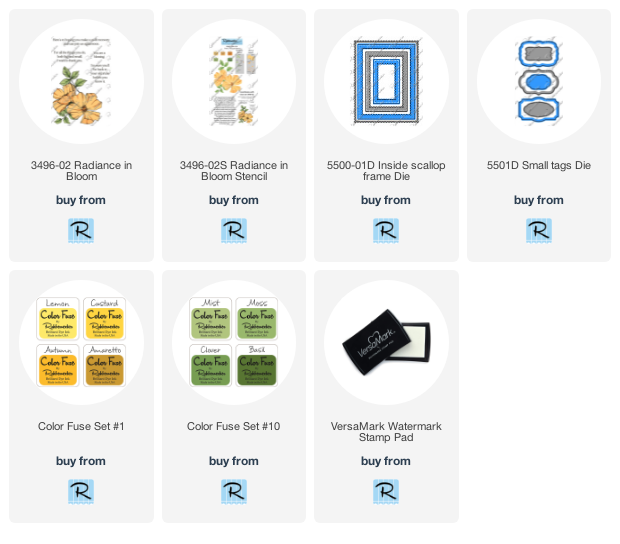
Then I used ink blending brushes to color the petals with pink Color Fuse inks and green for the three largest layers.  The inks I used are linked below.

Before using my flower shaping tools to shape the petals, I added drops of white paint and Confetti White Perfect Pearls.  After the droplets dried I shaped the flowers with a few different sized styluses.


I used glue to adhere the poinsettia layers together by placing a drop or two of glue into the center of each layer.  While those dried, I die cut the poinsettia centers from mat silver cardstock and adhered three to the center of each poinsettia.

For even more sparkle, I used glue with a fine tip and added glue near the tips of each petal. I worked on just several at a time, sprinkling on chunky glitter, then adding glue to several more, glittering, and continuing until all petals had glitter.

I created a card base by layering silver metallic cardstock on an A2 card.  I die cut 80# Neenah with the Quilted Stitch Cover die and trimmed it to 4" x 5-¼" and glued it to the card.

Next I stamped the sentiment from the Christmas Cheer set with Versamark ink and sprinkled on silver embossing powder.  After I heat set the embossing powder, I die cut the sentiment with a Small Tags die.  I added foam tape on the back to pop it up.

This may look like a super complicated card to make with these dimension poinsettias, but trust me, it's not!  I love creating these gorgeous shaped flowers for a card.  I hope you are inspired by my card, and as always, so appreciate you stopping by!

Thank you for choosing to use my affiliate links (never any additional cost to you)!
Tuesday, May 17, 2022

You Are A Blessing -- New Floral Stamps With Coloring Stencils

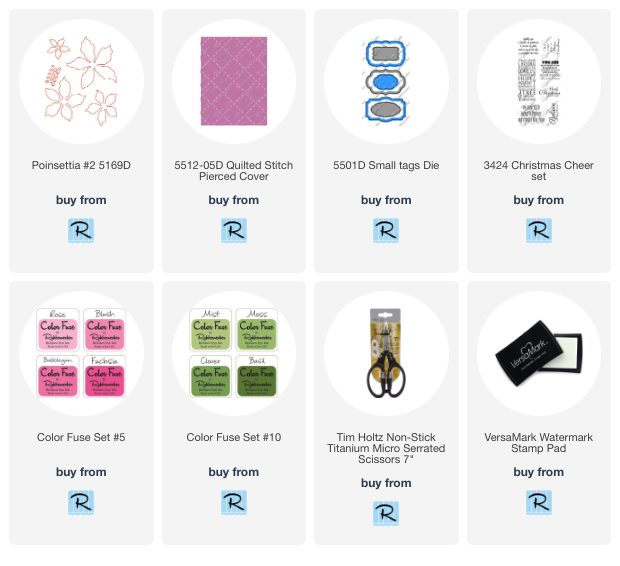
Hello friends!  Today I'm sharing a card with one of Rubbernecker Stamps' new floral stamps called Radiance In Bloom!  It's such a beautiful set and has something new:  coordinating coloring stencils!!!  I've really enjoyed these coloring stencils--they make for a quick, easy and pretty card!

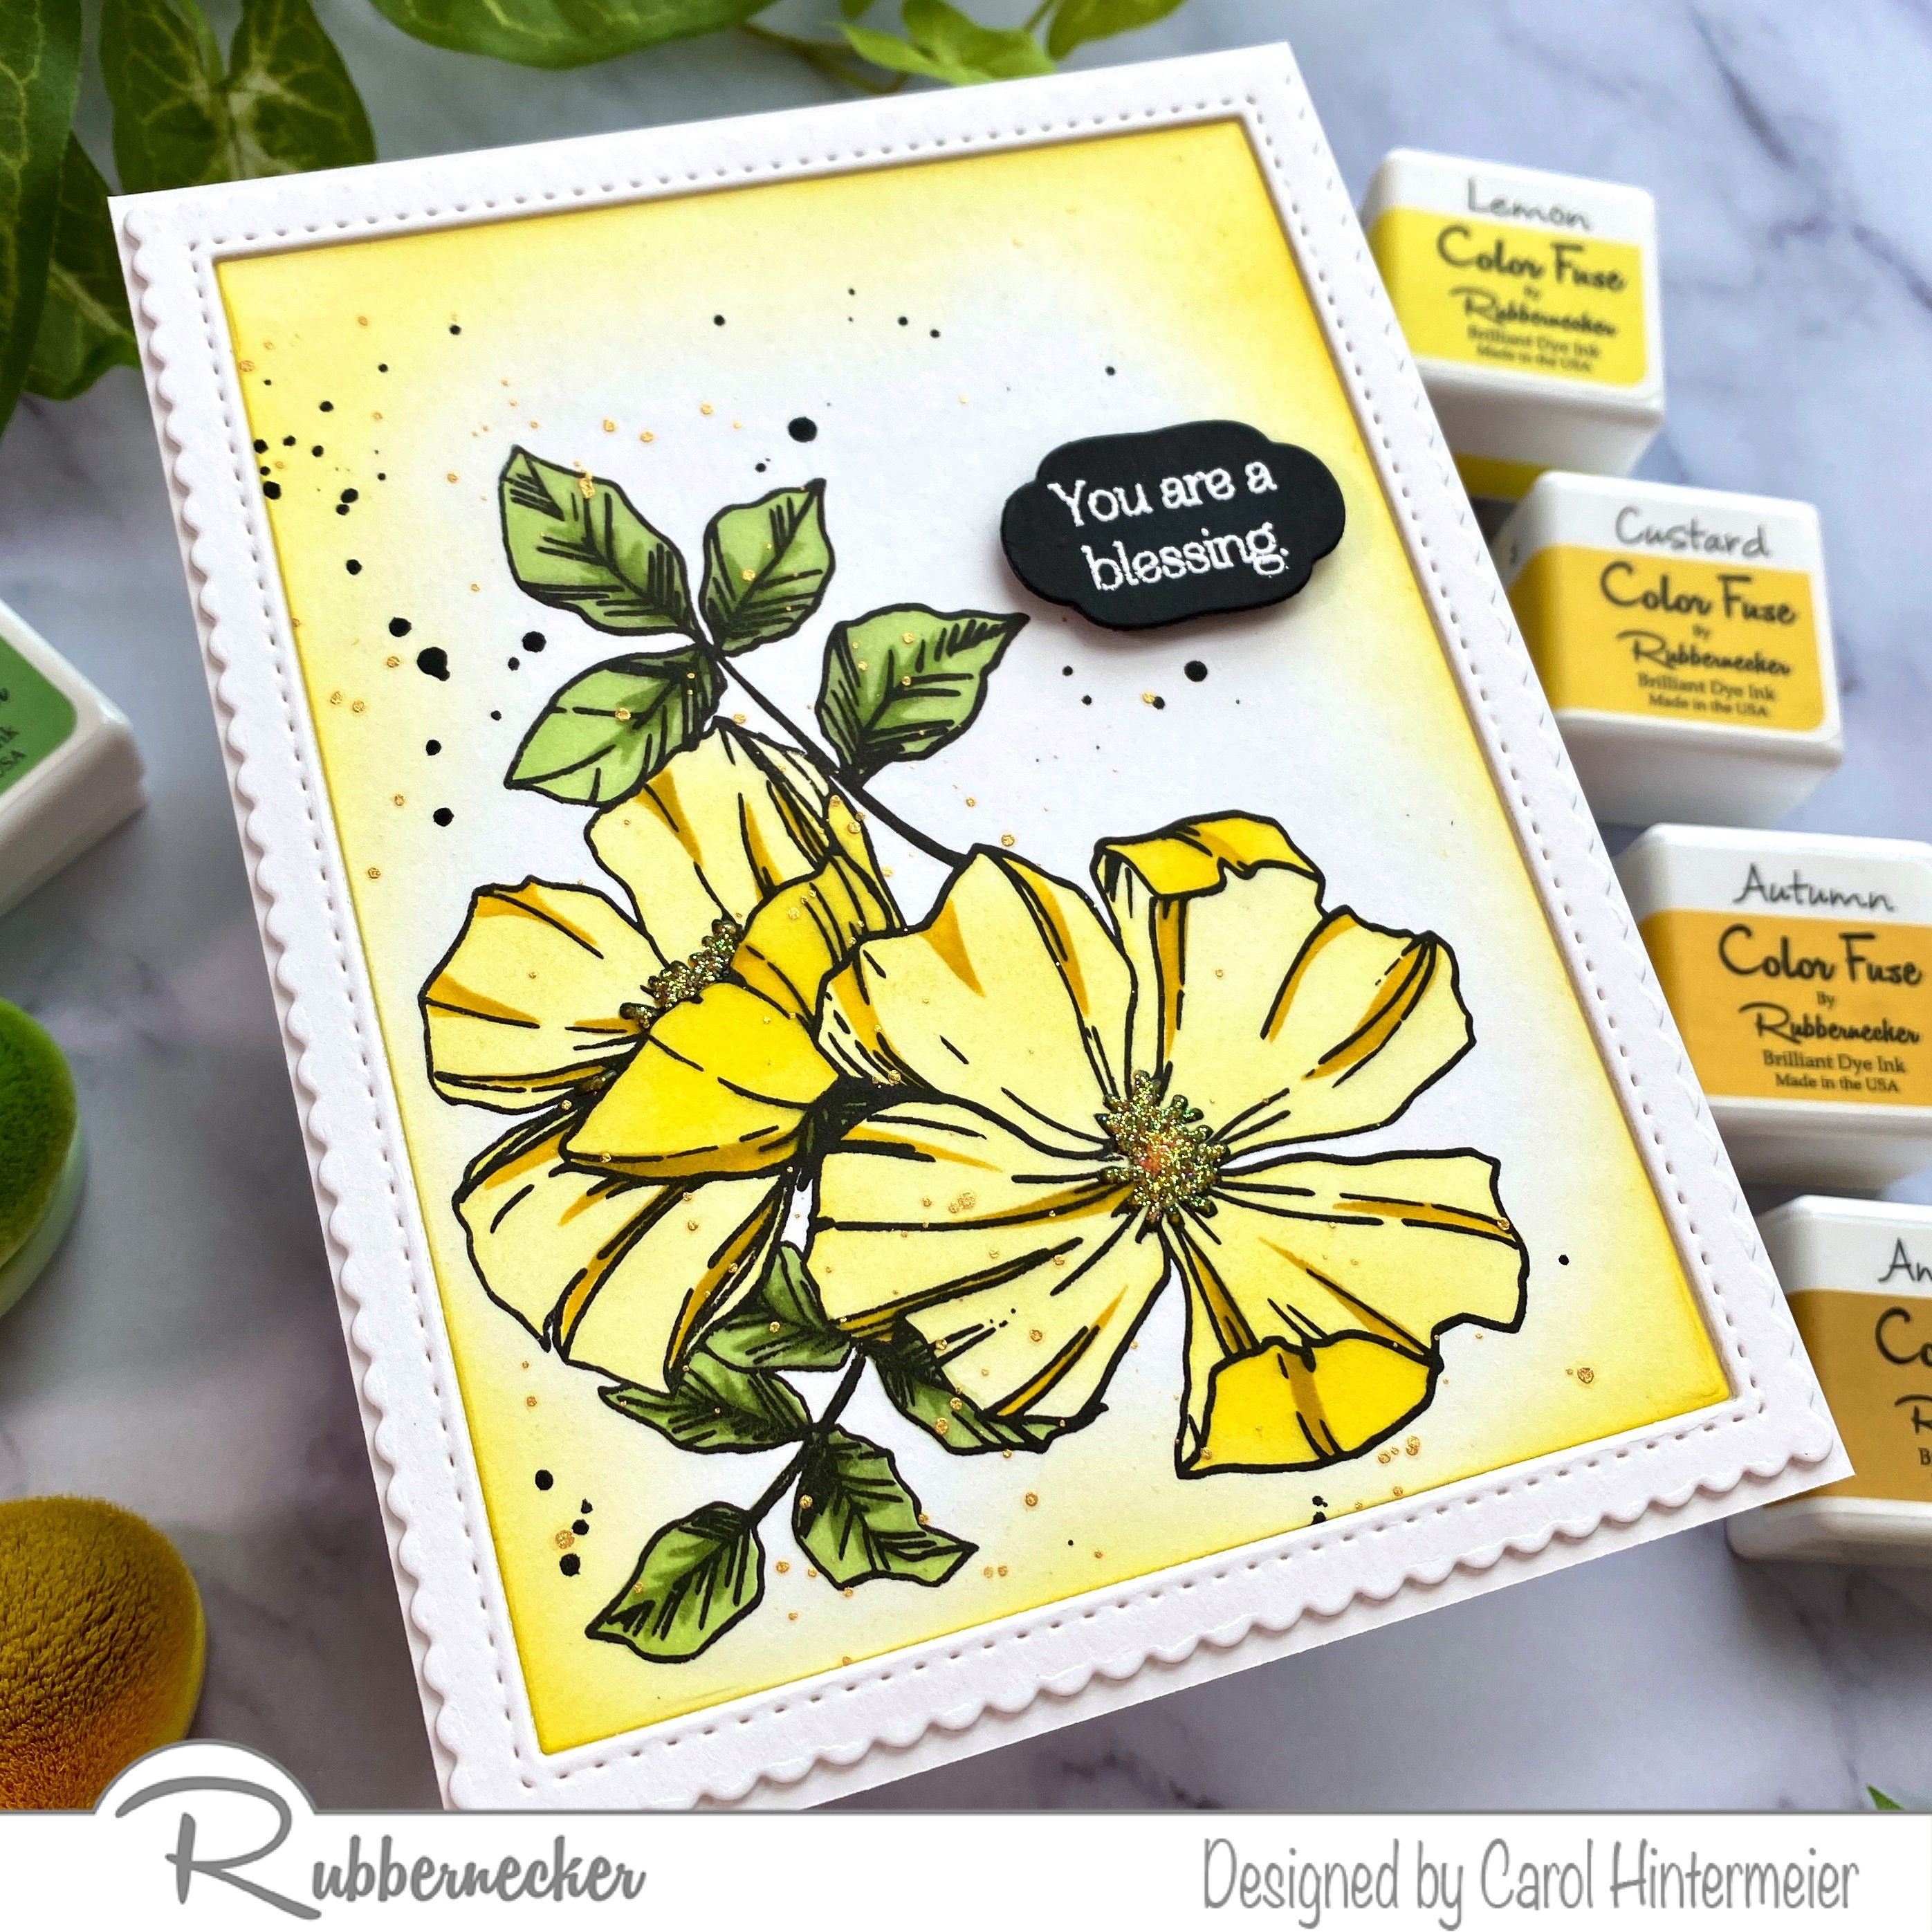
First I stamped the Radiance In Bloom flowers in black ink.  I made sure it was dry before I began the stenciling, otherwise the ink could smear.  I used the yellow inks in Color Fuse set #1 for the flower.  I just followed the included layering guide as I added the inks with blender brushes.

When I got to the flower centers, I decided to add some Ripened Pumpkin Nuvo Crystal Drops instead of ink.  I spread it through the stencil with a pallet knife and then added a bit of glitter on top.  I washed up the stencil and set the panel aside to dry.

When the piece was dry, I added some black and metallic gold splatters with a watercolor brush.  Before I splattered on the black drops, I set the clear stamp on top of the image to mask it.  I didn't want black splatters on the flowers, but I did want some of the gold ones and removed the stamp for that part.  Be sure to wash your stamp to remove the black drops before it dries!

Next I die cut the largest Outside Scallop Frame die three times and glue them together.  I adhered the stacked frame to an A2 card base.  Then I used the same die to cut the floral piece so it would fit perfectly inside the frame.

I die cut one of the tags from the Small Tags die set from black cardstock.  Then I stamped the sentiment from the Radiance in Bloom set with Versamark ink, added white embossing powder, and heat set it.  I added some foam tape to the back to pop up the sentiment.

Rubbernecker has several new floral sets that are in this release that are so beautiful!  There's another set with a coordinating stencil too.  I'll be sharing that soon!  Thank you so much for stopping by today!