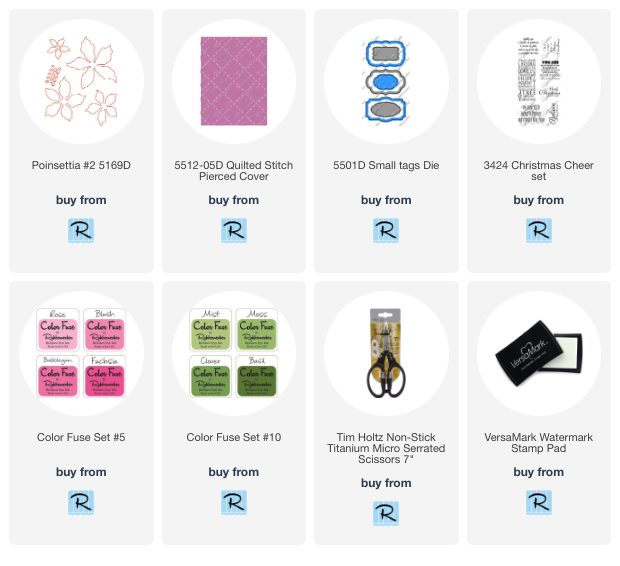
Today I'm sharing my Christmas card featuring Rubbernecker Stamps' gorgeous Poinsettia #2 die set. I went with pink, silver and all of the splatters and sparkles today!

I created the poinsettias by die cutting watercolor paper with the Poinsettia #2 die (this is a one-piece die) three times. I used scraps to die cut three more of the largest poinsettia layer.
Then I used ink blending brushes to color the petals with pink Color Fuse inks and green for the three largest layers. The inks I used are linked below.
Before using my flower shaping tools to shape the petals, I added drops of white paint and Confetti White Perfect Pearls. After the droplets dried I shaped the flowers with a few different sized styluses.

For even more sparkle, I used glue with a fine tip and added glue near the tips of each petal. I worked on just several at a time, sprinkling on chunky glitter, then adding glue to several more, glittering, and continuing until all petals had glitter.
I created a card base by layering silver metallic cardstock on an A2 card. I die cut 80# Neenah with the Quilted Stitch Cover die and trimmed it to 4" x 5-¼" and glued it to the card.
Next I stamped the sentiment from the Christmas Cheer set with Versamark ink and sprinkled on silver embossing powder. After I heat set the embossing powder, I die cut the sentiment with a Small Tags die. I added foam tape on the back to pop it up.

This may look like a super complicated card to make with these dimension poinsettias, but trust me, it's not! I love creating these gorgeous shaped flowers for a card. I hope you are inspired by my card, and as always, so appreciate you stopping by!
Thank you for choosing to use my affiliate links (never any additional cost to you)!