Showing posts with label Father's Day cards. Show all posts

Sunday, June 9, 2024

Like A Dad Father's Day Card

Today I'm over on the Brass & Bliss Craft Co. blog to share all of the details to make this easy Father's Day card!

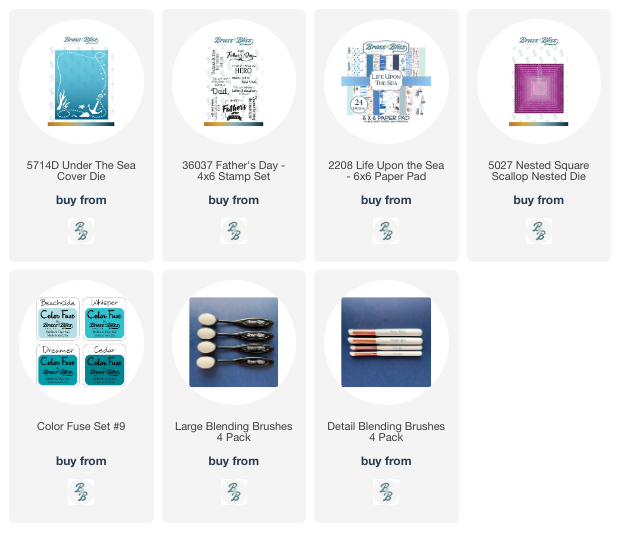
I've used a few products from the latest Brass & Bliss Tropical Dreams release.  The beautiful Under The Sea cover plate die makes an instant background for my ombre inked panel!

I continued the ombre theme by stamp the sentiment from the Father's Day stamp set with the same Color Fuse inks.

After die cutting the sentiment with a Square Scallop die, I adhered it with foam tape.

I love the Life Upon The Sea paper pad with all of its ocean themed papers.  I chose one piece of paper and hand cut a few images to use as my embellishments!

Check out these products and more from the Tropical Dreams release here!  Thank you so much for stopping by!

Thank you for using my affiliate links to shop (never any additional cost to you)!

Wednesday, May 31, 2023

Make A Fun See Through Card with Dies!

Happy first of June crafty friends!! Today I'm sharing my see-through Father's Day card featuring the awesome Honey Bee Stamps new Lovely Layers: Lures! I haven't decided who for sure will get this card, but I know they won't mind the less than traditional guy colors! And I think that this card would be great for lots of occasions by just changing the sentiments!

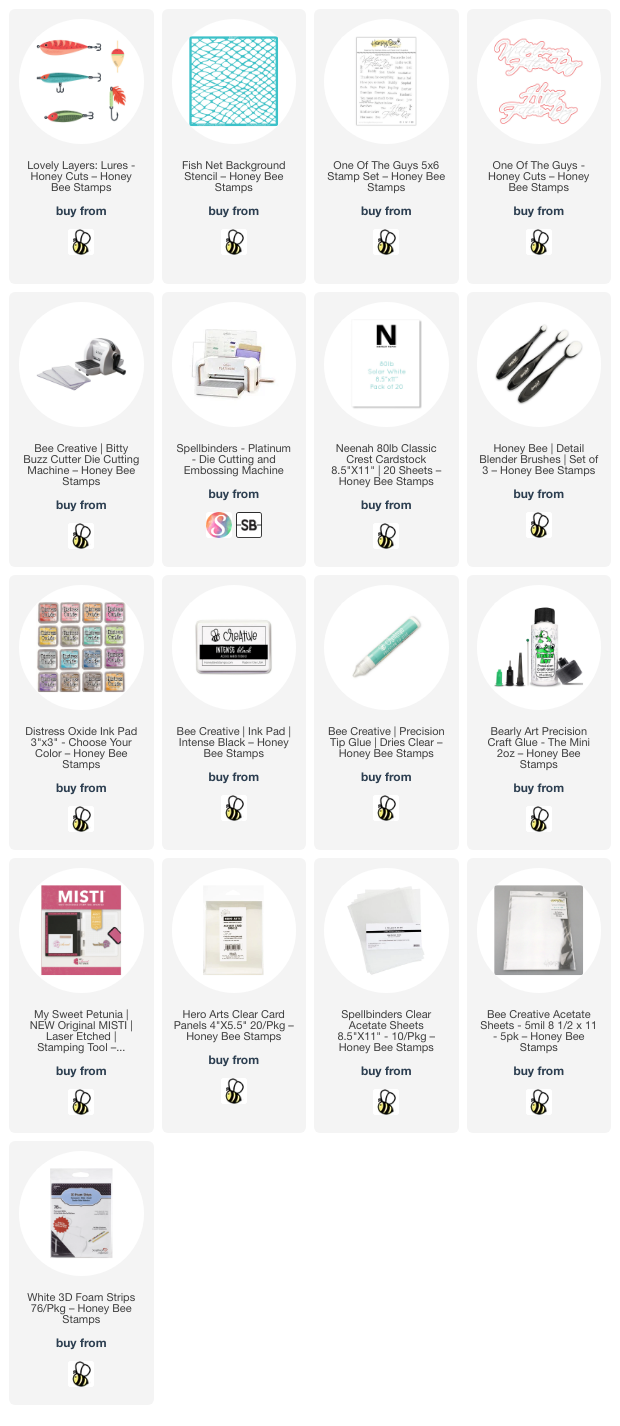
First I created the card base. I took a folded A2 card base, opened it up and trimmed all but 1" off the top panel. I used the cut off piece to cut another 1-½" strip. Then I added some removable tape along the score line to mask off the back portion of the card. I placed the Fish Net stencil over the 1" flap and the 1-½" strip. I used a Detail Blender brush to ink on Salvaged Patina ink.

Next I cut a piece of acetate to A2 size. I place a strip of Bee Creative Double-Sided Sticky Red Tape on the back of the 1" flap. Then I added some tape to the back of the 1-½" stenciled piece to adhere at the bottom of the acetate. To hide the adhesive when the card is open, I cut two strips of white cardstock at 1" and 1-½" and used the tape to adhere them to the inside of the card front.

I die cut the Lovely Layers: Lures from 80# Neenah and then used blender brushes to color the pieces with Distress Oxide inks. These are the colors I used: Spun Sugar, Picked Raspberry, Scattered Straw, Dried Marigold, Bundled Sage, and Wilted Violet. I die cut the eyes from black cardstock and the hooks from silver metallic cardstock.

I used Bee Creative glue to adhered the layers and pieces. There is a handy layering guide in the product description on the website too! I used just a few tiny drops of glue to adhere them to the card front.

I stamped the sentiments from the One Of The Guys stamp set with Intense Black ink. After I cut the large sentiment out with the coordinating die and trimmed the other into a strip, I added foam tape strips to the back to pop them up on the card.

I truly did not mean to make this guy card with these less-than-traditional masculine colors! Haha! But sometimes you just have to go with the colors that are calling you, right? I like it, and sure hope you do too! Thank you so much for stopping by today--you are so appreciated!

P.S.: If you are on Instagram, I will have a reel on my Instagram posted sometime this morning! Stop by to take a look at a bit of my card making process!

Thank you so much for using my affiliate links to shop (never any additional cost to you)!

Wednesday, June 8, 2022

Two-for-One Father's Day Cards

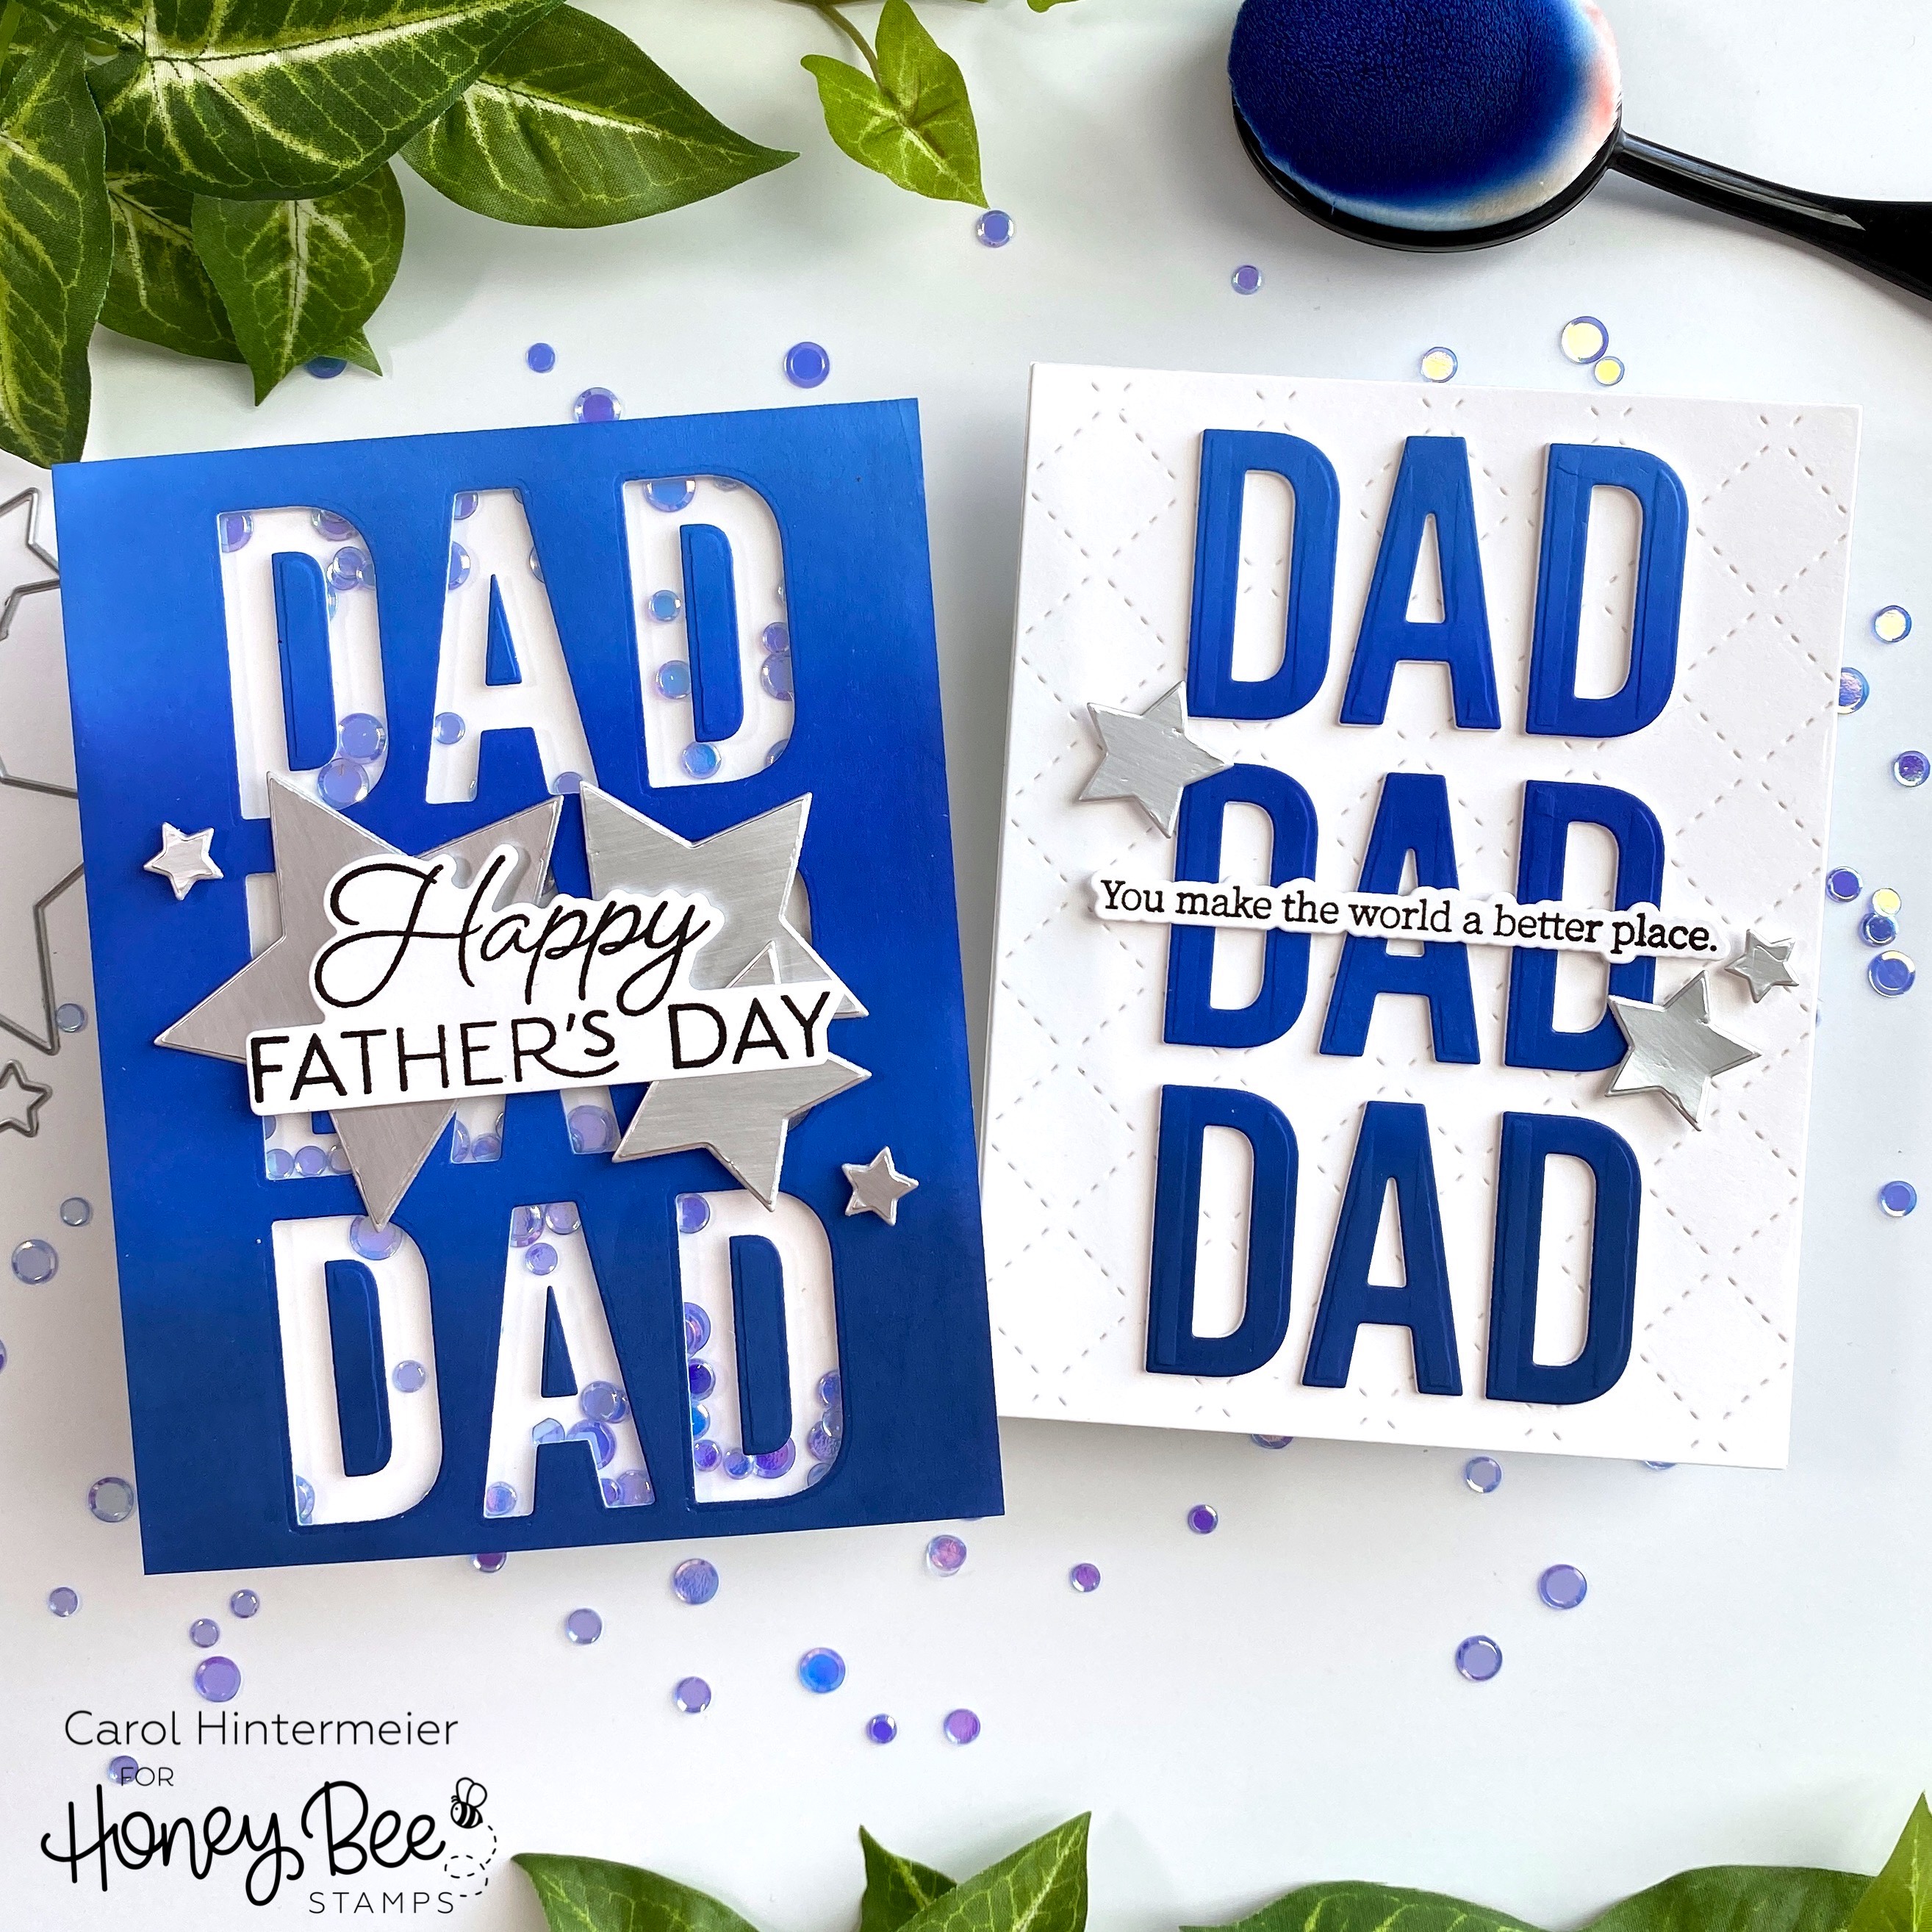
Happy Wednesday!  Today I'm sharing two Father's Day cards I made with one inked and die cut piece! My inspiration for this design is the design of the new Happy Happy Happy A2 Cover Plate die. These cards were so fun and easy to make--read on for the details!

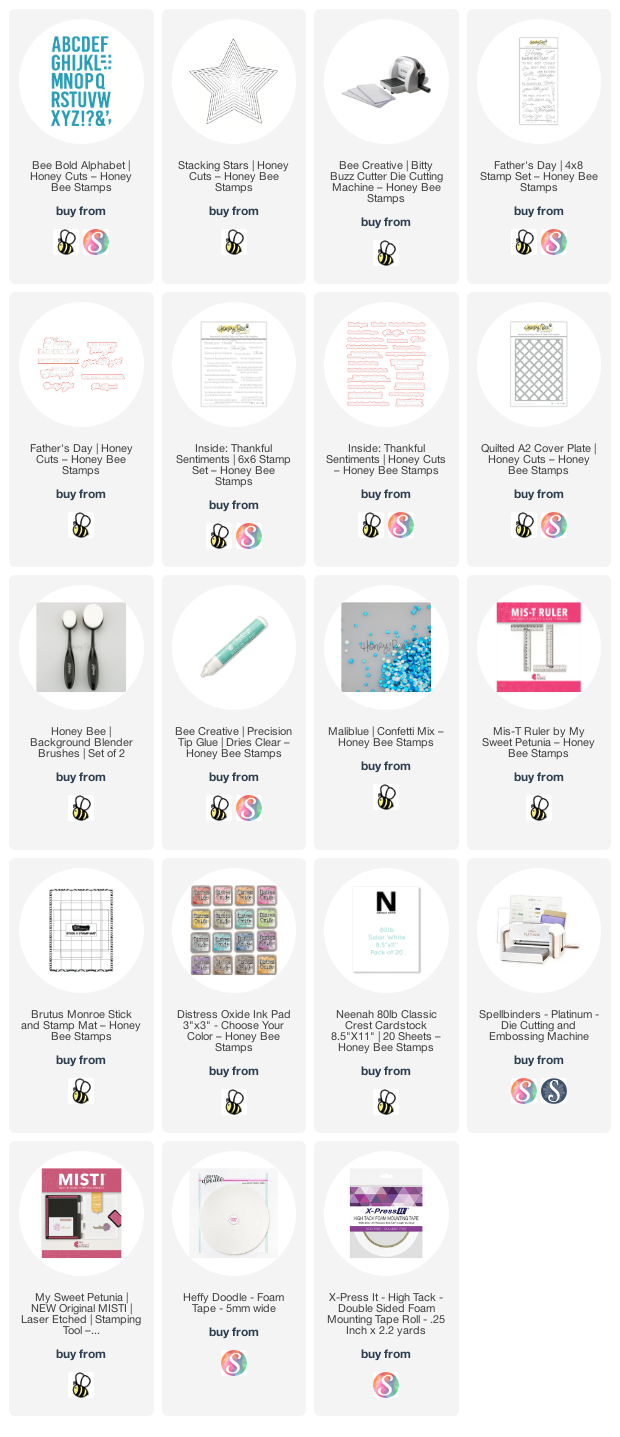
The first thing I did was use a Detail Blender brush to ink up a panel of white cardstock with blue Distress Oxide inks. I used Chipped Sapphire, Prize Ribbon, Blueprint Sketch, and Tumbled Glass. I mixed and blended the colors until I had the subtle ombre look I was going for. Then I used the letters "D" and "A" from the Bee Bold Alphabet Honey Cuts to die cut the word Dad three times on the inked panel. A t-square ruler helps to keep things straight for this design. I set the die cut letters aside while I worked on the shaker card.  BE SURE TO SAVE the little center pieces of the d's and a's!!!!

I added some clear acetate to the back of the inked, die cut panel with Bee Creative glue. Then I added foam tape along the edges of the card back and in-between the words. I sprinkled in some Maliblue confetti mix sequins into each section. Then I removed the adhesive backing and placed an A2 card base onto the piece. Such a fun shaker card for your guy!

I die cut some brushed silver metallic cardstock with stars from the Stacking Stars Honey Cuts and adhered them with Bee Creative glue and the small ones with foam tape. Then I stamped the sentiment from the Father's Day stamp set with black ink and die cut it with the coordinating Honey Cut. I used Bee Creative glue to adhere it to the card.

For my "bonus" card I die cut white cardstock with the Quilted A2 Cover Plate to add some detailed interest to the card background. I adhered it to an A2 card base.

Next I used my Bitty Buzz Cutter to die cut white cardstock with the letters D and A to have three white layers per letter.  I HIGHLY recommend this cute little die cutter! I decided to order it and just received it a couple days ago. It was so easy to use and made die cutting so many of the letters to stack up so easy! Glue all of the layers of letters together with Bee Creative glue.

Then I used my t-square ruler and this sticky mat to line up the letters. Next I placed removable tape over each word to pick it up all together and used Bee Creative glue to adhere the letters. I added a few extra stars I die cut with the Stacking Stars Honey Cuts to the card. Then I stamped the sentiment from the Inside: Thankful Sentiments set and die cut it with the coordinating die. I die cut two more of the sentiments from white cardstock and adhered the layers together before adding it to the card.

Thank you so much for stopping by!  Have a wonderful, and crafty, day!!


Thank you for choosing to use my affiliate links!  (never any additional charge for you)