Showing posts with label Holiday Charm paper pad. Show all posts

Wednesday, November 18, 2026

Have A Holly Jolly Christmas -- Honey Bee Stamps

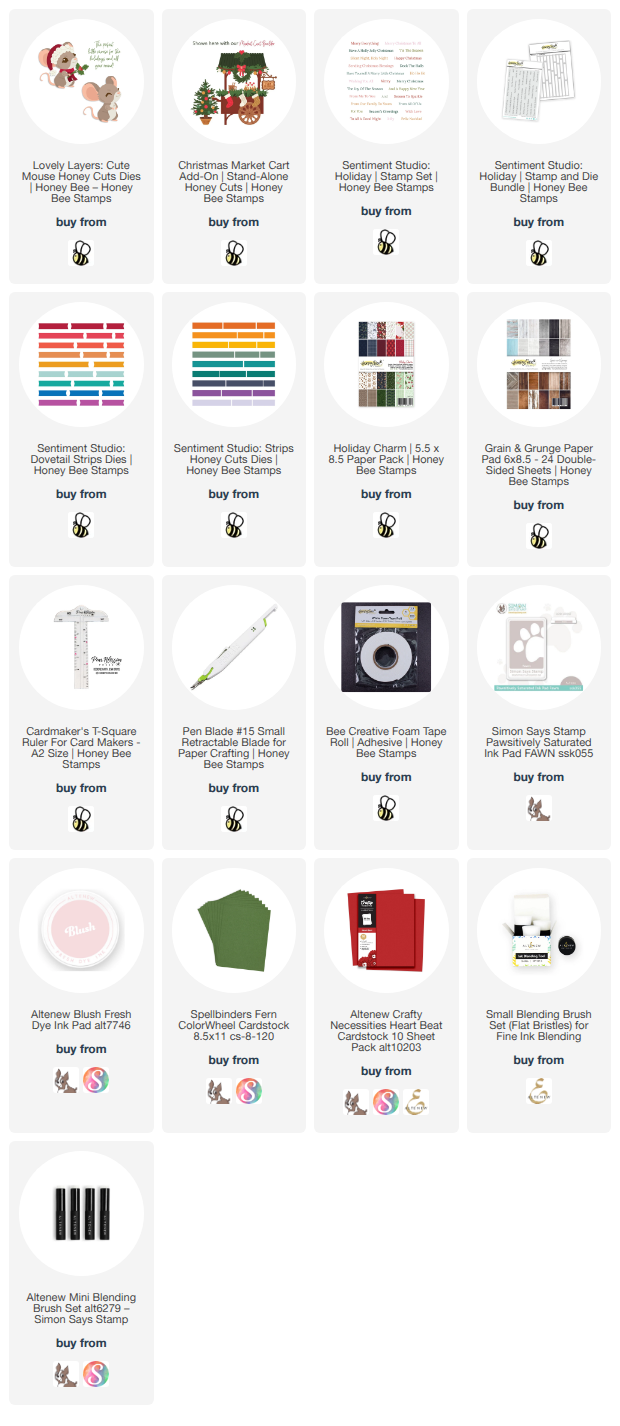
Hello, crafty friends!!  I'm back today with another holiday card that is just SO cute!!  Honey Bee Stamps has the most adorable Lovely Layers: Mouse die set and this is the star of my card!  I had an idea to create a mouse hole and inside you can see this mouse getting the tree ready for Christmas!

For this post, I'm putting the steps into a list form.  Let me know if you like this style better than the process being described in paragraphs!

First I created the mouse!

  • From the Lovely Layers: Mouse set, die cut white cardstock with all of the dies for the mouse.
  • Use ink blending brushes to color the layers with the ink colors you've chosen. (The inks I used are in the list below.)
  • I used a gray-brown ink for the main body layers and a blush color for all of the skin layers.
  • Color the die cut pieces of the eye with a black Copic marker.
  • Die cut the layers for the mouse's hat and berry branch from white, green, and red cardstocks.
  • Use Bee Creative glue to adhere the Mouse layers together.  Be sure to refer to the Layering Guide for placement of the smaller layers.

Next I created the background with the mouse hole!

  • Choose a patterned paper from the Holiday Charm paper pad.  Trim it to 4-¼" x 5-½".
  • Using a t-square ruler and a pencil, draw a horizontal line about 1-½" from the bottom edge.
  • Next we will cut out the mouse hole.  For a guide to draw the top part of the mouse hole, I used the eighth smallest Sweet Stacks: Circles die (retiring) to trace around the top half of the die.
  • Then I used the t-square ruler again to draw straight lines on each side down to the horizontal line.
  • Then, working on a self-healing mat, I cut along the lines with a craft knife, using the circle die and t-square ruleras guides.
  • Color a panel of white cardstock with a blending brush and a darker ink in an area to fit behind the mouse hole.
  • Glue this behind the patterned paper. and then to an A2 card base.
  • Cut a 4-¼" x ½" piece of paper from the Grain and Grunge paper pad to use as a floor.  Glue this at the bottom of the card front.  Glue a 4-¼" x ¼" strip of white cardstock along the top edge of the floor.

The tree is from the Christmas Market Cart Add-On die set.  I used glue to adhere it into the mouse hole opening.  I added foam tape to the back of the Mouse to adhere it to the card.

The sentiments are from the new Sentiment Studio: Holiday stamp set.  This is ONE stamp with 26 sentiments!!  The Sentiment Studio: Holiday Honey Cuts die will cut them all out in one pass!  I totally love having all of these sentiments pre-stamped and die cut to save for future projects!

I sure hope you've enjoyed this post and found the directions helpful!  It's fun to try out an idea that I had and have it work!

Thank you so much for stopping by today!  Be sure to come over to my Instagram for my reel to see more of how I made this card!  Have a wonderful day!! 

I so appreciate that you use my affiliate links to shop! (There's never any additional cost to you.) It helps me with the expenses of posting my creative content, thank you. Note: You must have "allow cross-site tracking" and cookies turned on in your browser in order for it to know you use my links.
Wednesday, November 4, 2026

Christmas Shaker Card feat. Season To Sparkle Card Kit -- Honey Bee Stamps

Hello, crafty friends!  I had so much fun making this holiday card with products from Honey Bee Stamps beautiful new Season To Sparkle Card Kit!  The products in the kit are so versatile for your holiday card making.  The kit products work beautifully with products from the recent Holiday Charm release and also with older products from your stash!

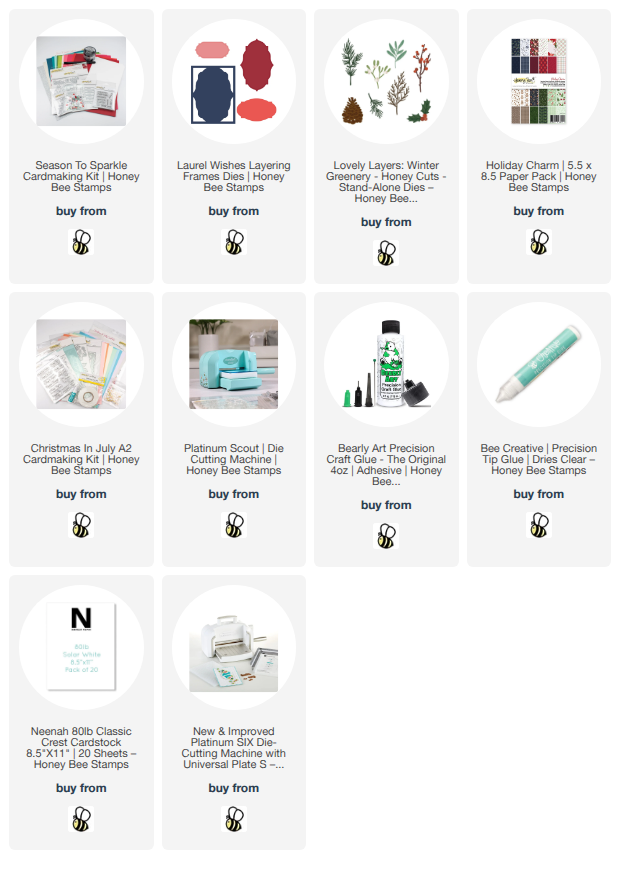
All of the products, except for three items, are included in this beautiful Season To Sparkle Card Kit.  Those are the Lovely Layers: Winter Greenery dies, the Laurel Wishes Layering Frames dies and the Holiday Charm paper pad.

I began by creating the card base, layers, and shaker portion.  I die cut five of the two largest Laurel Wishes Layering Frames dies from white cardstock.  Then I used the outer die to cut acetate for the shaker portion.  I used my scissors to trim away the outer frame to leave just the inner portion.  I glued this piece of acetate to the back of one of the Laurel Wishes Layering Frames die cut.

Next I glued the other four Layering Frames die cuts together using Bee Creative glue.  I chose this pretty patterned paper from the Holiday Charm paper pad, cut it in half to measure 4-¼" x 5-½" and glued it to one of the pre-folded card bases included in the kit.

Then I glued the stack of Laurel Wishes Layering Frames to the card base.  I put some of the beautiful embellishments from the Limited Edition Sequin Pack into the center of the stacked frames.  There are larger pearls included in the sequin mix that I pulled out to use another time.

I added glue to the back of the Layering Frame with the acetate and glued it on top of the other frames to seal the shaker portion.

Next I did all of my die cutting.  First I used Hive Hues cardstock included in the Season To Sparkle Card Kit, plus a light mint green cardstock from my stash, to die cut the layers for the ornament in the Lovely Layers: Vintage Ornament die set.  You will receive a Layering Guide for these ornaments showing just some of the many possibilities for each one.

I used more of the same cardstock colors to cut the pine branches, holly leaves, and the branch and berries from the Lovely Layers: Winter Greenery dies.  I used Bee Creative Glue to adhere the Ornament layer together and to adhere the Winter Greenery pieces to the card.

In the kit you also receive a very generous sized container of Distress Rock Candy Crystal Clear Glitter.  I added glue in fine line here and there on the greenery and berries.  Then I sprinkled on some of the Rock Candy glitter.  Tip: Use glue that's in a fine tipped bottle (linked below) for easy application in fine lines.  I love adding sparkle to my Christmas cards!!!

The sentiments are also from the Kit.  I die cut the beautiful bright red cardstock three times with the Bee Spoken: Merry die and glued the layers together.  I stamped the sentiment from the Merry Additions stamp set in a coordinating red.  Then I cut it out with the coordinating Merry Additions die.

I glued the "Merry" sentiment to the card and popped up "Christmas" with foam strips.

I super amazed by how much product comes in the Season To Sparkle Card Kit! A lot of the products in this kit would coordinate beautifully with the, still available, Christmas In July A2 Card Kit!

Thank you so much for stopping by today!  I hope you were inspired to check out this kit for all of your holiday card making fun!

I so appreciate that you use my affiliate links to shop! (There's never any additional cost to you.) It helps me with the expenses of posting my creative content, thank you. Note: You must have "allow cross-site tracking" and have cookies turned on in your browser in order for it to know you use my links.

Wednesday, October 28, 2026

Love & Joy This Holiday Season -- Honey Bee Stamps

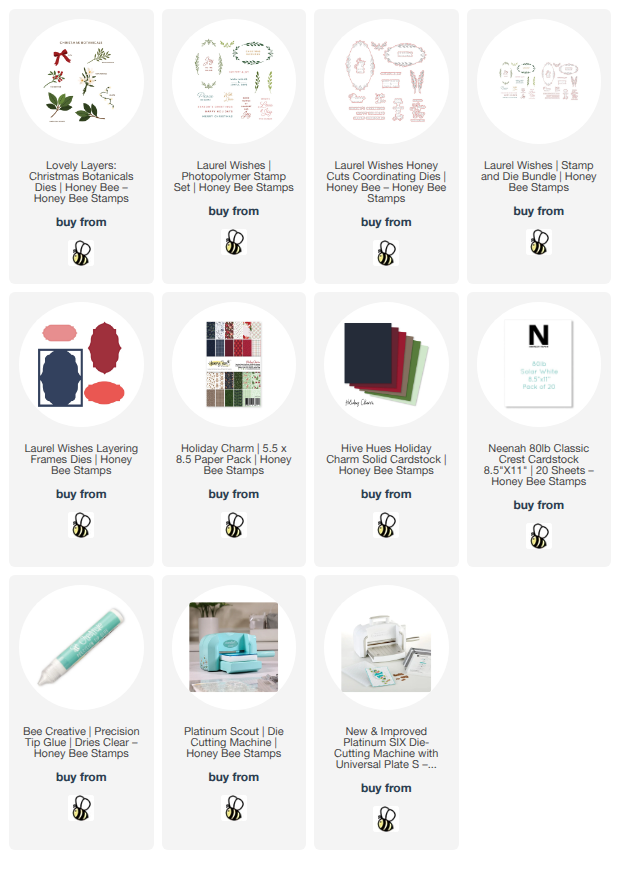
Hello, crafty friends!  Have you seen Honey Bee Stamps' new Holiday Charm Release?  It is absolutely wonderful!  Today I've used some of the new goodies including the beautiful Lovely Layers: Christmas Botanicals and the Laurel Wishes stamp set.

I started by choosing the Lovely Layers: Christmas Botanicals dies for my card.  I cut a medium and a dark green cardstock and white cardstock with the dies.  For the leaf branches I used two darker shades of Distress Inks (Mowed Lawn and Rustic Wilderness) to add shading to the leaves.  Then I used my blending brushes to add a light green ink and pink ink to the berries and berry branches.

Then I chose this beautiful patterned paper from the Holiday Charm paper pack.  After I trimmed it to 4" x 5-¼" I used Bee Creative Glue to adhere it to my A2 card base.

Before I arranged my Christmas Botanicals on the card, I used two of the smaller dies in the Laurel Wishes Layering Frames die set.  The bottom layer is die cut from the green cardstock in the new Hive Hues Holiday Charm cardstock pack.  I stamped the greenery image from the Laurel Wishes stamp set onto the layer with dark green ink.  I love how this stamp is all one piece and sized perfectly for this layer.  (I know the stamping doesn't show a lot, but I feel it does add just a bit more interest to the layering.)

After I die cut white cardstock with the smallest Laurel Wishes Layering Frames set, I stamped a sentiment from the Laurel Wishes stamp set onto it with dark green ink.  There is a coordinating Laurel Wishes die set for all of the beautiful stamped images--be sure to check it out!

I glued the green stamped layer to the card.  Then I decided on an arrangement for the Christmas Botanicals and use glue to adhere the pieces to the card.  I added just a bit of foam tape to the sentiment layer to adhere it to the card.

I felt the card needed just a bit more, and the bow from the Christmas Botanicals dies was just perfect! 

I love the Lovely Layers: Christmas Botanicals die set.  This is such a versatile set that could be used year round for your card making.

I'll have a reel posted on my Instagram later today and I'd love for you to pop over and see some of the creative process in action!  Thank you for stopping by.  I hope your day is wonderful with some good crafty time!

I so appreciate that you use my affiliate links to shop! (There's never any additional cost to you.)  It helps me with the expenses of posting my creative content, thank you.  Note:  You must have "allow cross-site tracking" and cookies turned on in your browser for my links to receive credit.