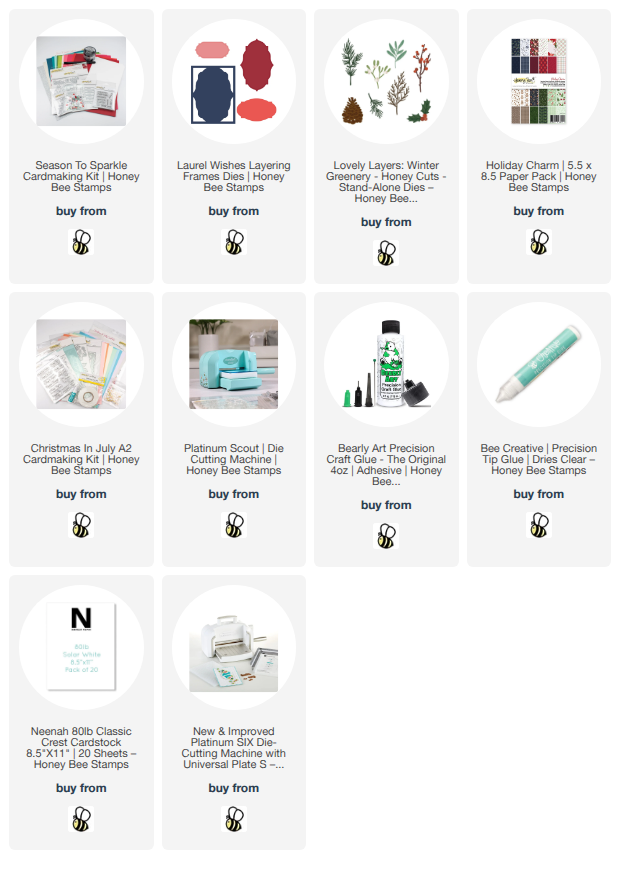
Hello, crafty friends! I had so much fun making this holiday card with products from Honey Bee Stamps beautiful new Season To Sparkle Card Kit! The products in the kit are so versatile for your holiday card making. The kit products work beautifully with products from the recent Holiday Charm release and also with older products from your stash!
All of the products, except for three items, are included in this beautiful Season To Sparkle Card Kit. Those are the Lovely Layers: Winter Greenery dies, the Laurel Wishes Layering Frames dies and the Holiday Charm paper pad.

I began by creating the card base, layers, and shaker portion. I die cut five of the two largest Laurel Wishes Layering Frames dies from white cardstock. Then I used the outer die to cut acetate for the shaker portion. I used my scissors to trim away the outer frame to leave just the inner portion. I glued this piece of acetate to the back of one of the Laurel Wishes Layering Frames die cut.
Next I glued the other four Layering Frames die cuts together using Bee Creative glue. I chose this pretty patterned paper from the Holiday Charm paper pad, cut it in half to measure 4-¼" x 5-½" and glued it to one of the pre-folded card bases included in the kit.
Then I glued the stack of Laurel Wishes Layering Frames to the card base. I put some of the beautiful embellishments from the Limited Edition Sequin Pack into the center of the stacked frames. There are larger pearls included in the sequin mix that I pulled out to use another time.
I added glue to the back of the Layering Frame with the acetate and glued it on top of the other frames to seal the shaker portion.

Next I did all of my die cutting. First I used Hive Hues cardstock included in the Season To Sparkle Card Kit, plus a light mint green cardstock from my stash, to die cut the layers for the ornament in the Lovely Layers: Vintage Ornament die set. You will receive a Layering Guide for these ornaments showing just some of the many possibilities for each one.
I used more of the same cardstock colors to cut the pine branches, holly leaves, and the branch and berries from the Lovely Layers: Winter Greenery dies. I used Bee Creative Glue to adhere the Ornament layer together and to adhere the Winter Greenery pieces to the card.

In the kit you also receive a very generous sized container of Distress Rock Candy Crystal Clear Glitter. I added glue in fine line here and there on the greenery and berries. Then I sprinkled on some of the Rock Candy glitter. Tip: Use glue that's in a fine tipped bottle (linked below) for easy application in fine lines. I love adding sparkle to my Christmas cards!!!
The sentiments are also from the Kit. I die cut the beautiful bright red cardstock three times with the Bee Spoken: Merry die and glued the layers together. I stamped the sentiment from the Merry Additions stamp set in a coordinating red. Then I cut it out with the coordinating Merry Additions die.
I glued the "Merry" sentiment to the card and popped up "Christmas" with foam strips.

I super amazed by how much product comes in the Season To Sparkle Card Kit! A lot of the products in this kit would coordinate beautifully with the, still available, Christmas In July A2 Card Kit!
Thank you so much for stopping by today! I hope you were inspired to check out this kit for all of your holiday card making fun!
I so appreciate that you use my affiliate links to shop! (There's never any additional cost to you.) It helps me with the expenses of posting my creative content, thank you. Note: You must have "allow cross-site tracking" and have cookies turned on in your browser in order for it to know you use my links.