Showing posts with label Paper Glaze. Show all posts

Thursday, January 30, 2025

A Very Happy Easter To You! featuring Hoppy Poppy

Hello friends!  Yes, today I have an Easter card!  Picket Fence Studios' January release is filled with flowers, bunnies, and gardens perfect for your springtime card making!

Please note:  I have all available supplies, with links, in the list below.

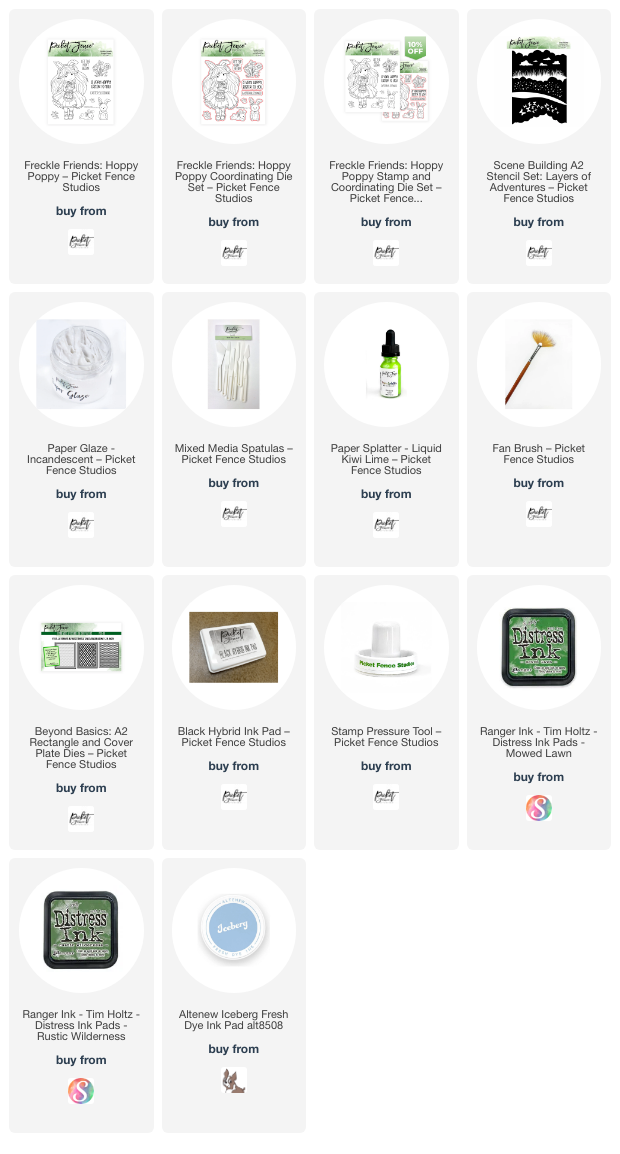
First I created a fun stenciled scene for my card featuring Freckle Friends: Hoppy Poppy.  I used the stencils in the  Scene Building A2 Stencil Set: Layers of Adventure.

I began by blending on two shades of green inks with blending brushes and the Layers Of Adventure stencils.  Then I blended the blue clouds in the sky.

Next I masked off the sky portion of the background to add some shimmery splatters to the grass.  I diluted a few drops of Kiwi Lime Paper Splatter with water and used a fan brush to splatter the mixture onto the card.

Another stencil in this set has clouds and I added the Incandescent Paper Glaze through the stencil and set it aside to dry.

Next I stamped the images from the Hoppy Poppy stamp set with Black Hybrid Ink and colored them with my Copic markers.  I cut them out with the coordinating dies.

I trimmed the dry stenciled panel with a die from the Beyond Basics: A2 Rectangle & Cover Dies set.  I used glue to adhere it to my A2 card base.

The other images and sentiment are popped up with foam tape.  I added a few highlights to the girls dress and shoes with a white gel pen.

The shimmer and shine that the Kiwi Lime Paper Splatter and the Incandescent Paper Glaze gives is SO pretty!  These are wonderful products and I hope you will check them out by clicking the links in the list below.

Thank you for stopping by today!  I hope it's a good one for you!

Thanks so very much for using my affiliate links to shop (never any additional cost to you!)
Thursday, August 1, 2024

Autumn Is My Favorite Color

It's the first day of August and that means this summer heat is that much closer to being gone!  I'm sharing a few details of my card that I created a reel for over on Instagram.  This features Picket Fence Studios' new die called Autumn Is My Favorite Color.  I've used a few previously released products here too.

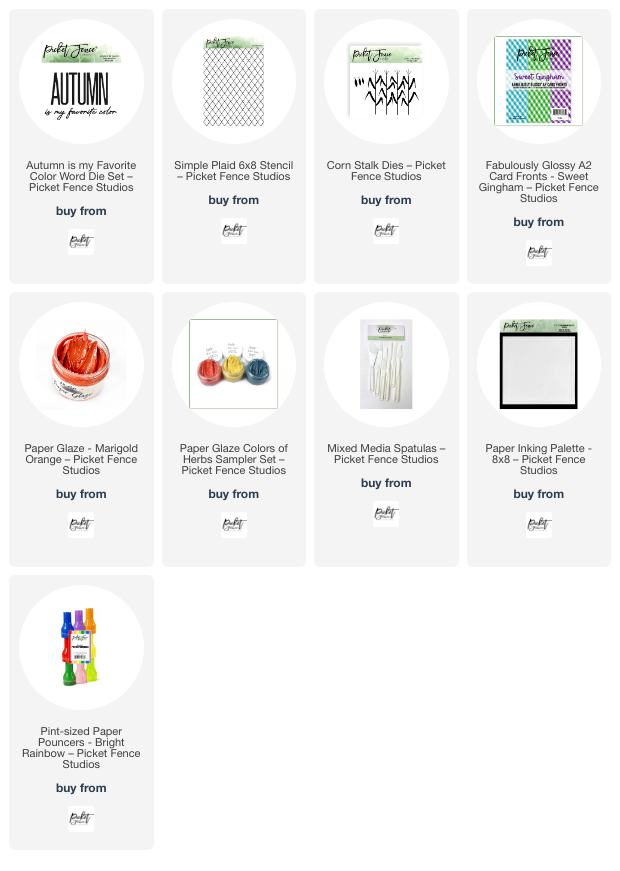
The background is made with the Simple Plaid stencil and Marigold Orange Paper Glaze.  I love the variety of colors Paper Glaze comes in!

I used Pint-Sized Paper Pouncers, along with the Paper Inking Palette, to color the Corn Stalk die cuts.

I used a piece of pretty Sweet Gingham A2 card fronts to die cut the Autumn is My Favorite Color die.  This gingham layer is adhered to a stack of three die cuts from white cardstock.

I layered the background and sentiment with coordinating orange and purple cardstock layers.  I die cut the sub-sentiment from the Autumn is My Favorite Color die from the same orange cardstock for a cohesive look.

Creating autumn cards definitely takes my mind off of these hot temperatures!  Thanks so very much for stopping by!

Thank you for using my affiliate links to shop (never any additional cost to you)!

Thursday, July 25, 2024

Sending Autumn Blessings

Hello crafty friends!  Today I'm sharing this card that I made with some new sets from the Picket Fence Studios Fall Into Autumn release that's now available!  My card features the beautiful Sweet Autumn Holiday stamps and coordinating dies.

Check out my Instagram to see the reel where I'm sharing the card making process!

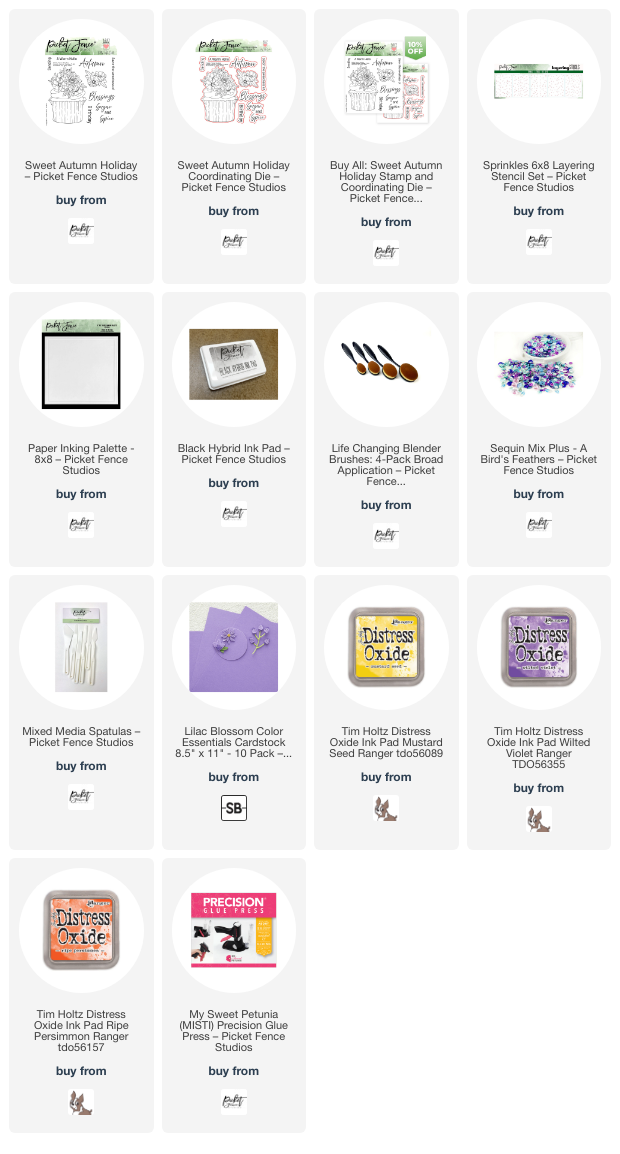
I started first by creating my background with the Sprinkles 6x8 Layering Stencil Set (set of five stencils).  I used Blender Brushes to add Distress Oxide Inks through three of the stencils.  The colors used are Mustard Seed, Wilted Violet, Ripe Persimmon.

Next I added some of the new Paper Glaze colors.  First I spread Agapanthus Purple glaze through another Sprinkles stencil.  I let that dry and then added Marigold Orange and Daffodil Yellow glazes through the remaining stencil.  I cleaned the tools and set the panel aside to dry.

Next I stamped the images and sentiments from the new Sweet Autumn Holiday stamp set with black hybrid ink.  I colored these with my Copic markers.  I used these colors: V09, V17, V06, V12, YR18, YR07, YR04, E57, E58, 0, YG17, YG25, YG03, Y15, Y11, Y00.  Then I cut them out with the coordinating Sweet Autumn Holiday dies.  

After I trimmed the stenciled Sprinkles piece to 4" x 5-¼", I glued it to a coordinating purple layer, and then to an A2 card base.  I adhered the Sweet Autumn Holiday images and sentiments with foam tape.

I added some sparkle by choosing the purple sequins from the A Bird's Feathers sequin mix.

I hope you'll check out the rest of this awesome release over on Picket Fence's website.  Thanks so very much for stopping by!

Thank you for using my affiliate links to shop (never any additional cost to you)!

Saturday, June 8, 2024

Floral Card With Texture Paste Background

 Hi friends!!  I can't believe it's been a week since I've posted here!  I've been so busy! Last week I went to the super fun Nashville Craft Retreat, and my return flight was canceled resulting in a lost day creating with a lot of new products!

Today I'm sharing a few details of this card that I shared a reel for over on my Instagram.  It features the gorgeous Blooming Trumpet Flowers stamps and dies that were illustrated by the super talented Kelly Taylor!

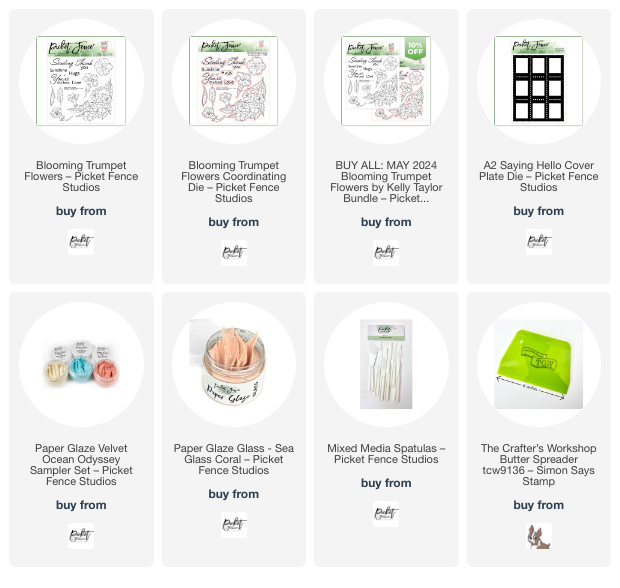
I cut a quarter panel of Bristol Smooth cardstock first.  Then I used a palette knife to dip out three different colors of Paper Glaze.  I put the scoops at the top of the long edge of the cardstock then used a large palette spreader to smooth the glaze out.  I used Cream Puff Velvet Paper Glaze, Sea Glass Coral Glass Paper Glaze, and Clementine Preserves Velvet Paper Glaze.

I actually set it outside in the hot sunshine to dry!  LOL.

I colored the images from the Blooming Trumpet Flowers stamp set with my Copic markers and cut them out with the coordinating dies.  I used B41, R14, R22, R21, R05, YG67, YG25, YG17, YG25, and YG03.

After I die cut white cardstock with the A2 Saying Hello Cover Plate die I added narrow strips of foam tape to the back to adhere it to the dried texture paste background.  

Then I arranged the flowers and leaves on the card and adhered them with a bit of foam tape and/or glue.

The sentiment is one of a few included with the Blooming Trumpet Flowers set!

I certainly do love using texture paste any way I can!  Picket Fence Studios has a variety of types and colors to choose from that are all so beautiful!!

Thanks so much for stopping by today!  Have a fabulous Saturday!

Thank you for shopping with my affiliate links (never any additional cost to you)!

Friday, April 19, 2024

A Beautiful Ocean Themed Card with Stencils, Paper Pouncers, & Paper Glaze

Happy Friday!  Today I'm sharing my card I made with Picket Fence Studios new A Sea Turtle's Journey stamps and coordinating dies.  I used several other fun new products to make this card that you can read about below.

The background is a panel from the new Coral to Aqua to Turquoise Ombre Toner Card Stock.  The cool thing about this cardstock is that it can be used as is like I've done, or since it is a toner paper, you can add foil and run it through your Minc or laminator!  

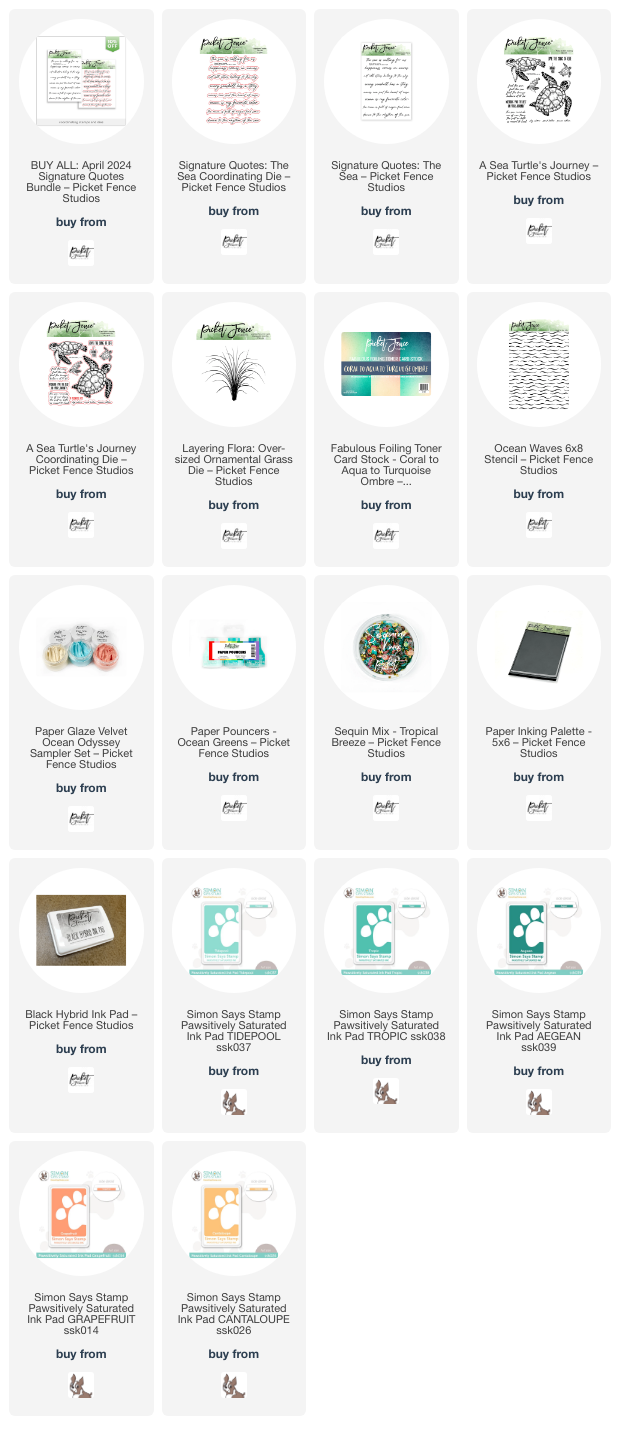
I added Cream Puff Paper Glaze Velvet, from the sampler pack called Ocean Odyssey, through the Ocean Waves 6x8 stencil.  I set it aside to dry and cleaned up my tools.  There are two other gorgeous colors in the sampler pack too!

Next I stamped all of the turtles from the A Sea Turtle's Journey stamp set with Black Hybrid ink.  Then I cut them out with the coordinating dies.  I used one turtle for this card and will save the others for another project.  Next I used these new Paper Pouncers to add three shades of ink to the turtle.  (Inks are in the list below.)

I added two die cuts of the Layering Flora: Over-sized Ornamental Grass Die.  These were cut with white cardstock and then quickly colored with Paper Pouncers.  A TIP I forgot to mention above is to use a Paper Inking Palette to hold these intricate die cuts while you color them!  These are so helpful!!

The sentiment is from Signature Quotes: The Sea stamp set, stamped with black ink, and then cut out with the coordinating die.

I added just a touch of bling with a few sequins from the Tropical Breeze sequin mix.

I really love how this card turned out.  It was so fun to make with all of the different techniques too!  Thanks so much for stopping by.  I hope you have a wonderful and crafty weekend!

Thank you for shopping with my affiliate links (never any additional cost to you)!

Friday, March 29, 2024

You Are Amazing -- Stenciling, Die Cuts, and Coloring!

 Hello crafty friends!  I've shared my reel over on Instagram for Picket Fence Studios where I've used their Garden Topper Cover Plate die.  Add in some fun stenciling with texture pastes and Copic coloring and I really enjoyed making this card!

You can watch some of my process to make this card on my Instagram reel!

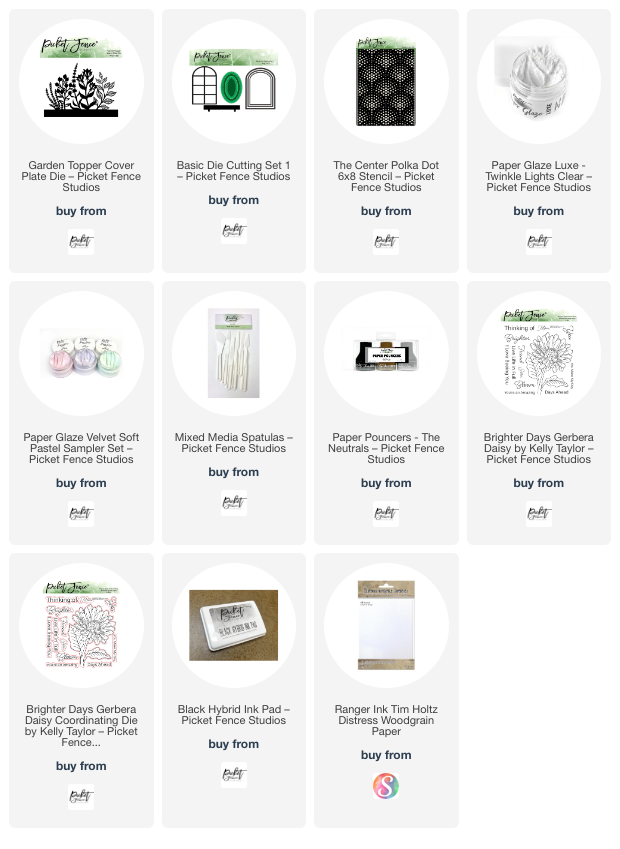
All of my supplies are linked below for your reference.  After I added two Paper Glazes through the Center Polka Dot stencil and it was dry, I cut it out with an arch shaped die from the Basic Die Cutting Die Set 1.  I also used this die to create my shaped card base.

I die cut the window box and frame (also in the Basic Die Cutting set) from woodgrain cardstock.  Then I used a Paper Pouncer to color it with Gathered Twigs Distress Ink.

I die cut the Garden Topper Cover Plate from 80# Neenah and then colored it with various Copic Markers.  Then I adhered it behind the window box and then I glued it to the window frame.  I used glue to adhere it to my card base and then trimmed of the bits that were hanging off the edges.

The sentiment is from the beautiful Brighter Days Gerbera Daisy stamp set and cut out with the coordinating die.

Thank you so much for stopping by!  I hope your Easter weekend is filled with many blessings!

Thank you for using my affiliate links to shop (never any additional cost to you)!

Saturday, March 2, 2024

Friends Make The World Beautiful

Happy Saturday friends!  Today I have this beautiful rainbow colored card that features Picket Fence Studios Two Big Beautiful Butterfly Die Set.  This was so fun to color the card die cuts using the awesome Paper Pouncers!

I hope you'll join me over on Instagram to watch my fun reel for this card!

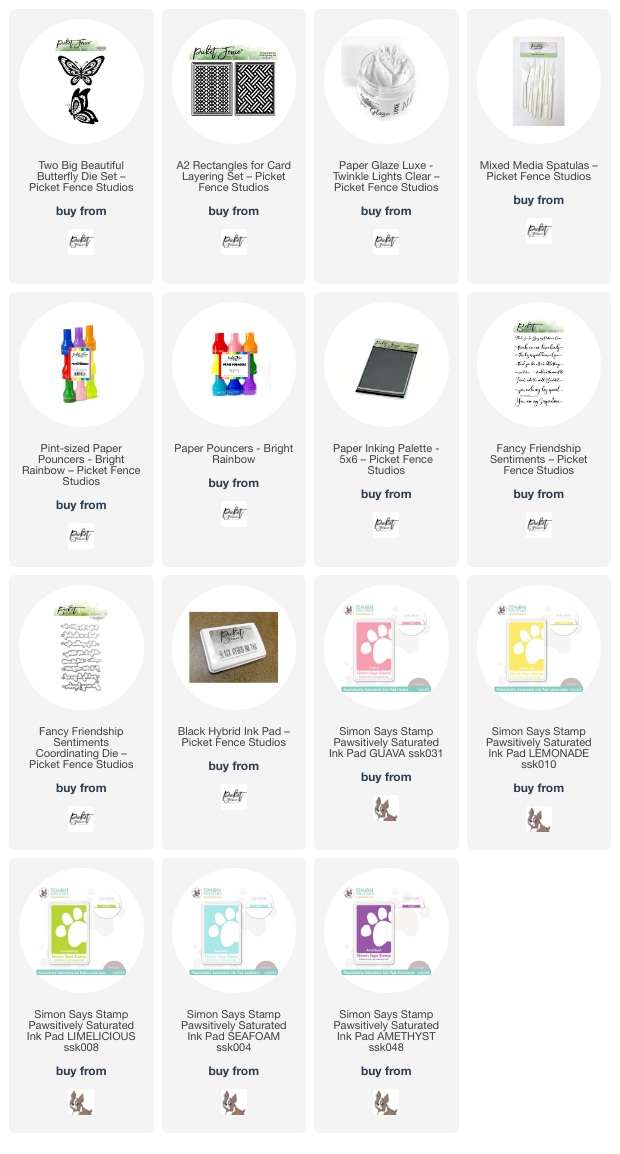
I used the A2 Rectangles for Card Layering set to die cut my card layers.  Then I used Paper Pouncers to add rainbow ink colors.  I have to say that the more I use these, the more I see how easy they make coloring my die cuts!  (I have the colors I used in the links below.)

I die cut one of the two butterflies from the Two Big Beautiful Butterfly Die set from white cardstock.  Then I used the so cute Pint-sized Paper Pouncers to color the top layer in the same inks as the background.  The small size of these helped me get the narrow strips of colors onto the butterfly.

For the butterfly I first spread a layer of Paper Glaze Luxe Twinkle Lights Clear onto a piece of cardstock that would fit the base layer of the butterfly.  After it dried, I die cut the base layer of the butterfly, and I wish photos would show the pretty subtle sparkle of the Paper Glaze!

The sentiment from the Fancy Friendship Sentiments set is stamped in black ink and cut out with the coordinating die.

I appreciate you stopping by today, and I hope your weekend is awesome!

Thank you so much for shopping with my affiliate links (never any additional cost to you)!