Showing posts with label Brighter Days Gerbera Daisy. Show all posts

Monday, April 8, 2024

A Copic-Colored Floral Eclipse card -- For Eclipse Day!

Today I'm sharing a few details here of this eclipse (how fitting for today's actual eclipse--LOL) card I made with Picket Fence Studios beautiful Brighter Days Gerbera Daisy set.  I have a reel over on my Instagram to show some of the process to make it!

After I stamped the beautiful Brighter Days Gerbera Daisy with Black Hybrid Ink, I used various Copic markers to color it.  For the flower petals I used: B32, RV99, RV55, R85, R83, R01.  The leaves are G28, YG67, YG17, YG25.  NOTE:  Before I colored it I used a black Copic Multiliner pen to extend the stem to the edge of the card panel.

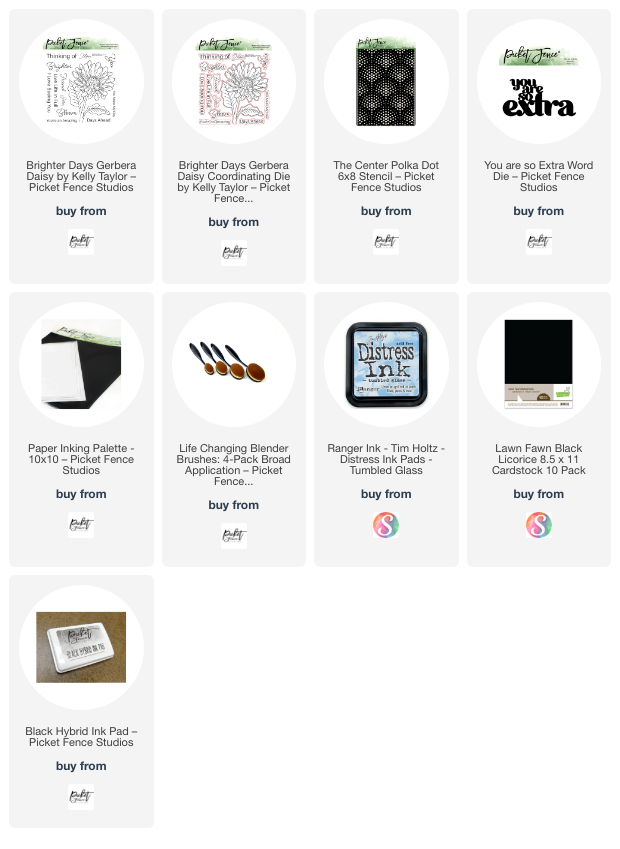
Then I stamped the image again onto masking paper and used my scissors to cut it out.  I placed the mask over the image and inked Tumbled Glass Distress ink through the Center Polka Dot stencil.

This next step made me a bit nervous, but I die cut the image with the You Are So Extra Die. I die cut four more from white cardstock and layered them all together with glue.  I glued the stack to the shadow that I die cut from black cardstock.

I used glue to adhere the sentiment to the card.  I really love how this turned out!

I hope you've found my eclipse card inspiring!  I'm off to watch the eclipse--our area is in the path of totality!  Thanks so much for stopping by!

Thank you for shopping with my affiliate links (never any additional cost to you)!
Friday, March 29, 2024

You Are Amazing -- Stenciling, Die Cuts, and Coloring!

 Hello crafty friends!  I've shared my reel over on Instagram for Picket Fence Studios where I've used their Garden Topper Cover Plate die.  Add in some fun stenciling with texture pastes and Copic coloring and I really enjoyed making this card!

You can watch some of my process to make this card on my Instagram reel!

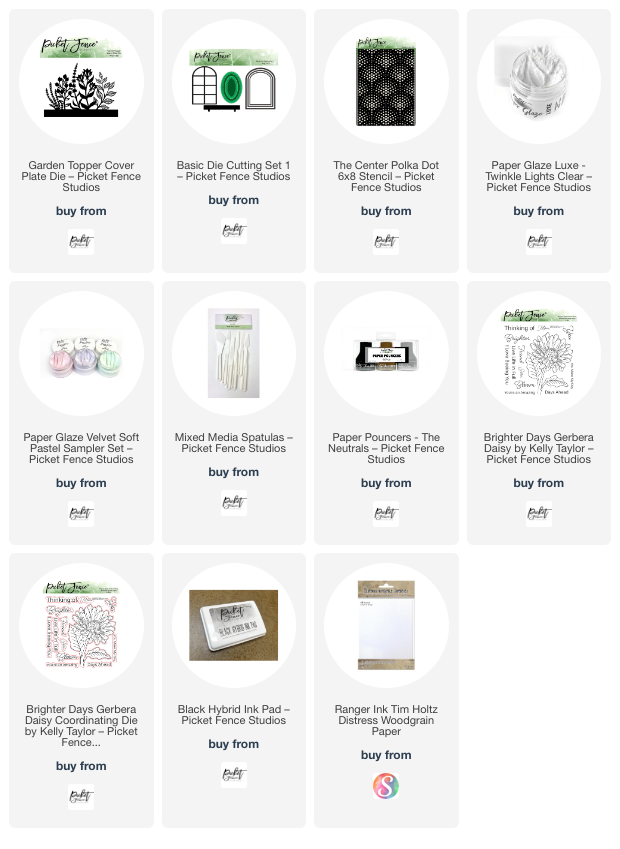
All of my supplies are linked below for your reference.  After I added two Paper Glazes through the Center Polka Dot stencil and it was dry, I cut it out with an arch shaped die from the Basic Die Cutting Die Set 1.  I also used this die to create my shaped card base.

I die cut the window box and frame (also in the Basic Die Cutting set) from woodgrain cardstock.  Then I used a Paper Pouncer to color it with Gathered Twigs Distress Ink.

I die cut the Garden Topper Cover Plate from 80# Neenah and then colored it with various Copic Markers.  Then I adhered it behind the window box and then I glued it to the window frame.  I used glue to adhere it to my card base and then trimmed of the bits that were hanging off the edges.

The sentiment is from the beautiful Brighter Days Gerbera Daisy stamp set and cut out with the coordinating die.

Thank you so much for stopping by!  I hope your Easter weekend is filled with many blessings!

Thank you for using my affiliate links to shop (never any additional cost to you)!

Monday, March 18, 2024

You're An Amazing Friend!

 Happy Monday!  Today I have a bright, cheerful card with Picket Fence's Wildflower Toner Card Fronts.  It's subtle, but the blue foil I used has a beautiful effect, especially in real life!

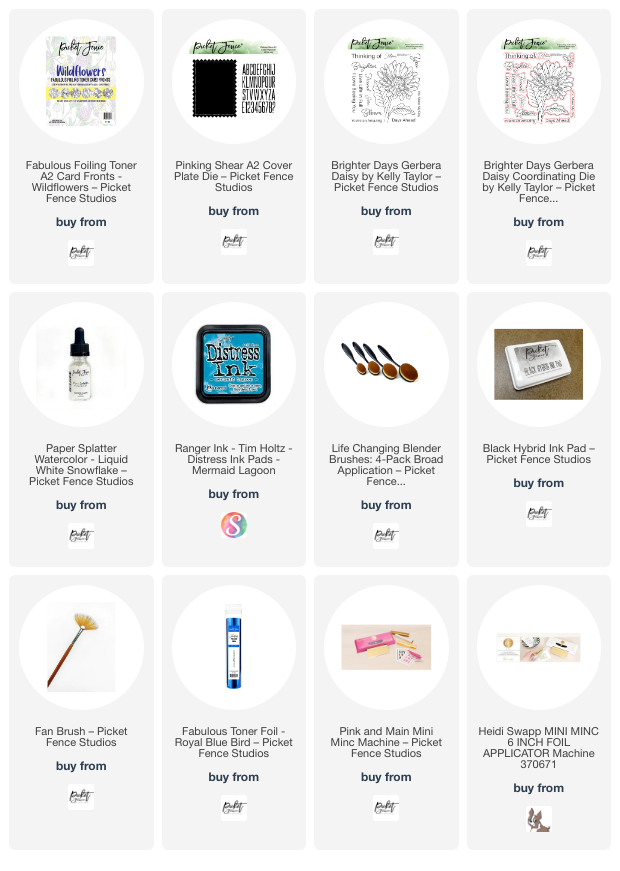
I selected one of the six designs included in the Wildflowers Fabulous Foiling Toner Card Fronts package.  I decided to color an ombré blue background so the daisies would really stand out.  These are the Copic markers I used:

  • background:  B18, B16, B06, B05, B04, B02
  • leaves & stems:  YG17, YG25, YG03
  • flower centers:  YR23, Y08, Y06
  • flower petals:  C5, C3, C1, C00

I will admit that I had some streaks from the lightest blue marker, and just couldn't get a smooth look.  So I had an idea to ink blend Mermaid Lagoon Distress ink over the top portion!  I just used bits of temporary tape to cover up the flowers as needed.  While this didn't totally cover the streaks, I think this step makes it totally acceptable.

I added a strip of blue toner foil to cover the daisies and put it through my Mini Minc foiling machine (aka laminator--haha!)

Next I added splatters of white snowflake Paper Splatter Watercolor.  I put a few drops onto my craft mat and diluted it with a couple drops of water.  I just started using this fan brush to add splatters and I really like it!

Then I die cut the panel with the Pinking Shear A2 Cover Plate Die and adhered it to an A2 card base with glue.

I used a sentiment from the Brighter Days Gerbera Daisy stamp set.  After I stamped it with Black Hybrid Ink I cut the sentiment out with the coordinating dies.

I added some strips of foam tape to pop them up on the card for dimension.

If you haven't seen my reel for making this card, join me over on Instagram for a look.  Thanks so much for stopping by today.  I hope you have a crafty and wonderful week!

Thank you so much for shopping with my affiliate links (never any additional cost to you)!