Showing posts with label Paper Pouncers. Show all posts

Friday, March 29, 2024

You Are Amazing -- Stenciling, Die Cuts, and Coloring!

 Hello crafty friends!  I've shared my reel over on Instagram for Picket Fence Studios where I've used their Garden Topper Cover Plate die.  Add in some fun stenciling with texture pastes and Copic coloring and I really enjoyed making this card!

You can watch some of my process to make this card on my Instagram reel!

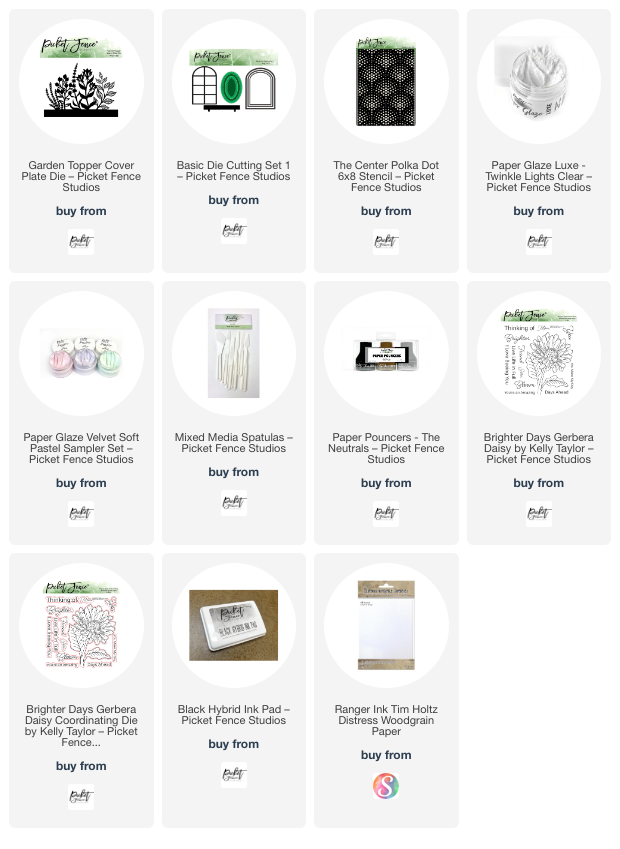
All of my supplies are linked below for your reference.  After I added two Paper Glazes through the Center Polka Dot stencil and it was dry, I cut it out with an arch shaped die from the Basic Die Cutting Die Set 1.  I also used this die to create my shaped card base.

I die cut the window box and frame (also in the Basic Die Cutting set) from woodgrain cardstock.  Then I used a Paper Pouncer to color it with Gathered Twigs Distress Ink.

I die cut the Garden Topper Cover Plate from 80# Neenah and then colored it with various Copic Markers.  Then I adhered it behind the window box and then I glued it to the window frame.  I used glue to adhere it to my card base and then trimmed of the bits that were hanging off the edges.

The sentiment is from the beautiful Brighter Days Gerbera Daisy stamp set and cut out with the coordinating die.

Thank you so much for stopping by!  I hope your Easter weekend is filled with many blessings!

Thank you for using my affiliate links to shop (never any additional cost to you)!

Saturday, March 2, 2024

Friends Make The World Beautiful

Happy Saturday friends!  Today I have this beautiful rainbow colored card that features Picket Fence Studios Two Big Beautiful Butterfly Die Set.  This was so fun to color the card die cuts using the awesome Paper Pouncers!

I hope you'll join me over on Instagram to watch my fun reel for this card!

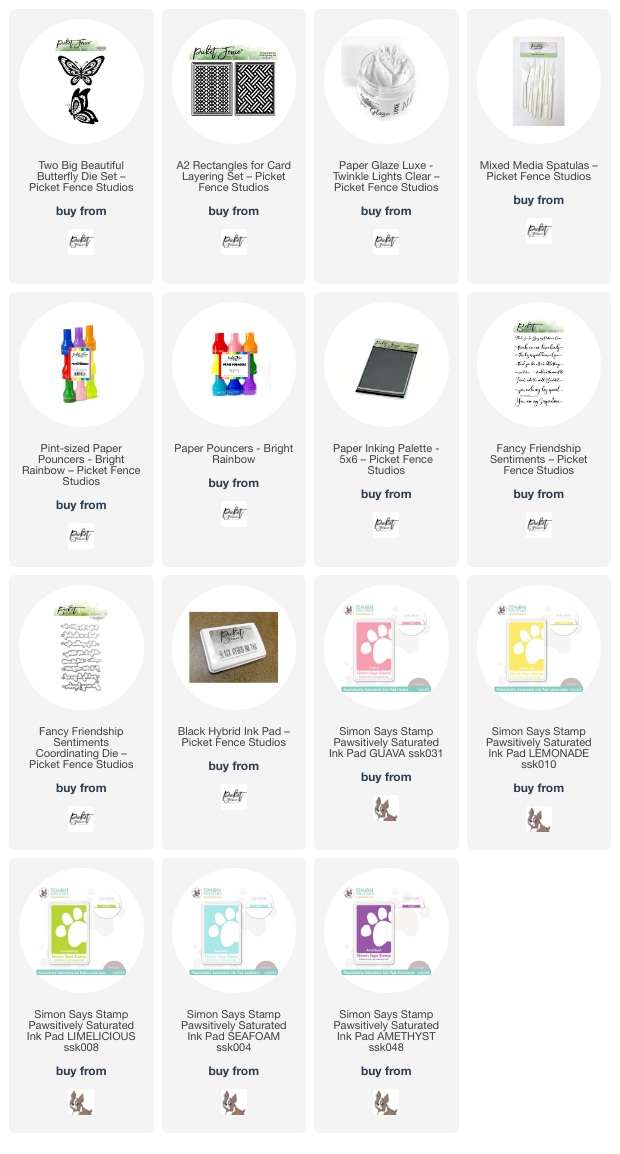
I used the A2 Rectangles for Card Layering set to die cut my card layers.  Then I used Paper Pouncers to add rainbow ink colors.  I have to say that the more I use these, the more I see how easy they make coloring my die cuts!  (I have the colors I used in the links below.)

I die cut one of the two butterflies from the Two Big Beautiful Butterfly Die set from white cardstock.  Then I used the so cute Pint-sized Paper Pouncers to color the top layer in the same inks as the background.  The small size of these helped me get the narrow strips of colors onto the butterfly.

For the butterfly I first spread a layer of Paper Glaze Luxe Twinkle Lights Clear onto a piece of cardstock that would fit the base layer of the butterfly.  After it dried, I die cut the base layer of the butterfly, and I wish photos would show the pretty subtle sparkle of the Paper Glaze!

The sentiment from the Fancy Friendship Sentiments set is stamped in black ink and cut out with the coordinating die.

I appreciate you stopping by today, and I hope your weekend is awesome!

Thank you so much for shopping with my affiliate links (never any additional cost to you)!

Sunday, February 11, 2024

Die Cut Rose Border Gatefold Card

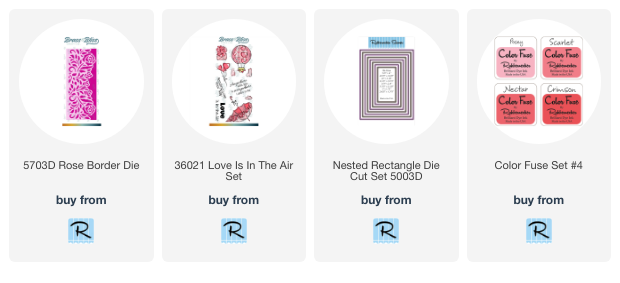
 Hello crafty friends!  I'm happy to share my card featuring Brass & Bliss Craft Company's (formerly Rubbernecker Stamps) Rose Border die.  (Note: All products are listed on the Rubbernecker shop site until the Brass & Bliss site launches in March.)

I have all of the "how to make this card" details over on the Brass & Bliss blog today.  If you would like the specific instructions, please join me there.

After I die cut the gatefold sides of the card, I used the fabulous Paper Pouncers to add Posey, Scarlet, and Crimson ink to the die cuts.  These Pouncers really make coloring intricate die cuts a snap!

I stamped a sentiment and some extras from the Love Is In The Air stamp set on the card inside too!

Thanks so very much for stopping by!  I hope you'll join me over on the Brass & Bliss blog for all of the details.

Thank you for shopping with my affiliate links (never any additional cost to you)!

Thursday, January 18, 2024

Cookies Are Always The Answer

 Hello friends!  Today I'm sharing my first card as part of the Picket Fence Studios Reels Team!  I'm very excited about this opportunity and I hope that you will head over to my Instagram to check out my reel for this card.

This card features the Scene Building: Cookie Making Die Set and Lick The Bowl sentiments.  These are all products from their January 2024 release.

I used their amazing Paper Pouncers to ink up my die cuts.  I also used their new Paper Inking Palette, which comes in several sizes, to hold the small die cuts while coloring them with various inks (listed below).

I finished it up with a sentiment stamped in Black Hybrid ink from the new Lick The Bowl sentiment set.  After I trimmed it into a strip I tied it to ribbon from my stash.

I hope you will be sure to join me over on Instagram to see more!  Thank you so much for stopping by today!

Thank you for using my affiliate links to shop (never any additional cost to you)!

Monday, March 20, 2023

New Paper Pouncers by Picket Fence Studios Review

Hello friends!  I was recently gifted these new Paper Pouncers by Picket Fence Studios with no expectations at all attached to receiving these.  I finally had time to give them a try this weekend and I thought I'd share my honest thoughts with you, so keep on reading!


This is the description from the Picket Fence website:

Paper Pouncers are a brand-new way to apply ink to die cuts, stencils, and many other paper crafting projects! These top quality super-soft SPONGE applicators are not your momma’s old inking tool! Paper Pouncers were custom designed by Picket Fence Studios to make applying ink easier, faster, and more comfortable on hands. Simply add ink onto the sponge head and pounce away! Two color palettes are available: Bright Rainbow and The Neutrals (3 pack of black, brown, and gray). Use with water-based inks or watercolors, and clean with a damp cloth or wipe. Each Pouncer comes with its own color coordinated holder for simple storage and display. 

Paper Pouncers were developed to add to a new ink application tool on the market for easier and quicker application of water-based inks to paper. They do not replace Life Changing Blender Brushes.

The first thing to keep in mind about the Paper Pouncers is that they are not intended to replace our ink blending brushes.  They aren't intended to be used in the same way as we do the brushes.  When I use the brushes, I go in a circular pattern to add ink to my project.  As the name implies, these are intended to be pounced.

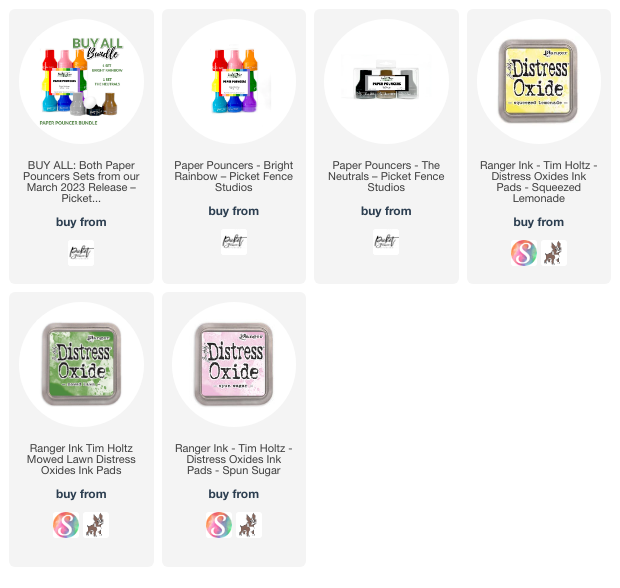
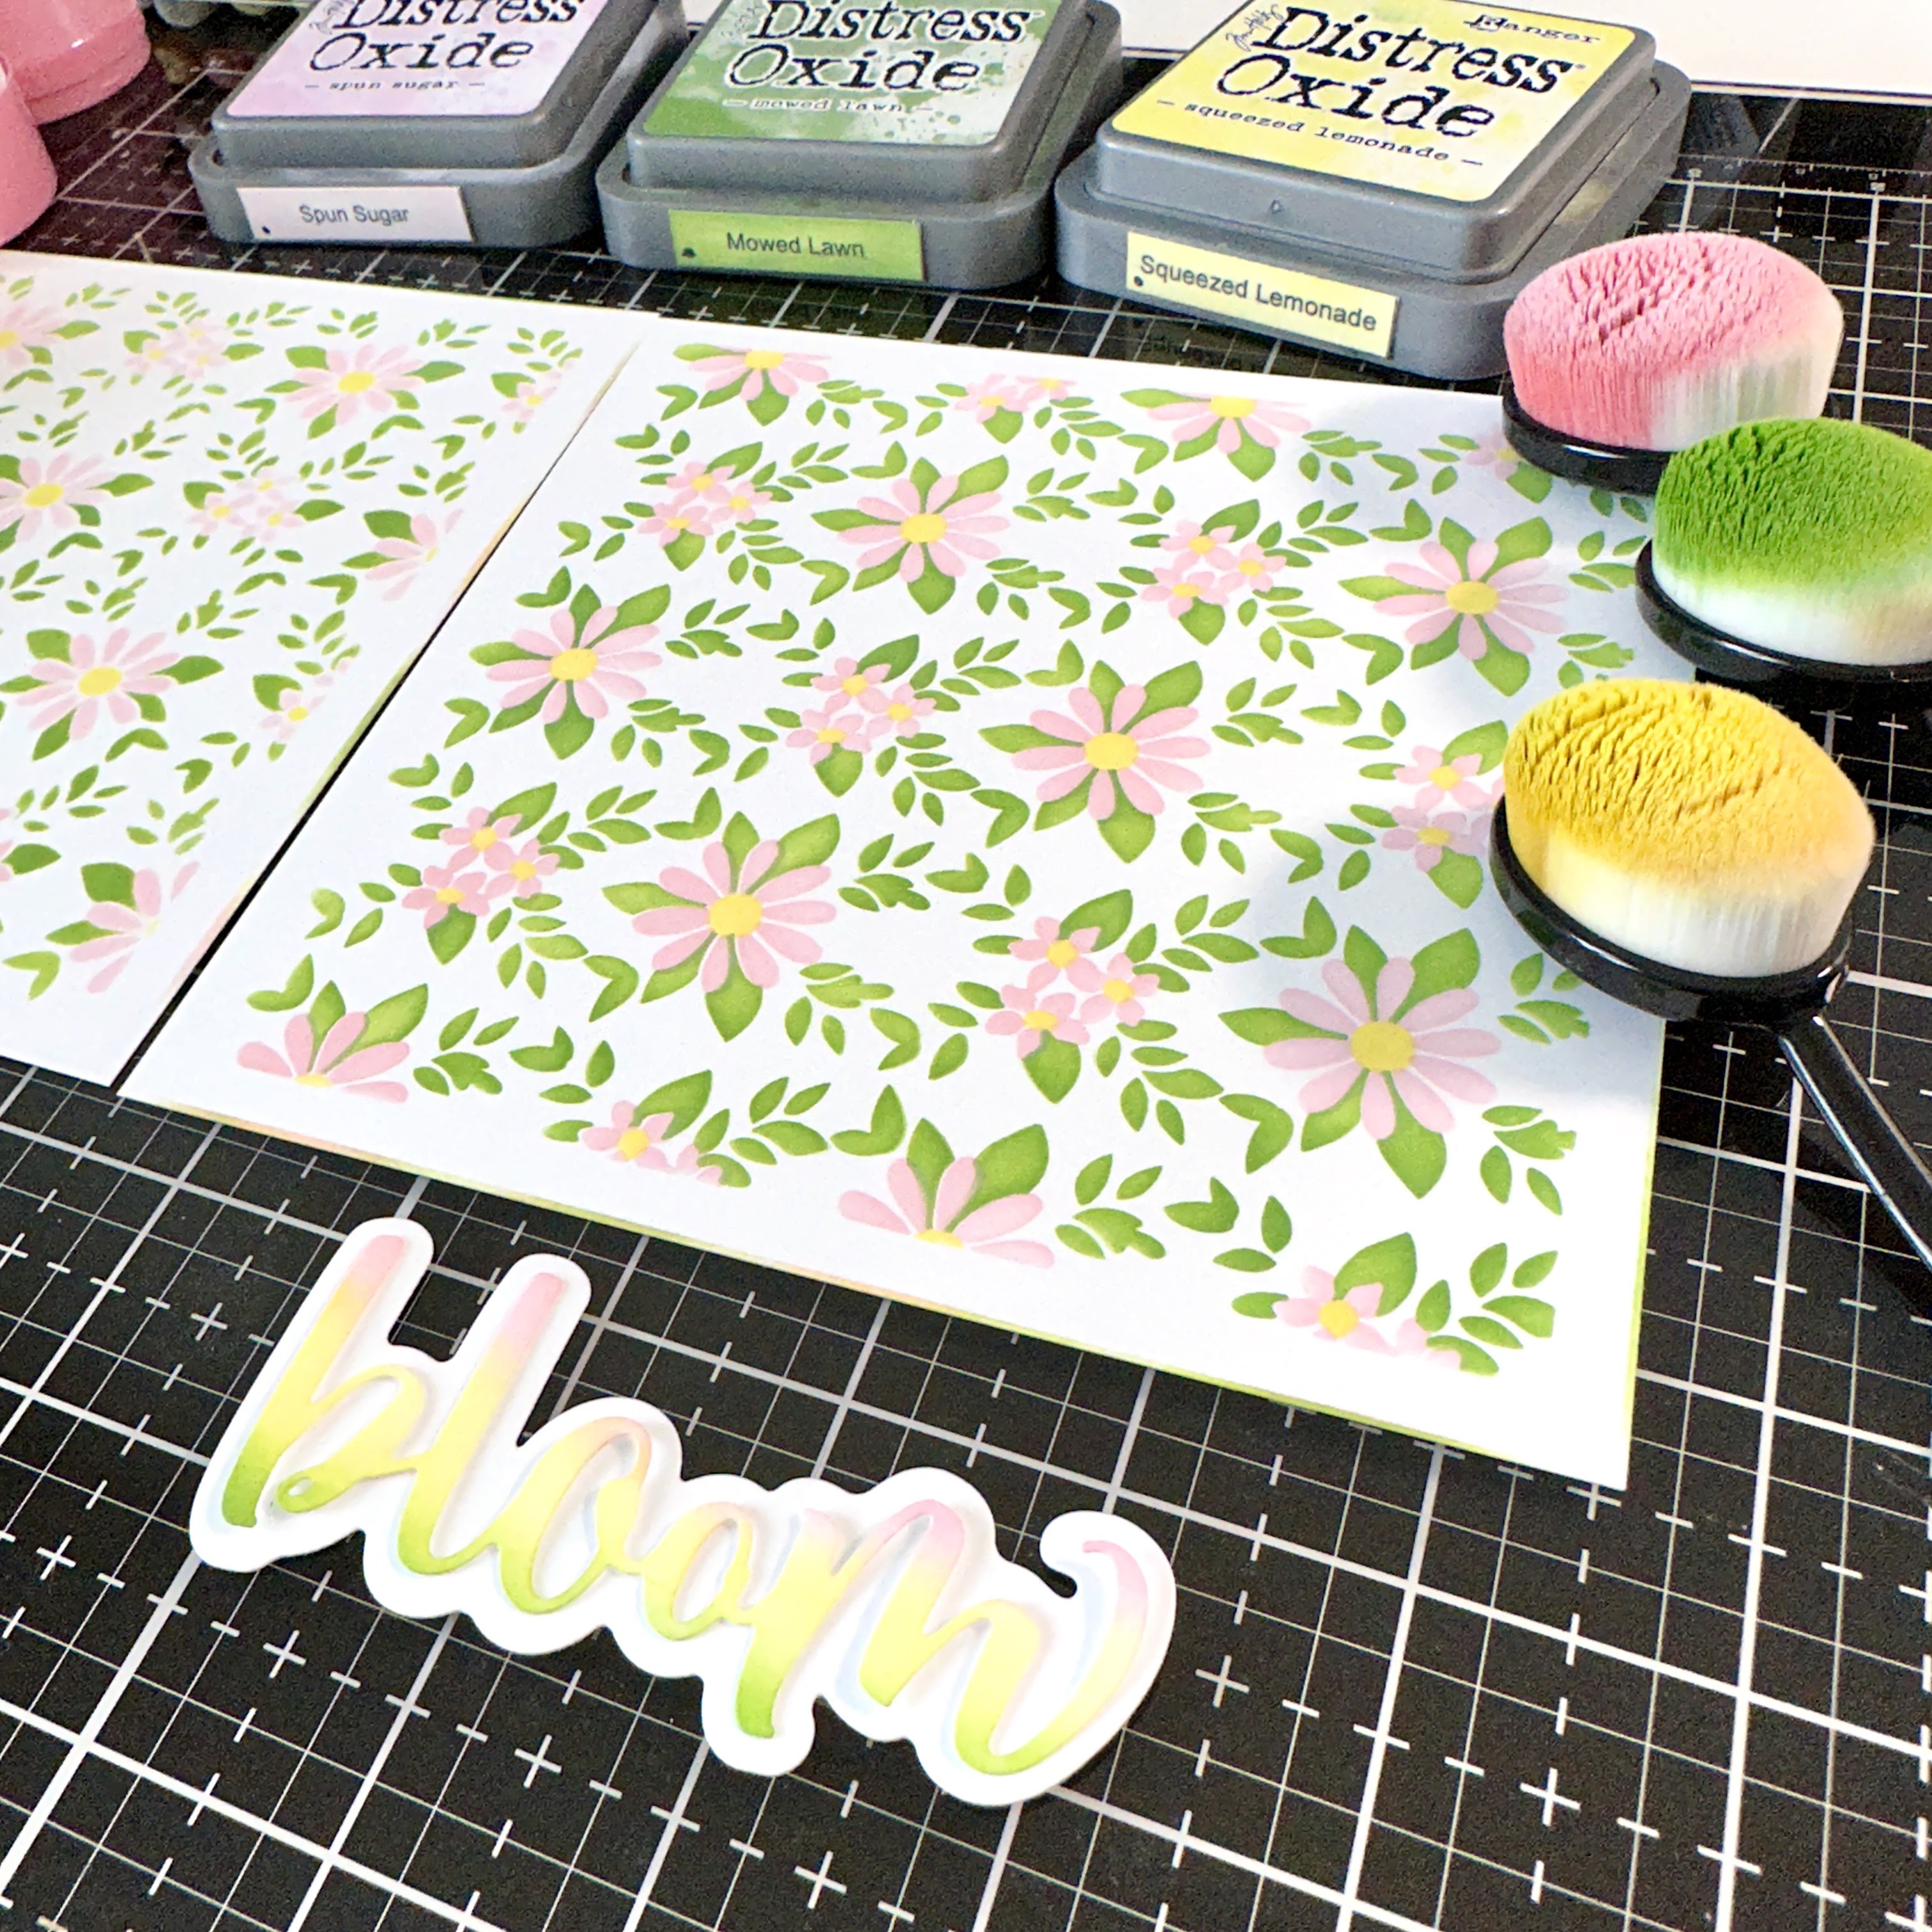
For continuity, I used the same ink:  Spun Sugar, Mowed Lawn, and Squeezed Lemonade Distress Oxide inks on 80# Neenah Solar White cardstock for each technique.   The first thing I wanted to try out was stenciling.

I found that the Pouncers gave me a very pretty, soft stenciled image and definitely think this look is very desirable for certain projects.  The difference between stenciling with these and the brushes is that when you add ink with a brush, the brush catches the edges of the stencil and fills in the opening completely.  The Paper Pouncers do not add ink along the edges of the stencil opening as you can see in the next photo.

The pounced image is on the left and ink blending brushes on the right.


If you have any issues with your hand strength or grip, I would highly recommend these.  I have experienced hand fatigue with the ink blending brushes when I have a lot of things to ink up.  I did not have that happen with the Pouncers.

Where I really thought the Paper Pouncers were a star is using them to ink up intricate die cuts!  Typically I will adhere my die cut in the negative space with removable tape on the back.  That's not hard to do with a sentiment die cut like this one, but the more detailed die cuts like branches with leaves and other florals  can be a bit fiddly.  

I was super surprised that I could easily blend the three ink colors onto the sentiment using the Pouncers!  The lighter you pounce, the smaller the area of ink coverage.  I actually, and shockingly, prefer the pouncers over the brushes for inking this up!  I felt like I had to work the brushes back and forth more to blend the ink.

Next, even though I don't believe the Paper Pouncers are intended to give that smooth blend on ink on a piece of cardstock like the brushes do, I still wanted to try it.

As the photo above shows, especially in the green ink, I wasn't able to achieve a smooth blend with the Paper Pouncers.  Maybe it's me?  I'm not sure.  However, I do think this would be an awesome look for a blue sky, especially with water splatters!

This is my blending with brushes.  It turned out as expected with a good smooth blend of ink.  The next photo is a side-by-side comparison (Pouncers on the left).

All of this leads to the question of will I continue to use these new Paper Pouncers?  I say absolutely yes!  Because I use a lot of die cut elements on my cards that I typically color with inks, these paper pouncers will most certainly be my go-to tool for coloring the die cuts!

If you wanted to give these a try, there is a Neutral Set of three Pouncers that you could try.  The bundle of both the Bright Rainbow and Neutral sets is definitely the most economical way to get these.

Thanks so much for stopping by today!  Let me know in the comments if you found this review helpful!  Have a wonderful day!

Thank you for shopping with my affiliate links (never any additional cost to you).