Showing posts with label thinking of you. Show all posts

Saturday, April 25, 2026

Thinking Of You Essentially Yours Sentiments Collection

Happy Saturday, crafty friends!  Today I'm sharing this card that features one of the eight sentiments in Spellbinders new Essentially Yours Sentiments Collection.

All of the Essentially Yours Sentiments die sets have two layers with one being a shadow layer.  I inked some scrap paper with Picked Raspberry Distress ink and cut the shadow layer of the Thinking Of You sentiment.  I die cut three of the top layer from white cardstock and glued those all together.

The Magical Fuchsias Collection by Alex Syberia makes a beautiful complimentary focal point for this sentiment.

I embossed the white panel with the Magical Fuchsia 3D embossing folder twice onto the edges of both sides of the cardstock.

The main image is made by pressing the Magical Fuchsia Press + Foil plate with BetterPress black ink onto white cardstock with my BetterPress Letterpress System.

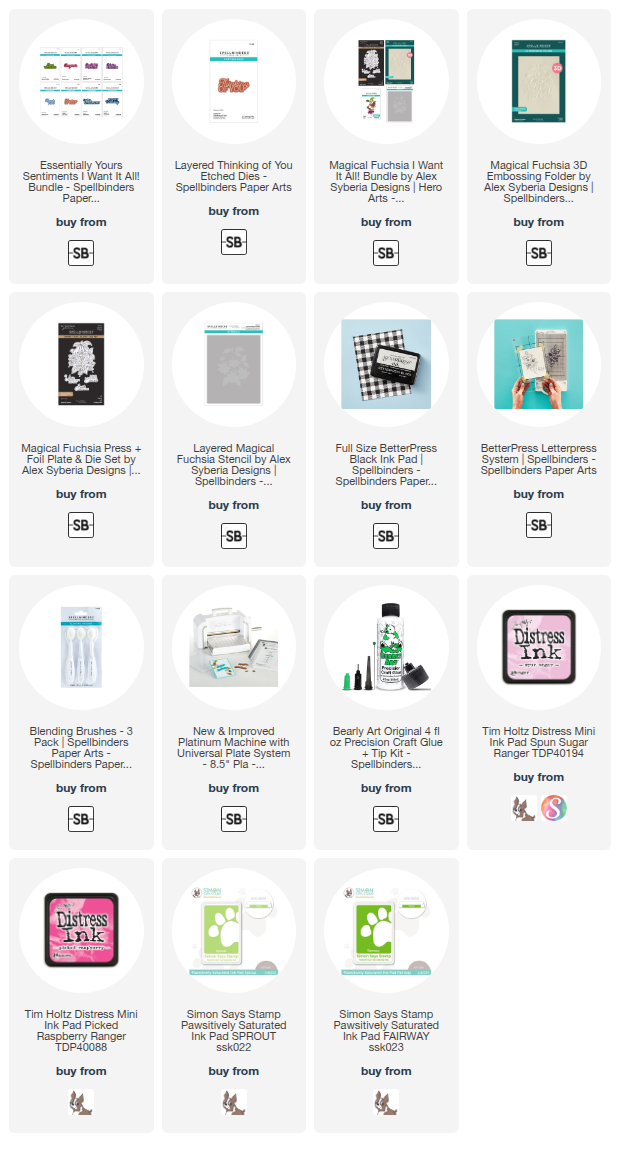
I used the Magical Fuchsia stencils to ink on pink and green inks using blending brushes.  The inks I used are in the list below.  I love that there is a coordinating die in the Magical Fuchsia Press plate set!

I trimmed the embossed panel to 5-¼" x 4" and glued it to a coordinating pink panel and then to my A2 card base.  I added some foam tape to the stenciled fuchsia to adhere it to the card.

Be sure to check out all of the Essentially Yours Sentiments collection!  This is a great basic set to have on hand for all of your card making!

Thank you for stopping by today!  I hope you have a wonderful and crafty weekend!

Thanks so very much for using my affiliate links to shop (never any additional cost to you)!
Monday, February 24, 2020

Elegant Floral Twist Card | Art Impressions

Hello friends!  Today I have another card featuring the Floral Twist Set.  This is one of eight sets in the new Twist Line!


I began by building my card base:
  1. Use a Copic (V06) to add color to the edge of an 4-¼" x 5-½" white card stock piece.
  2. Attach this to a top-folding A2 card base.
  3. Position the Twist Frame die onto another A2 white piece of card stock and die cut.  Then lay that on top of your card base and trace the opening with a pencil.
  4. Emboss this with an embossing folder.  The one I used is listed in the supplies below.  Trim it to 4" x 5-¼".
  5. Unfold the card and line up the Twist Frame die with the pencil lines on the base.  Run it through your die cutting machine.
  6. Adhere the embossed piece to the card base.


Now all you need to do is stamp the two floral images with Copic safe ink.  I colored it with the markers listed below.

I stamped the sentiment and die cut it with the smallest die from the Rectangle A2 Double Stitched dies.  I layered this onto a piece I colored with one of the yellow Copic markers I used.  Pop it up with thin foam tape and add a few yellow sequins to finish.


As always, I so appreciate you stopping by today!  Have a fun, crafty week!


Copic markers:
C3, C1, C00, V09, V06, V05, RV63, 
Y19, Y15, Y13, Y11,
YG67, YG17, YG25, YG03, YG01

Supplies: