Showing posts with label Lovely Layers: Front Porch. Show all posts

Wednesday, October 23, 2024

Boo To You! and Happy Halloween Shaped Card

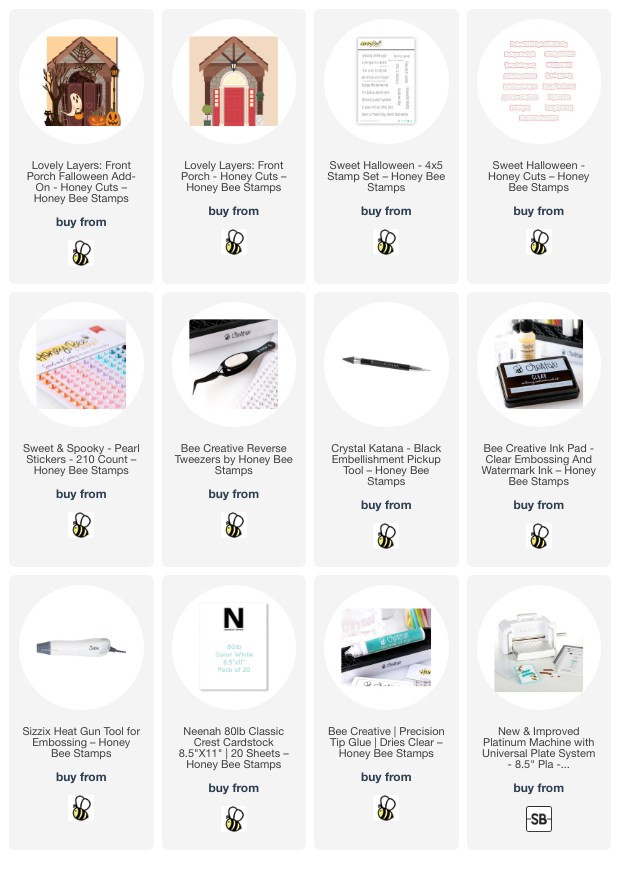
Hello crafty friends! Today I'm sharing my cute Halloween card that features Honey Bee Stamps Lovely Layers: Front Porch Falloween Add-on Honey Cuts! This pairs with the previously released Lovely Layers: Front Porch dies.

Before I begin how I made this, I wonder if you, like me, feel overwhelmed with a lot of dies like the Lovely Layers: Front Porch Falloween Add-on? I found a way to break it down to make it so much easier! I printed off the Layering Guide that is available to download and found in the product description.

Then I looked at the first section of the Layering Guide and just focused on the layers for the door, as shown. I just continued through the guide and the pieces were assembled in no time! I used two shades of gray cardstock, and black, white, orange, brown, and yellow cardstocks to die cut the elements in the Front Porch and the Front Porch Falloween Add-on sets.

The cat's eyes and the pumpkin stems are white cardstock that I colored with a YG25 Copic marker.

Using my reverse tweezer and pick-up tool made it easy to glue the layers together.

For the card base, I took a folded A2 card and placed the large die from the Front Porch dies with the folded edge of the card just below the top of the die. I ran that through my die cutting machine to create the shaped card base.

Then it was just a matter of arranging and gluing the elements to the base.

I stamped three sentiments from the Sweet Halloween stamp set with clear embossing ink onto more of the dark gray cardstock. I added white embossing powder and then set it with my heat tool. I cut the sentiments out with the coordinating dies.

I glued one sentiment inside the card.

I adhered the other two sentiments to the front of the card with foam strips.

Then I added Sweet and Spooky pearl stickers to the tree, pumpkins, and door. Did you notice how one of the pumpkins is on the planter? Haha!

Thanks so very much for stopping by!  I hope you have a wonderful day!

Thank you for using my affiliate links to shop (never any additional cost to you)! 
Wednesday, January 3, 2024

Spring-Themed Birthday Card

Hello crafty friends! I hope you had wonderful holidays and that your 2024 is off to a great start! I just mailed out a birthday card and it was the last one in my stash! So I thought I would use Honey Bee Stamps beautiful Lovely Layers: Front Porch to make a spring-themed birthday card!

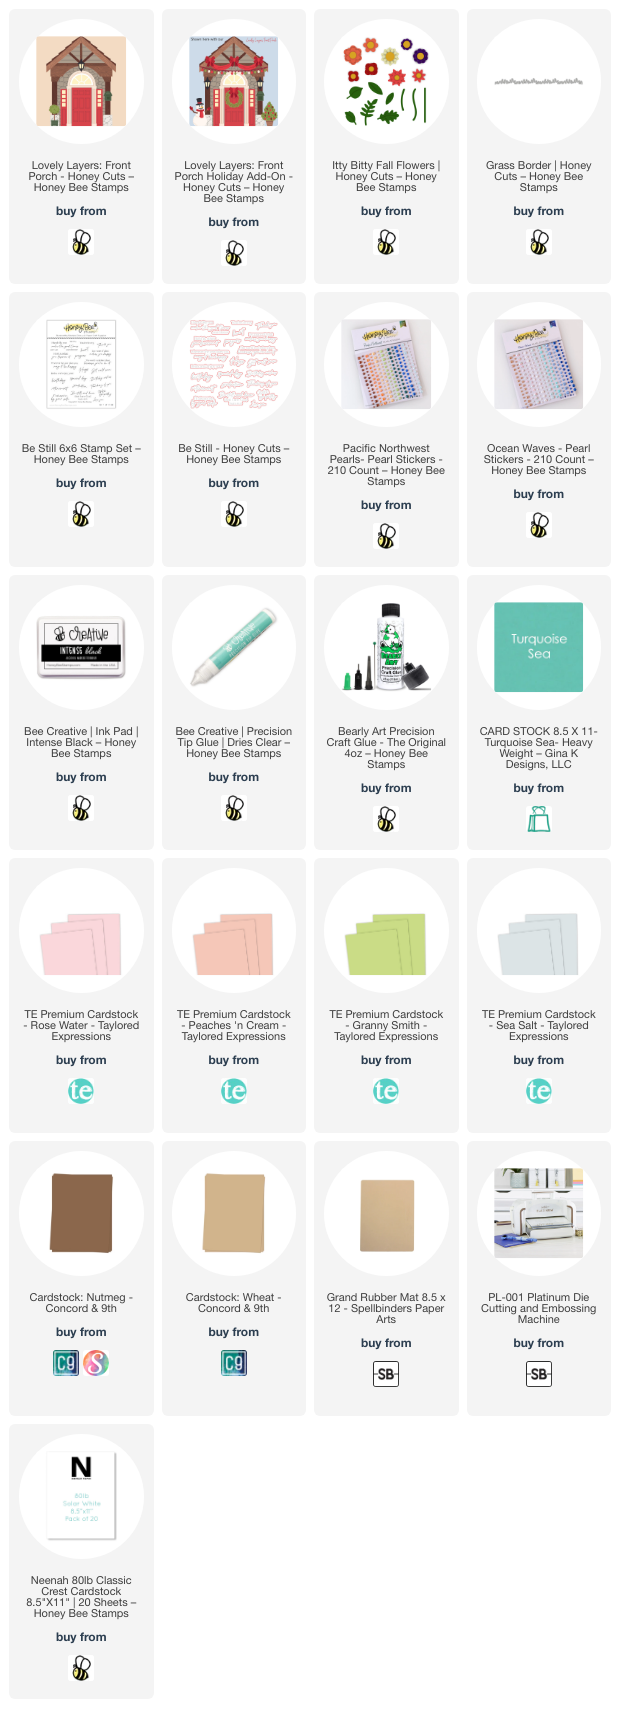
Since this is the first time I've used the Lovely Layers: Front Porch set, I printed off the helpful layering guide to refer to and plan this card. I die cut the various elements for the porch from white, light gray, brown, teal, green, and peach colored cardstocks. I also used the dies for the bow and wreath from the Lovely Layers: Front Porch Holiday Add-on set.

TIP: Do you want to really show off the embossed lines of the gray stone you see on my card? The machine I have has an embossing mat that will add that extra dimension. I secured the die cut stone piece back into the die and followed the directions for my die cut machine to emboss it. Check your machine to try this out! This really ups the dimension level and is so pretty!

To create the spring theme, I die cut the teal, peach, and green cardstocks with the dies in the Itty Bitty Fall Flowers dies. I die cut some more green cardstock with the Grass Border die and trimmed it into two smaller pieces.

To create a card base I took a top-folding A2 card base and placed the largest die (with the stone details) from the Lovely Layers: Front Porch onto the card base. Be sure that the top edge of the die is about ½" above the top folded card base edge. Then run it through your die cutting machine. Since this will add the stone embossed area to the back of the base, I just place a rectangle of white cardstock inside the card to have a smooth surface for my sentiment.

Before I adhered the Front Porch layers together, I used a BG0000 Copic marker to color the areas that are the windows and behind the windows of the lantern lights. Then I used glue with a fine tip to adhere all of the layers of the Front Porch together. The layering guide is very helpful for your first time!!

I stamped the sentiment from the Be Still stamp set with Intense Black ink. I love having coordinating dies for sentiments, and used it to cut out the phrase.

For some pretty embellishments on the wreath and flowers, I used pearls from the Pacific Northwest and Ocean Waves Pearl Stickers sets.

As much as I so love making holiday cards, it always feels so fresh and new to start the year with cheerful springtime cards! The Lovely Layers: Front Porch has so many possibilities, and I hope you have enjoyed my process for this card today!

Thank you, always, for stopping by. I hope you have a wonderful day, and a very crafty 2024!

Thank you for using my affiliate links to shop (never any additional cost to you)!