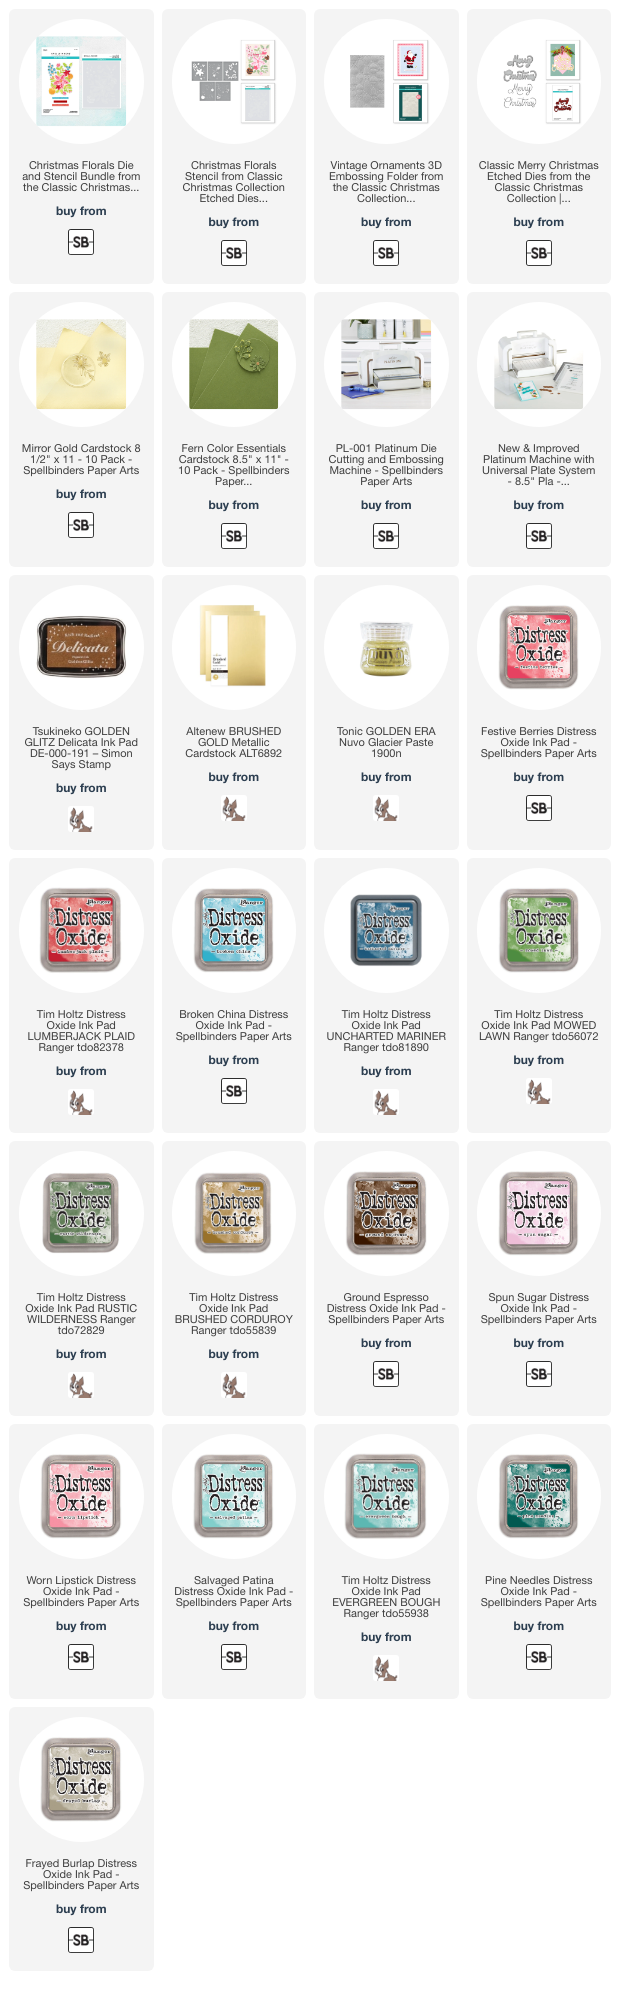
Today I'm sharing three beautiful Christmas cards I made with four of the products from Spellbinders newest release called Classic Christmas. I honestly can't choose a favorite! Let me know which one you like the best!
This first card featuring the Vintage Ornaments 3D embossing folder with the Classic Merry Christmas dies would be easy to mass produce!
The Vintage Ornaments embossing folder is so beautiful and I think it would stand out with any color cardstock. On this card I used a brushed gold metallic cardstock.
I die cut the Classic Merry Christmas dies from 80# Neenah and more brushed gold cardstock two times. (I saved the second set of layers for another card.) After I adhered the layers together, I added strips of foam tape to the back to pop it up. You definitely could save time by just gluing the sentiment directly to the card.
This next card takes a bit more time, but overall was pretty quick to make.
First I embossed a piece of Fern cardstock with the Vintage Ornament embossing folder. I trimmed it to 4" x 5-¼" and then took a metallic gold ink pad a very lightly swiped it over the raised portions of the embossed piece. Then I layered it onto gold mirror cardstock and added the layers to an A2 card.
Next I added Distress Oxide inks with blending brushes through each of the stencils in the beautiful Christmas Florals stencil set. The colors I used are in the supply list below. Next I used the coordinating Christmas Florals die to cut the image out.
Then I did something I rarely do! I cut the piece into two pieces. It's trimmed just a bit more than half way. I added foam tape to the back to adhere it to the card. I used one of the three sentiment dies included in the Christmas Florals die set to die cut the sentiment from gold mirror cardstock.
My final card took the most time, but I think it's my favorite! I don't usually use these colors for greenery in florals, but I really like this!
I used the Christmas Florals stencils again with Distress Oxide inks. This time though, with stencil #5 (yes, they are numbered!) I wanted to add pretty gold texture paste. After I positioned the stencil and secured it with removable tape, I inked all areas but the pinecones, berry and flower centers. Next I masked off areas I wanted to protect from the gold paste. This did take a bit of time! I spread the gold texture paste through the openings, removed the stencil, and set the piece aside to dry. Don't forget to clean the stencil and tools immediately!
I adhered the dry panel to an A2 card and then I popped the Classic Merry Christmas sentiment up with foam tape.
The extra time this card took was worth it to me! Thank you for stopping by today. I hope you have a fun and crafty weekend!!!
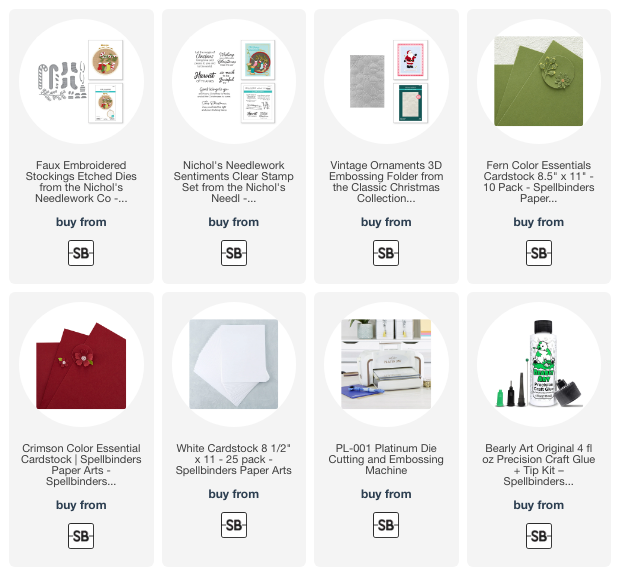
Thank you so much for using my affiliate links to shop (never any additional cost to you)!