Hello crafty friends! Have you checked out the fabulous new Sunkissed Summer release by Honey Bee Stamps? I love how there are several items for making cards for the guys! I struggle with masculine cards but not anymore. Today I'm sharing this fun interactive birthday card for our guys that features the Born To Fly and Aviator stamps. This was super easy and fun to make! If you would like to see the card in action, check out my reel on Instagram!

Still photos don't show you that the two airplanes from the Born To Fly stamp set that I heat embossed in silver actually swing back and forth! I will have a reel posted to my Instagram soon today that will show it in motion.
First I make the background layer by stamping the Aviator background stamp with clear embossing ink onto 80# Neenah. Be sure to treat the cardstock with your anti-static powder first! Then I added white embossing powder and heat set it.
Next I used blender brushes to add Lucky Clover, Cracked Pistachio, and Twisted Citron Distress Oxide inks over the panel. I repeated the inking to get it blended just right. When I finished, I rubbed a clean paper towel over the embossing to remove the excess ink and restore the whiteness of the embossing.
I trimmed the piece to 4" x 5-¼" and glued it to an A2 card base.

Next I die cut two strips of white cardstock with the cloud die from the Horizon Slimline Borders die set. The shorter strip of clouds is about 1" tall and the wider one is 1-½". I glued the wide cloud strips to the card, one at the top and the other at the bottom of the card base.
Before proceeding, smoosh the Lucky Clover Distress Oxide ink pad onto your craft mat. Dilute with some water. Then use a paintbrush to add splatters onto the card base and cloud pieces.
I added foam dots to the back of one of the other cloud strips and adhered it over the other cloud layer at the bottom of the card.
To make the interactive part you will need two pieces of clear nylon string or fishing line, if you have that around the house. As mentioned above, I stamped and silver heat embossed two of the airplanes from the Born To Fly set. I cut them out with the coordinating Born To Fly dies.
To attach the airplanes to the nylon string, I placed the end on the back of the plane and secured it with foam tape pieces. NOTE: DO NOT remove the foam tape backing if you want the airplanes to swing! The smooth backing will help the planes glide over the card surface. Repeat for the other plane.

I adhered the top of the nylon string to the back of the upper cloud strip with foam dots. If you have extra string above the cloud, just trim it with your scissors. Remove the backing of the foam tape on the cloud strip to adhere to the card.
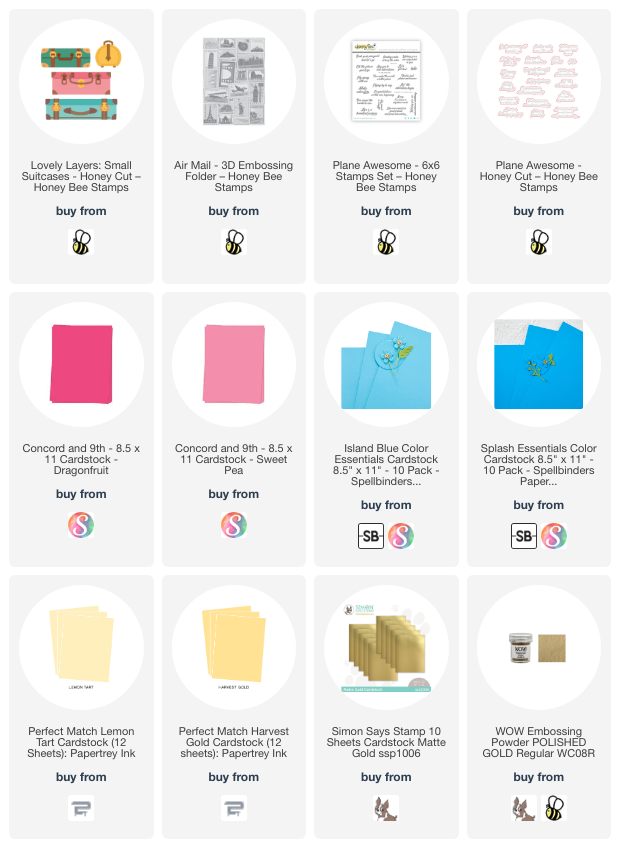
To finish I added a sentiment from the Plane Awesome stamp set that was die cut with the coordinating die.
Of course, you can totally simplify these steps by omitting the string and adhering the airplanes directly to the card. But I think the interactive aspect make for a fun surprise for the recipient!
I hope you have been inspired by my card today! Thank you so much for stopping by. Have a wonderful and crafty day!
Thank for using my affiliate links to shop (never any additional costs to you)!