Showing posts with label Birthday Bliss release. Show all posts

Wednesday, May 4, 2022

Springtime Wisteria Thank You Card

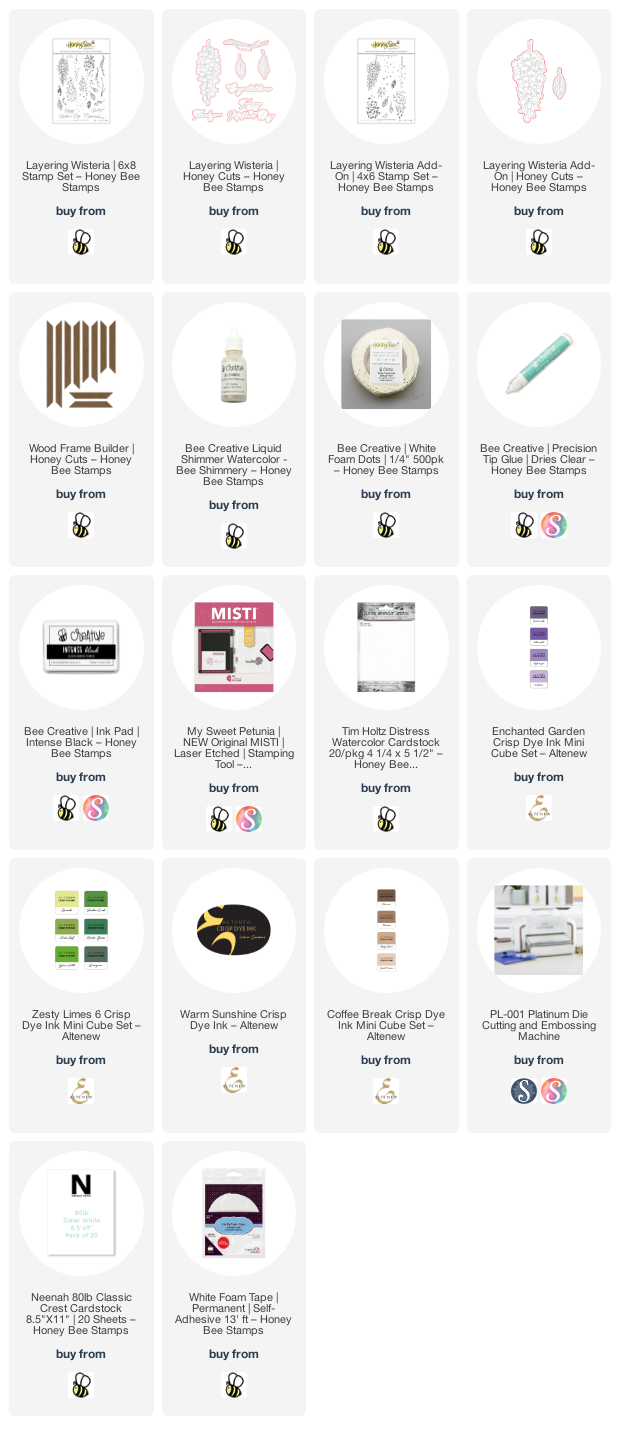
Hello crafty friends! Today I'm sharing a card made with the new Honey Bee Stamps Layering Wisteria stamp set, Layering Wisteria Add-On stamp set, and the coordinating Honey Cuts for both. These are brand new and part of the amazing Birthday Bliss release. I find I can never have enough thank you cards in my stash and I'm in love with the fonts of the sentiments in this set!

To make the stamping of these layering sets easy, I followed a template technique I was reminded of when I saw Jennifer McGuire's video demonstrating this! You will need your MISTI, or other stamp positioning tool, for this technique. I die cut the Layering Wisteria and Layering Wisteria Add-On Honey Cuts flowers and leaves first, retaining one of the negative portions to place my die cuts in. Then you center your stamps in the open space, insert the die cut pieces, and stamp each one. I know this sounds a bit confusing, but if you watch her video, I think you'll see what I mean. I also used the very helpful stamp layering guide that you will find on the Honey Bee website by scrolling through the product photos.

I used various purple, green, and brown inks (linked in the product list below) from my stash to stamp the layers of the wisteria, leaves, and branch. Die cutting these pieces with the coordinating Layering Wisteria Honey Cuts and Layering Wisteria Add-On Honey Cuts before stamping is sure a time saver! I set these aside and worked on my card base.

I pressed some of the purple inks I used for stamping onto my glass mat. Then I used some water and a paint brush to add splatters onto some watercolor cardstock. Next I added drops of the new, and SO beautiful, Bee Shimmery Liquid Shimmer Watercolor. When this was dry, I adhered the piece to my A2 card base. I adhered the frame that I die cut from the Wood Frame Builder Honey Cuts with foam tape to add dimension.

I arranged the wisteria blossoms and leaves on my card, attaching them with foam dots and some Bee Creative glue. Then I stamped the sentiment from the Layering Wisteria set with Intense Black ink and die cut it with the coordinating Honey Cut. I used foam tape to attach it to the card.

I was amazed at how pretty and sparkly the Bee Shimmery liquid shimmer watercolor is! So I painted on more of it onto the darker portions of the wisteria blossoms. Then I just splattered what was left all over the card! LOL! It's even prettier in real life!!

Thank you so much for stopping by today!  Have a wonderful, crafty day!

Saturday, April 30, 2022

Happy Happy Happy Birthday Cards -- It's Honey Bee Stamps 7th Birthday!

Hello crafty friends!  Today is a fun day as we are celebrating Honey Bee Stamps' 7th birthday with an Instagram hop!  We are showcasing new products from their brand new release called Birthday Bliss!  I have two cards that I created from one fabulous cover plate die.  Read on for the details!

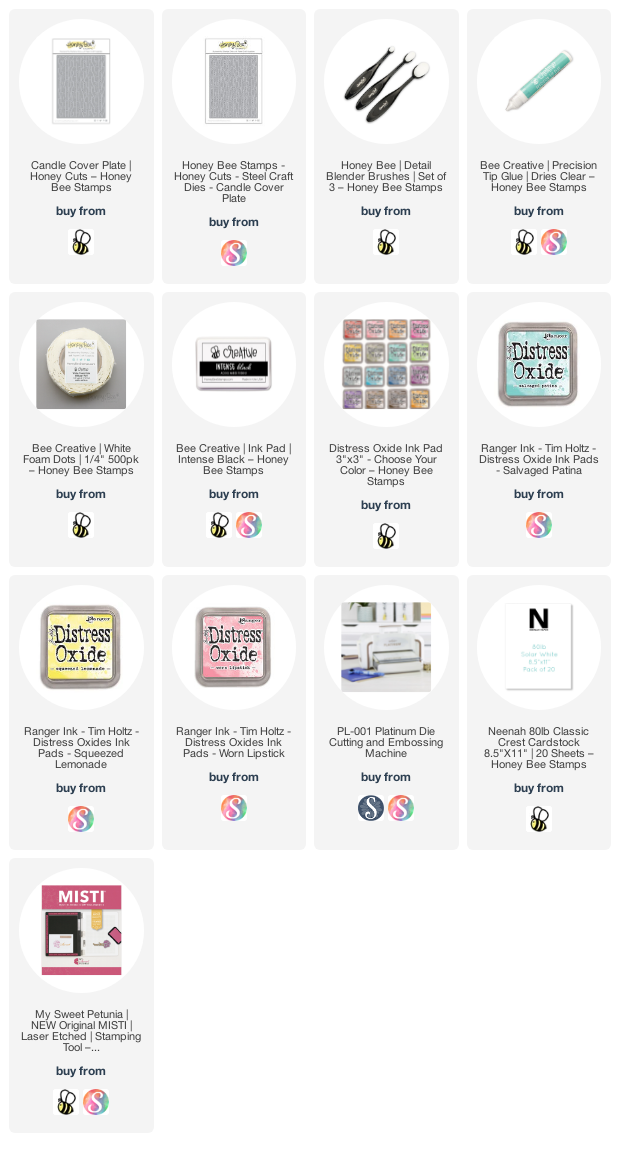
First I die cut the Happy Happy Happy A2 cover plate three times from 80# Neenah cardstock.  I kept all of the pieces of each die cut in place by sticking on a piece of Press N Seal.  Next I blended Distress Oxide inks on one of them.  I used an ink blender brush and Salvaged Patine, Squeezed Lemonade, and Worn Lipstick Distress Oxides.  I liked blending onto the die cut piece as I could better decide how far to bring each color down.

I peeled off the negative pieces of all three die cuts and glued them together.  Be sure to save the center pieces of the letters!!  I set that aside to dry while I began my first card.

First I dry embossed the Candle Cover Plate die onto an A2 sized white card.  (Dry embossing is a fun way to stretch your dies--just use the tan rubber mat and the embossing sandwich for your machine.)  I glued that onto my card base.

Next I adhered all three layers of the letters together.  I used removable tape to temporarily hold the negative Happy Happy Happy cover plate die cut onto the front of my card to be like a template for the letter placement.  Then I used that to perfectly position all of the letters.  When the glue was dry, I removed the negative piece.

I die cut one of the flowers from the new Lovely Layers: Wildflowers once from white cardstock, and another time from vellum.  I adhered them to the card with dots of glue.

I stamped the sentiments from the also new Birthday Wishes set in the same Distress Oxides.  I stamped "birthday" using sponge daubers to achieve the ombré effect.  I used the coordinating dies to cut them out (I love having dies for the sentiments!!)  Then I popped them up with foam tape.  For a bit of sparkle, I added used a clear glitter pen on the vellum flower (which is why the petals are curled up!)

My second card uses the negative pieces from the Happy Happy Happy Cover Plate die cuts.  I glued the layers together, and then glued them to an A2 card base.

Next I glued the middle pieces into the letters A, and the P's.  Then I die cut another flower from the Lovely Layers: Wildflowers and inked on some Worn Lipstick Distress Oxide onto the top flower layer.  I used the other two Oxide colors for the other pieces of the flower.  Then I adhered it to the card.

I stamped the sentiment from the Happy Happy Happy stamp set in black ink and die cut it with the coordinating die.  I popped it up with foam tape.

These were so fun to make!  I love the "happy" colors too!  Do you have a favorite?  I hope you'll pop over to my Instagram and leave me a comment there.  Honey Bee will be choosing two lucky people to win a $25 gift card to their shop!  Happy 7th birthday Honey Bee!

Thank you so much for stopping by!  Have a fabulous Saturday!