Showing posts with label So Special sentiments. Show all posts

Wednesday, May 21, 2025

Hello, Beautiful!! A Dramatic Heat Embossed Card

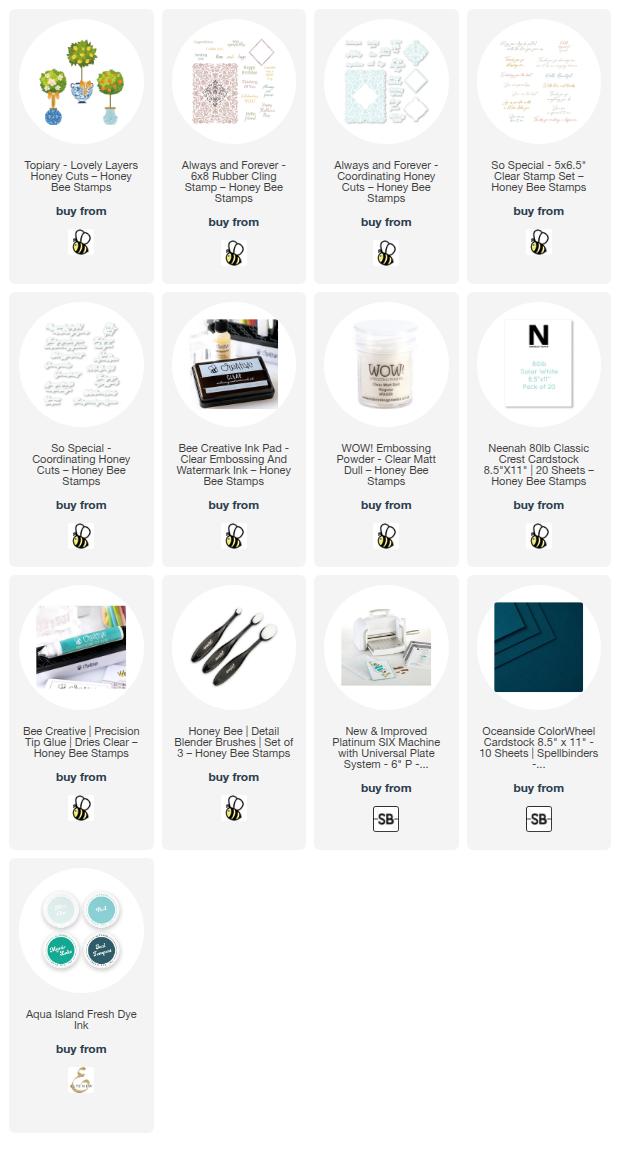
Hello, crafty friends!  Today I decided to go with a rich dark colored cardstock for a dramatic look to use as a background for Honey Bee Stamps beautiful Lovely Layers: Topiary.  I used their Always and Forever red rubber stamp to add a subtle heat embossed background!  Read on for the details!

First I chose a dark teal blue cardstock and placed an A2 size piece into my stamp positioner. I used an anti-static powder over the cardstock. Then I inked up the Always and Forever background stamp with clear embossing ink and stamped it onto the teal cardstock.

For this card I used some white satin pearl embossing powder. If you don't have that, a clear embossing powder would also be beautiful. After I poured the powder over the stamped image, I used my heat tool to set the powder.

After the panel had cooled off, I cut it out with the coordinating Always and Forever die. I found an ink that was about the same color and used a blender brush to darken the edges of the die cut piece. I glued this to an A2 sized panel of teal cardstock, and then to an A2 card base.

I die cut all of the pieces of the Lovely Layers: Topiary from white cardstock except for the top layer of the planter. I die cut that from a scrap of the same teal cardstock I used before. It was easy to use blender brushes and various ink colors to quickly color the layers of the topiary. I love how the bright yellow of the lemons and bow contrast with the green and teal!

The sentiment is one that is in the So Special stamp set. There are so many wonderful sentiments in the set, I had a hard time deciding which one I wanted to use. LOL. I cut the stamped sentiment out with the coordinating So Special die.

The topiary and the sentiment are all popped up with foam tape. I wanted that lift so the teal planter would not blend into the background so much.

There are several other dies in the Lovely Layers: Topiary for more options other than the lemons.  You can choose two more planters, a different style leafy topper along with pears, flowers, and oranges!  Be sure to check it out!  I hope you are having a wonderful week and I so appreciate you stopping by my blog!

Thank you for choosing to use my affiliate links to shop (never any additional cost to you)!
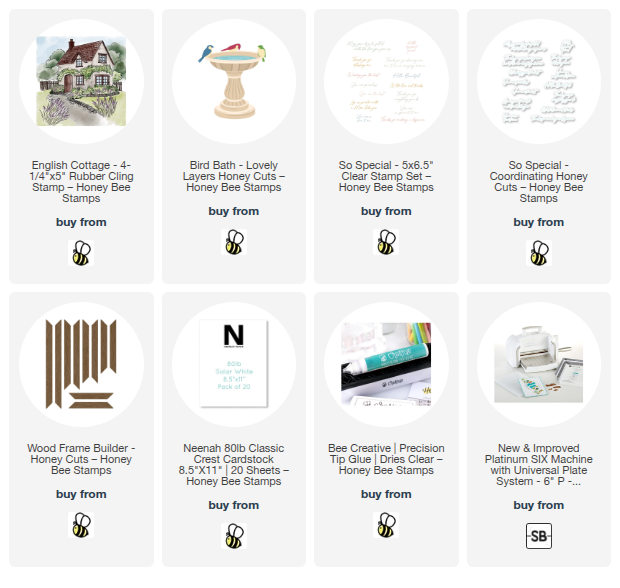
Wednesday, May 14, 2025

You Are So Special To Me -- Framed English Cottage Scene

Hello crafty friends! Today I'm sharing my card that features the beautiful English Cottage stamp and the Lovely Layers: Bird Bath Honey Cuts from the new Honey Bee Stamps Cottage Countryside release.

The idea I had in my mind was to create a scene with the English Cottage as a background for the Bird Bath. My original thought was to just stamp the cottage in one subtle color as a background. But I decided to go with light colors and use my markers color the stamped image.

Once I decided to color the English Cottage I stamped it with Lost Shadow Distress Ink. This was much easier to use than one of the no-line coloring inks since it is darker than those. I think I still achieved a no-line coloring fairly well, do you? I used lots of lighter colors and a kind of "loose" coloring technique. This made my coloring session fun and relaxing without any stress!

Here's the Copic marker colors I used for the main areas:

  • Cottage: W4, W3, W1, W0, W00
  • Stones: T5, T3, T2, T0
  • Path: E44, E43, E42, E41
  • Vines/bushes on and around cottage: G94, YG61, G24, G20
  • Background trees, grass: YG67, G07, YG17, YG25, YG03
  • Door, windows: BG23, BG11, BG10
  • Purple flowers: BV11, BV000, BV00
  • Bird bath: C3, C1, C00
  • Birds: E59, E57, E55, E53, E51

Next I die cut the Wood Frame Builder dies three times from white cardstock. I glued the layers together and then glue them to my colored English Cottage scene, and glued the panel to an A2 card base.

I die cut the Lovely Layers: Bird Bath dies from white cardstock. After I colored the bath and the birds with my markers, I used glue to adhere the layers together.

Then I added a bit of foam to the back of the Bird Bath to adhere it to the card. I used glue to attach the birds at the top of the bird bath.

The sentiment is from the new So Special stamp set. I adore all of these sentiments! After I chose one and stamped it with black ink, I cut it out with the coordinating die. I added a few pieces of foam strips to adhere the sentiment at the bottom of the card.

I really hope this inspired you to try this idea for a background with the English Cottage. The coloring is really fun--just don't stress and be loose with your coloring and it will be fantastic!

Thank you so much for stopping by today! I hope you are having a wonderful week with lots of crafty time!

Thank you for using my affiliate links to shop (never any additional cost to you)!